



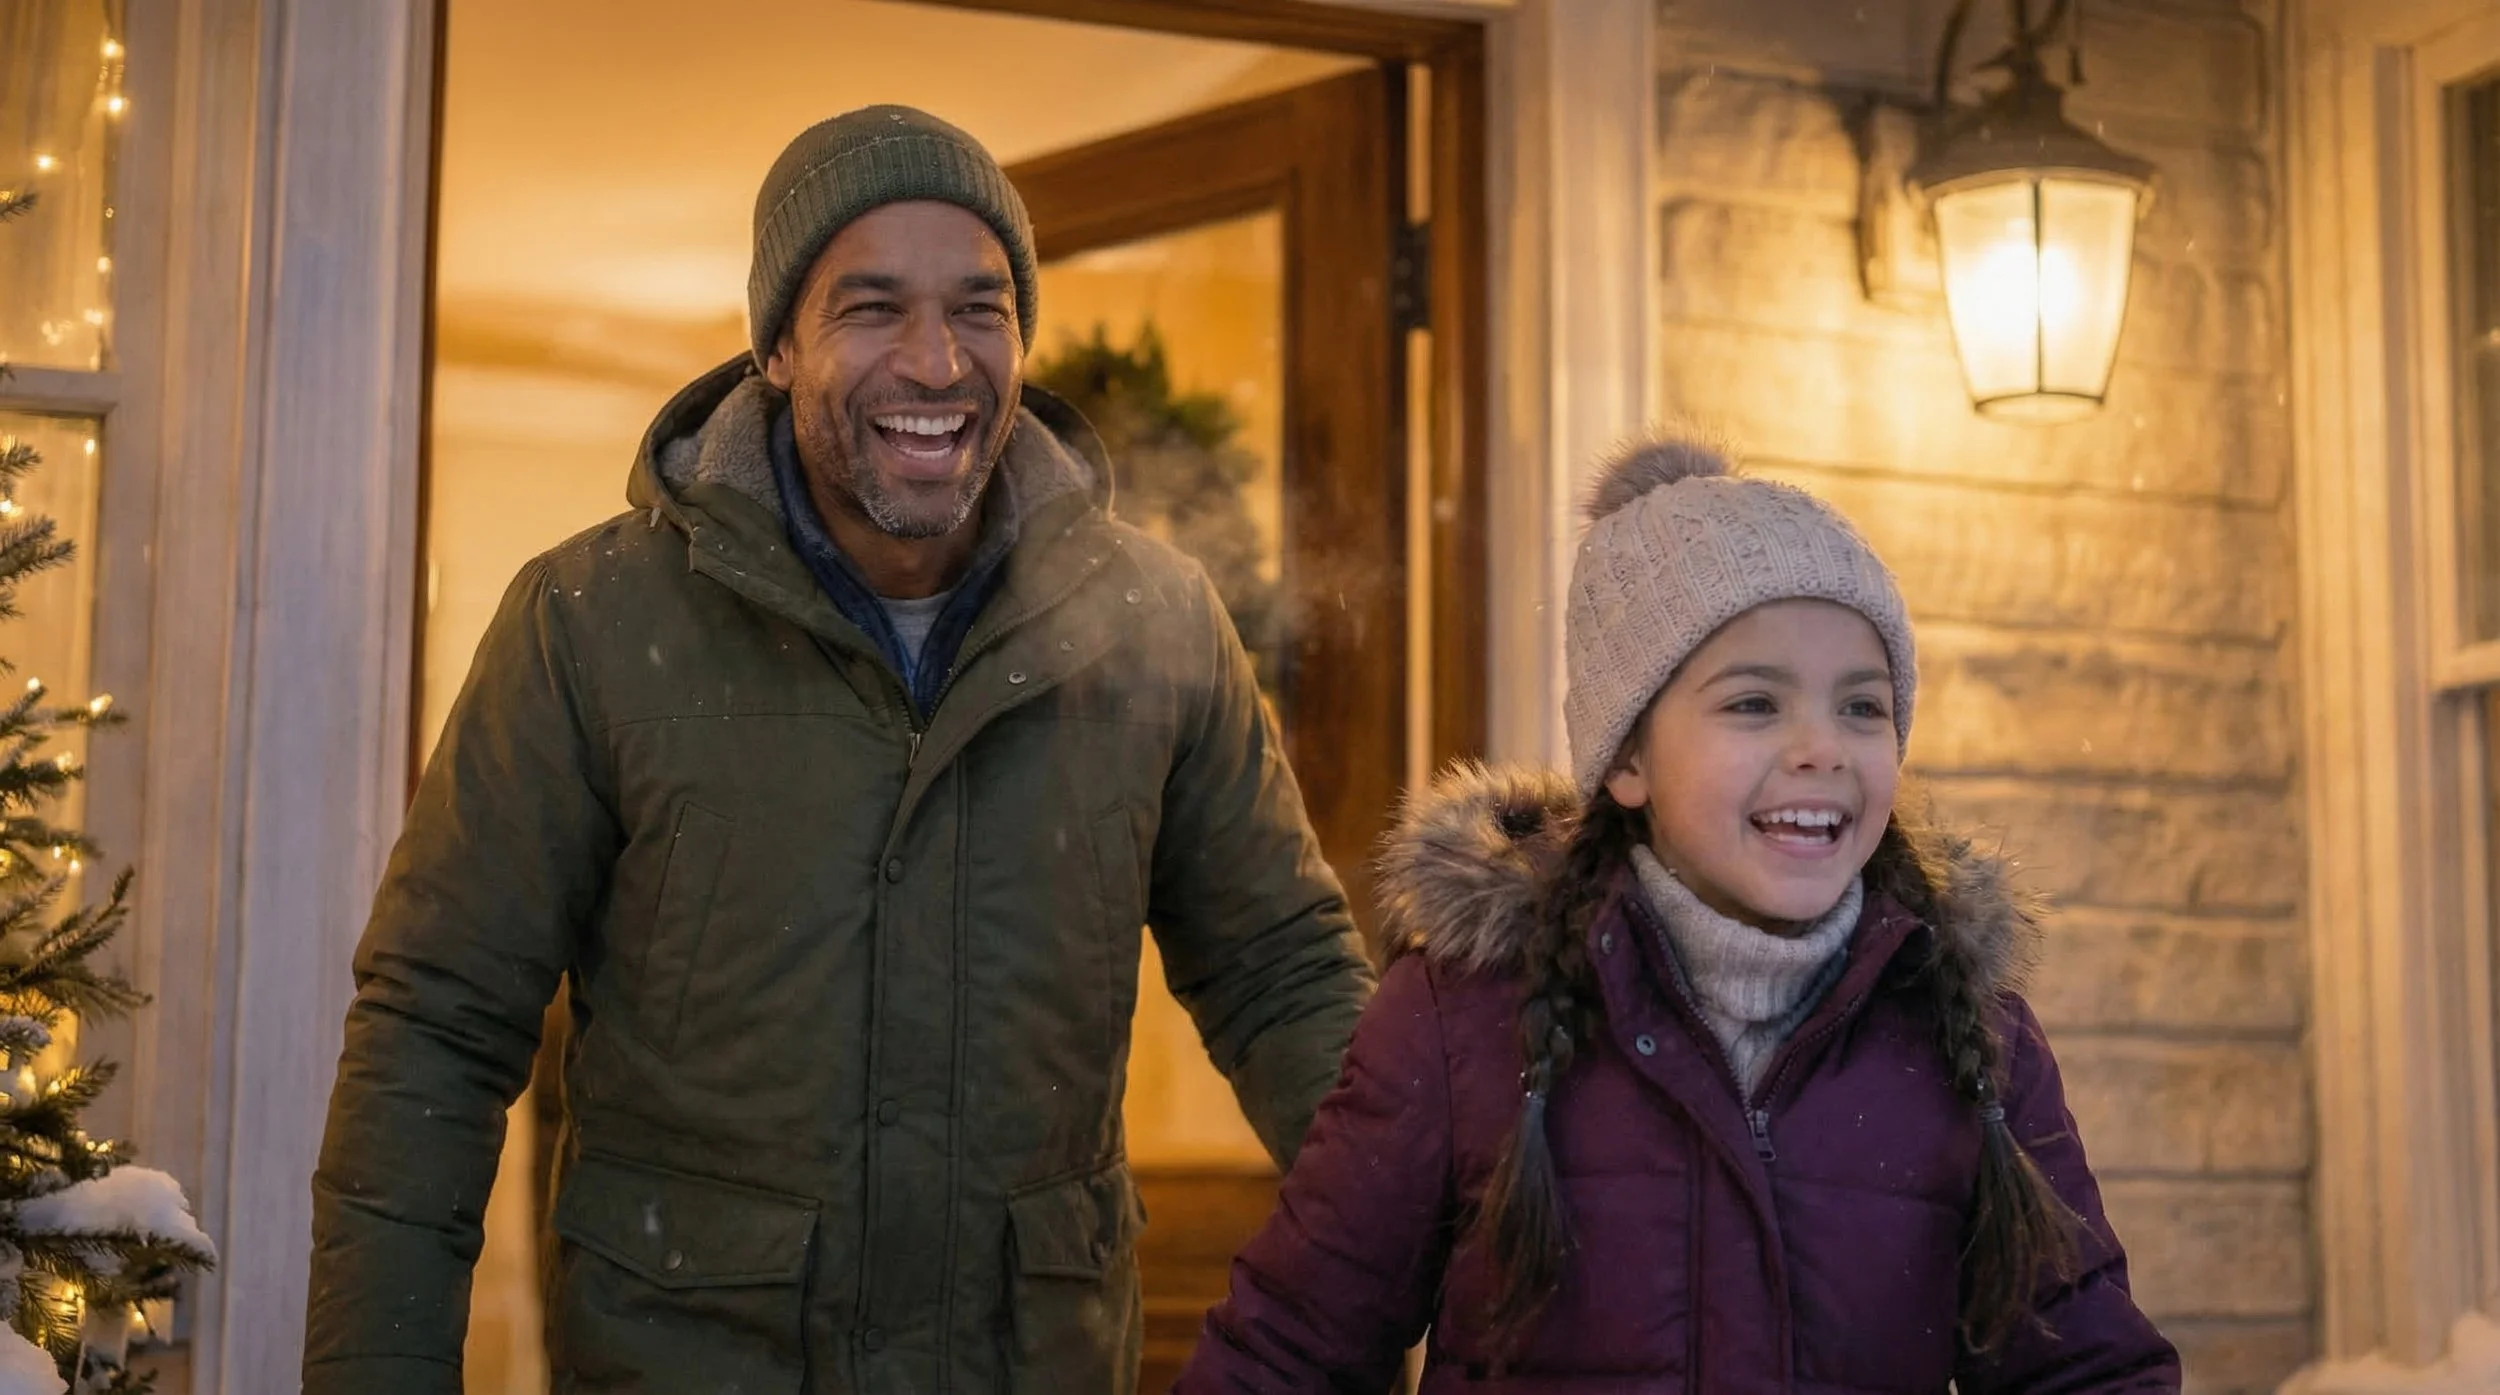

Nutpods
Sled. Sip. Smile.
A full production pipeline.
A commercial first.
AI second.
Could I approach an AI-generated film with the same planning, art direction and production thinking I would bring to a traditional commercial?
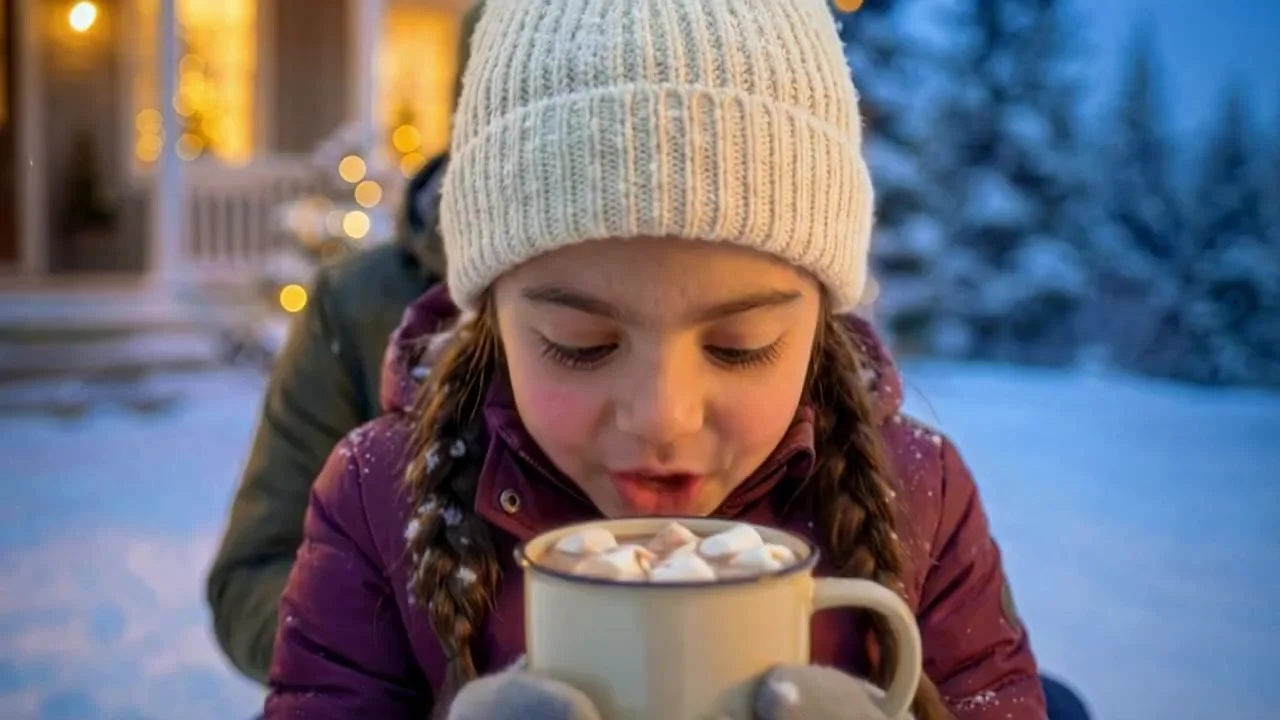
The story was built around a simple contrast: a cold winter adventure followed by a warm product reward. Early ideas followed a family building a snowman and sledding before arriving at hot chocolate. As the edit developed, the concept was simplified around the daughter and her dad, with her mom preparing the drink while they were outside.
Discovery → Adventure → Cold → Warmth → Product
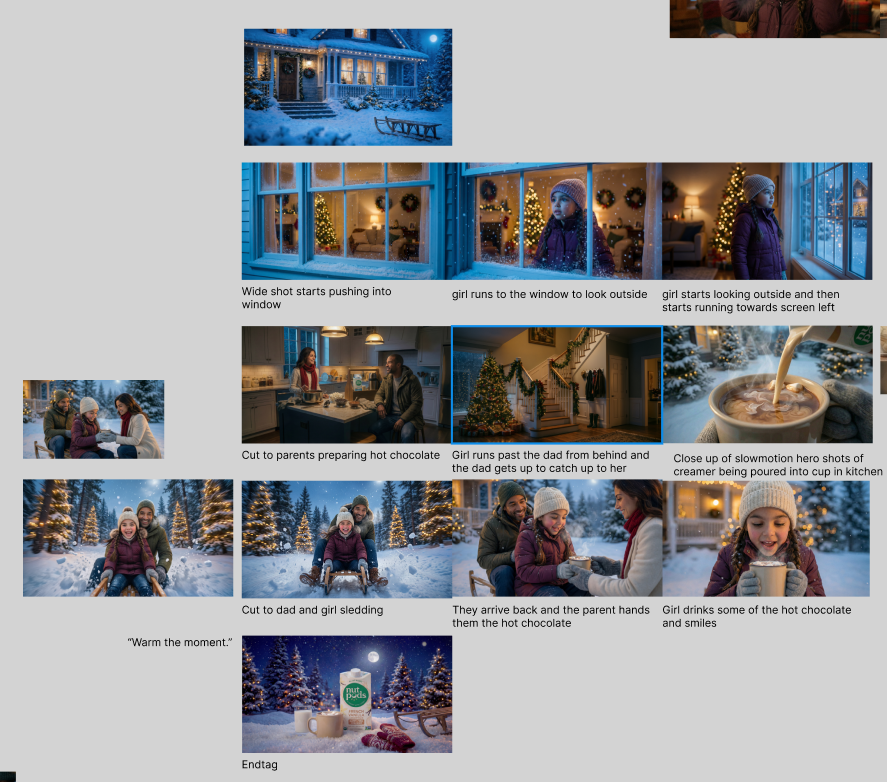
Planning before generation.
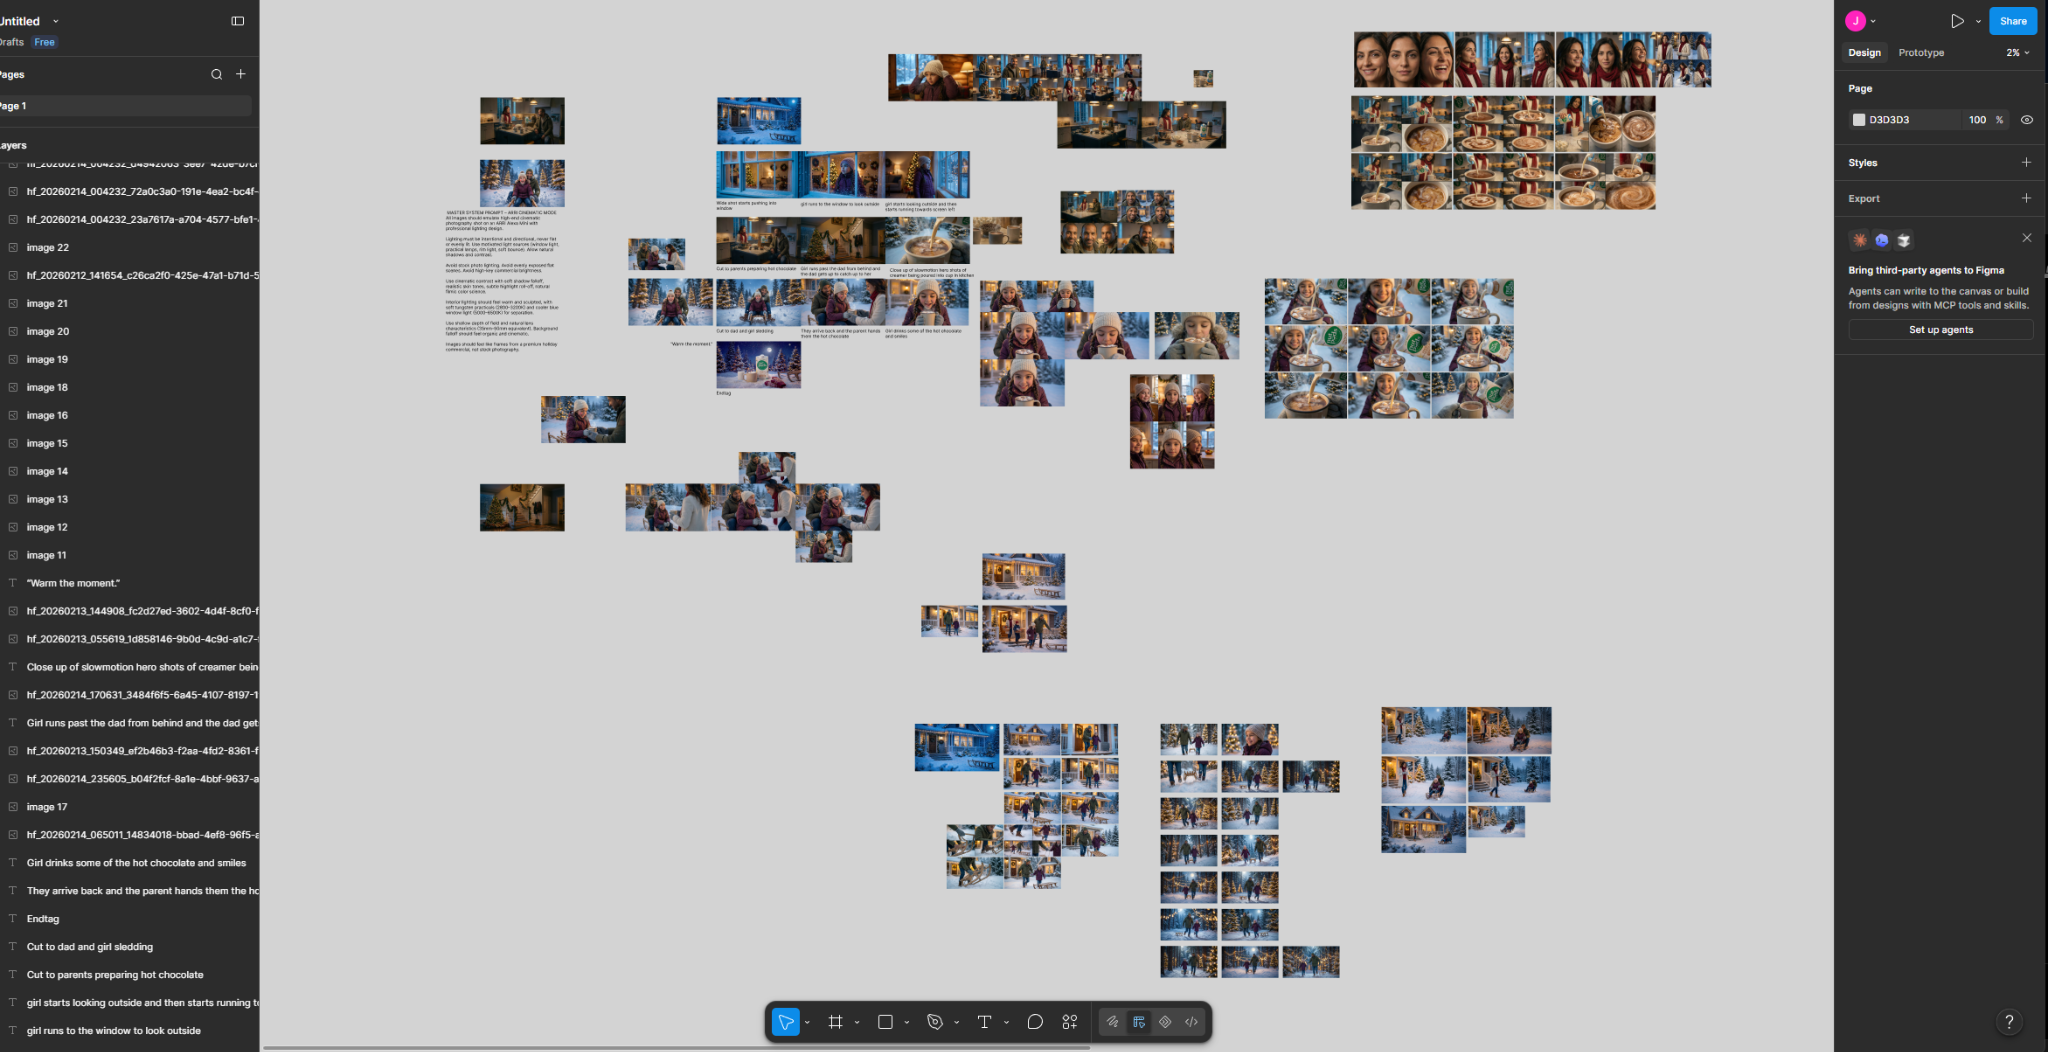
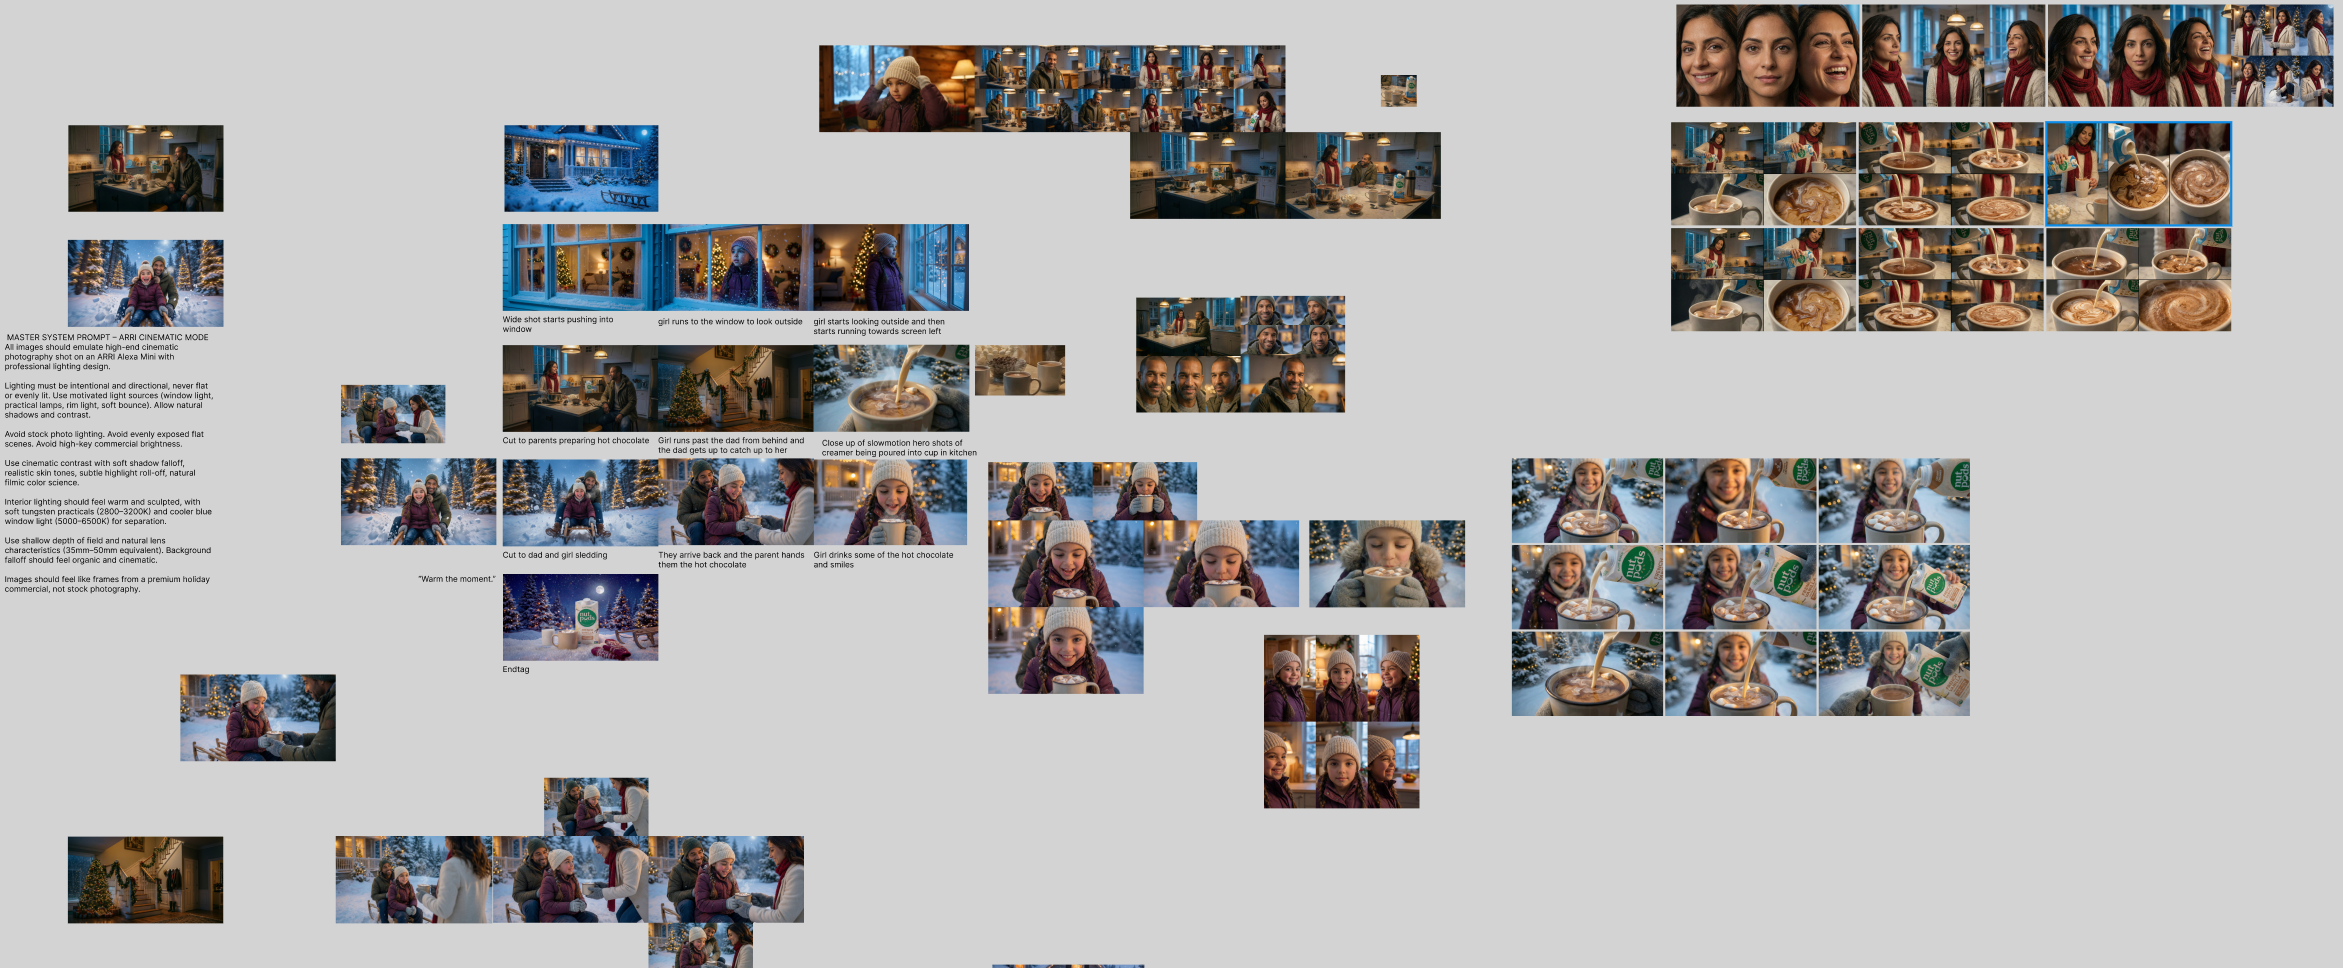
Notion became my shot book. Figma became my production wall.
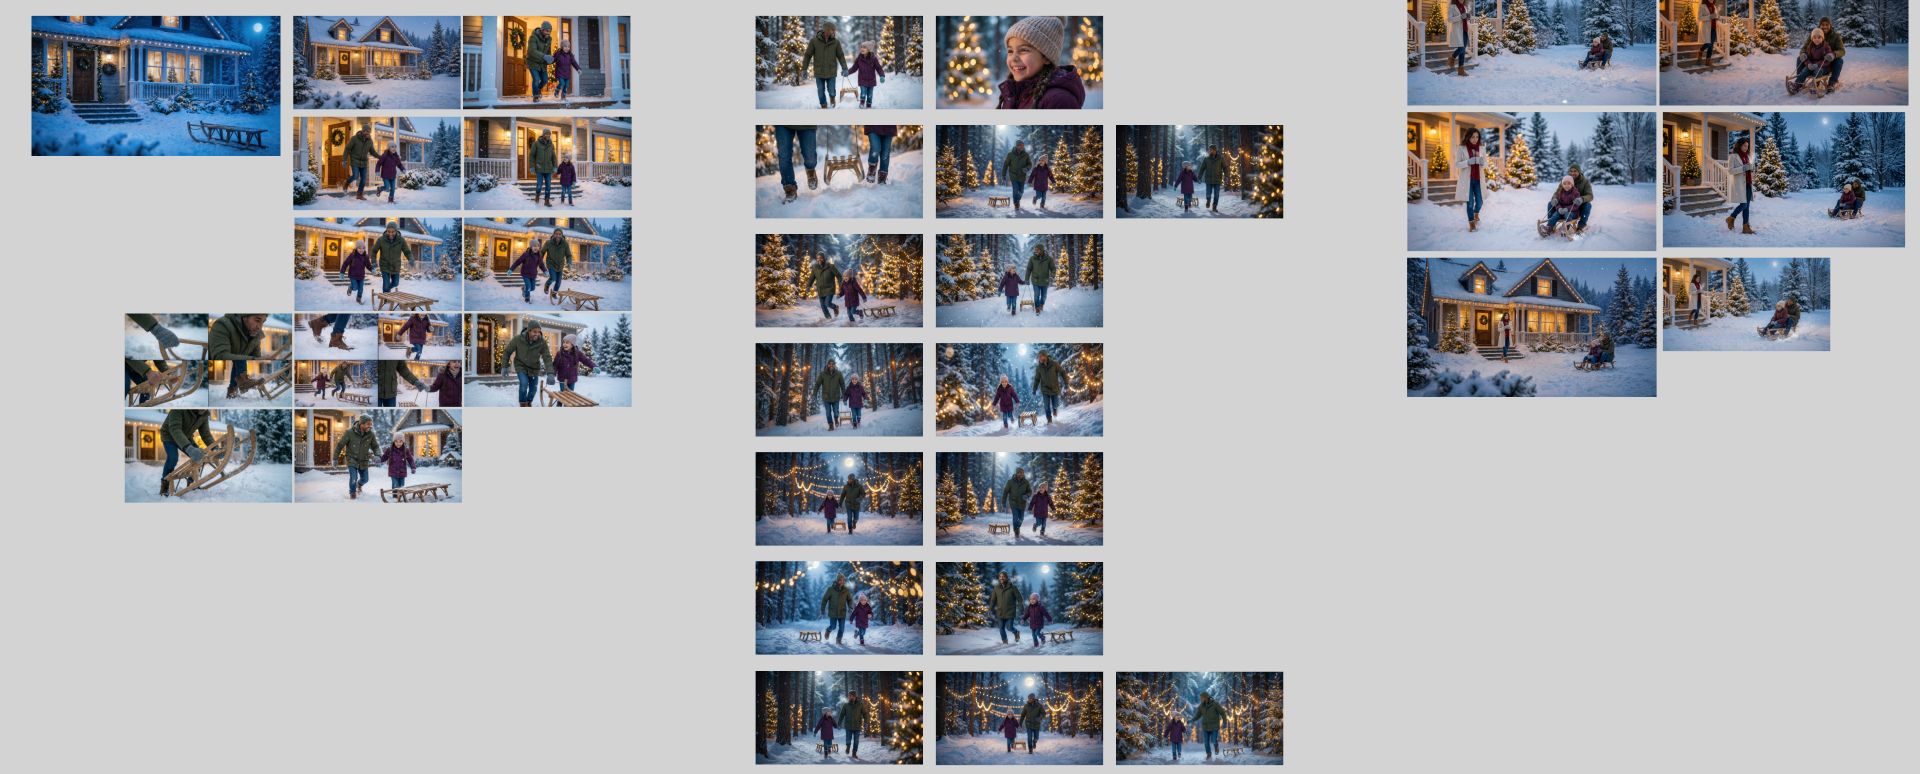
I mapped story beats, camera ideas, character rules, locations and product moments before building the final sequence. Figma became a place to compare generations, organize references and see whether individual frames could actually cut together.
The idea changed as the film got clearer.
The original treatment was broader: a family of four, snowman building, sledding, hot cocoa and a product end tag. The final film kept the emotional spine but removed anything that distracted from the daughter–dad relationship and the warm drink payoff.
The goal was to make the generations serve the edit, not build an edit around unrelated generations.
One visual system across many models.
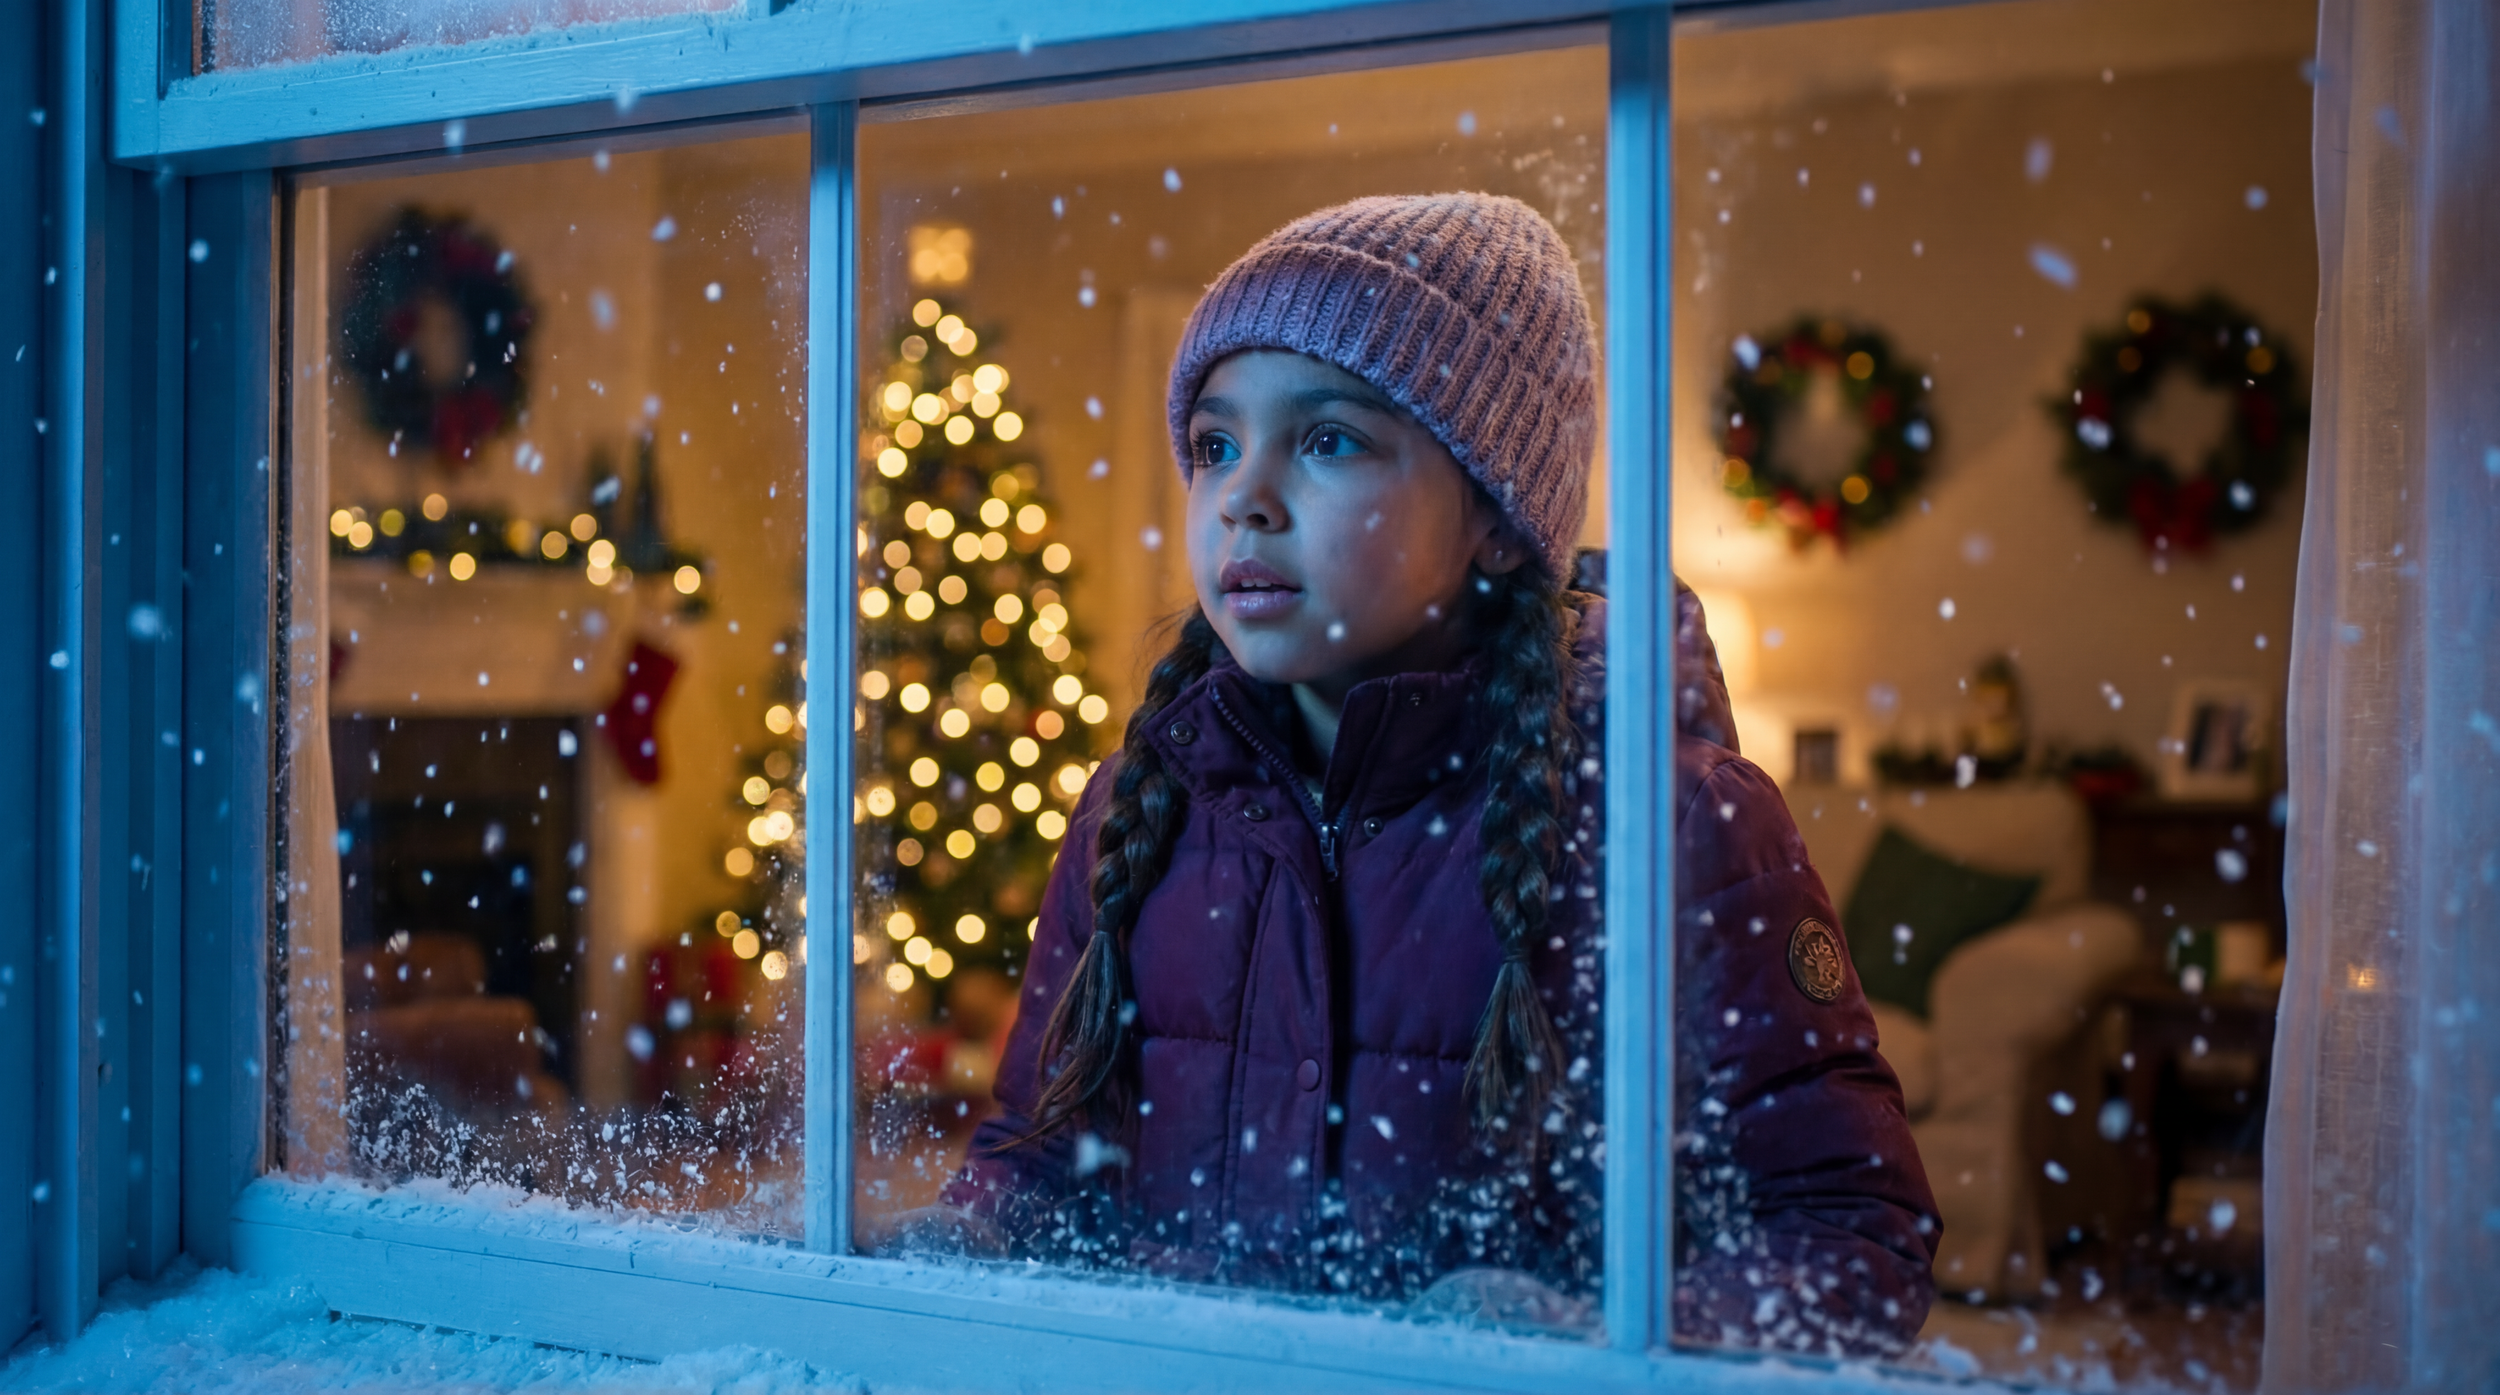
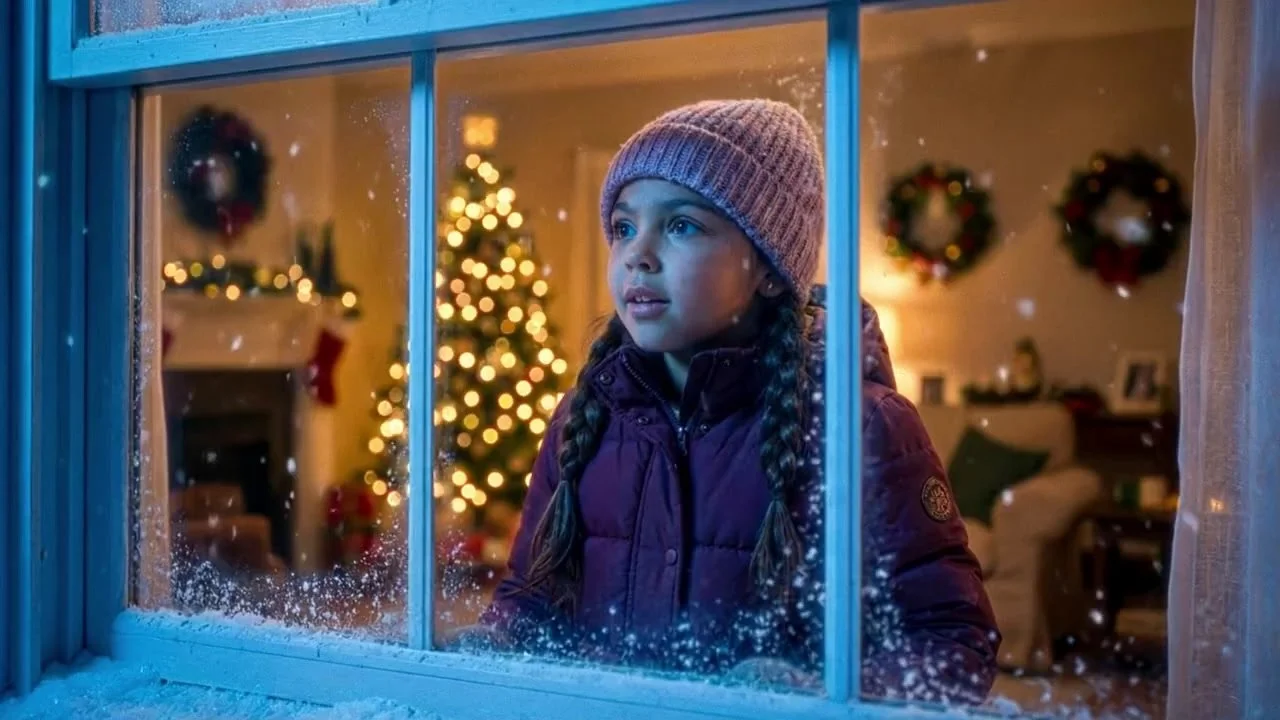
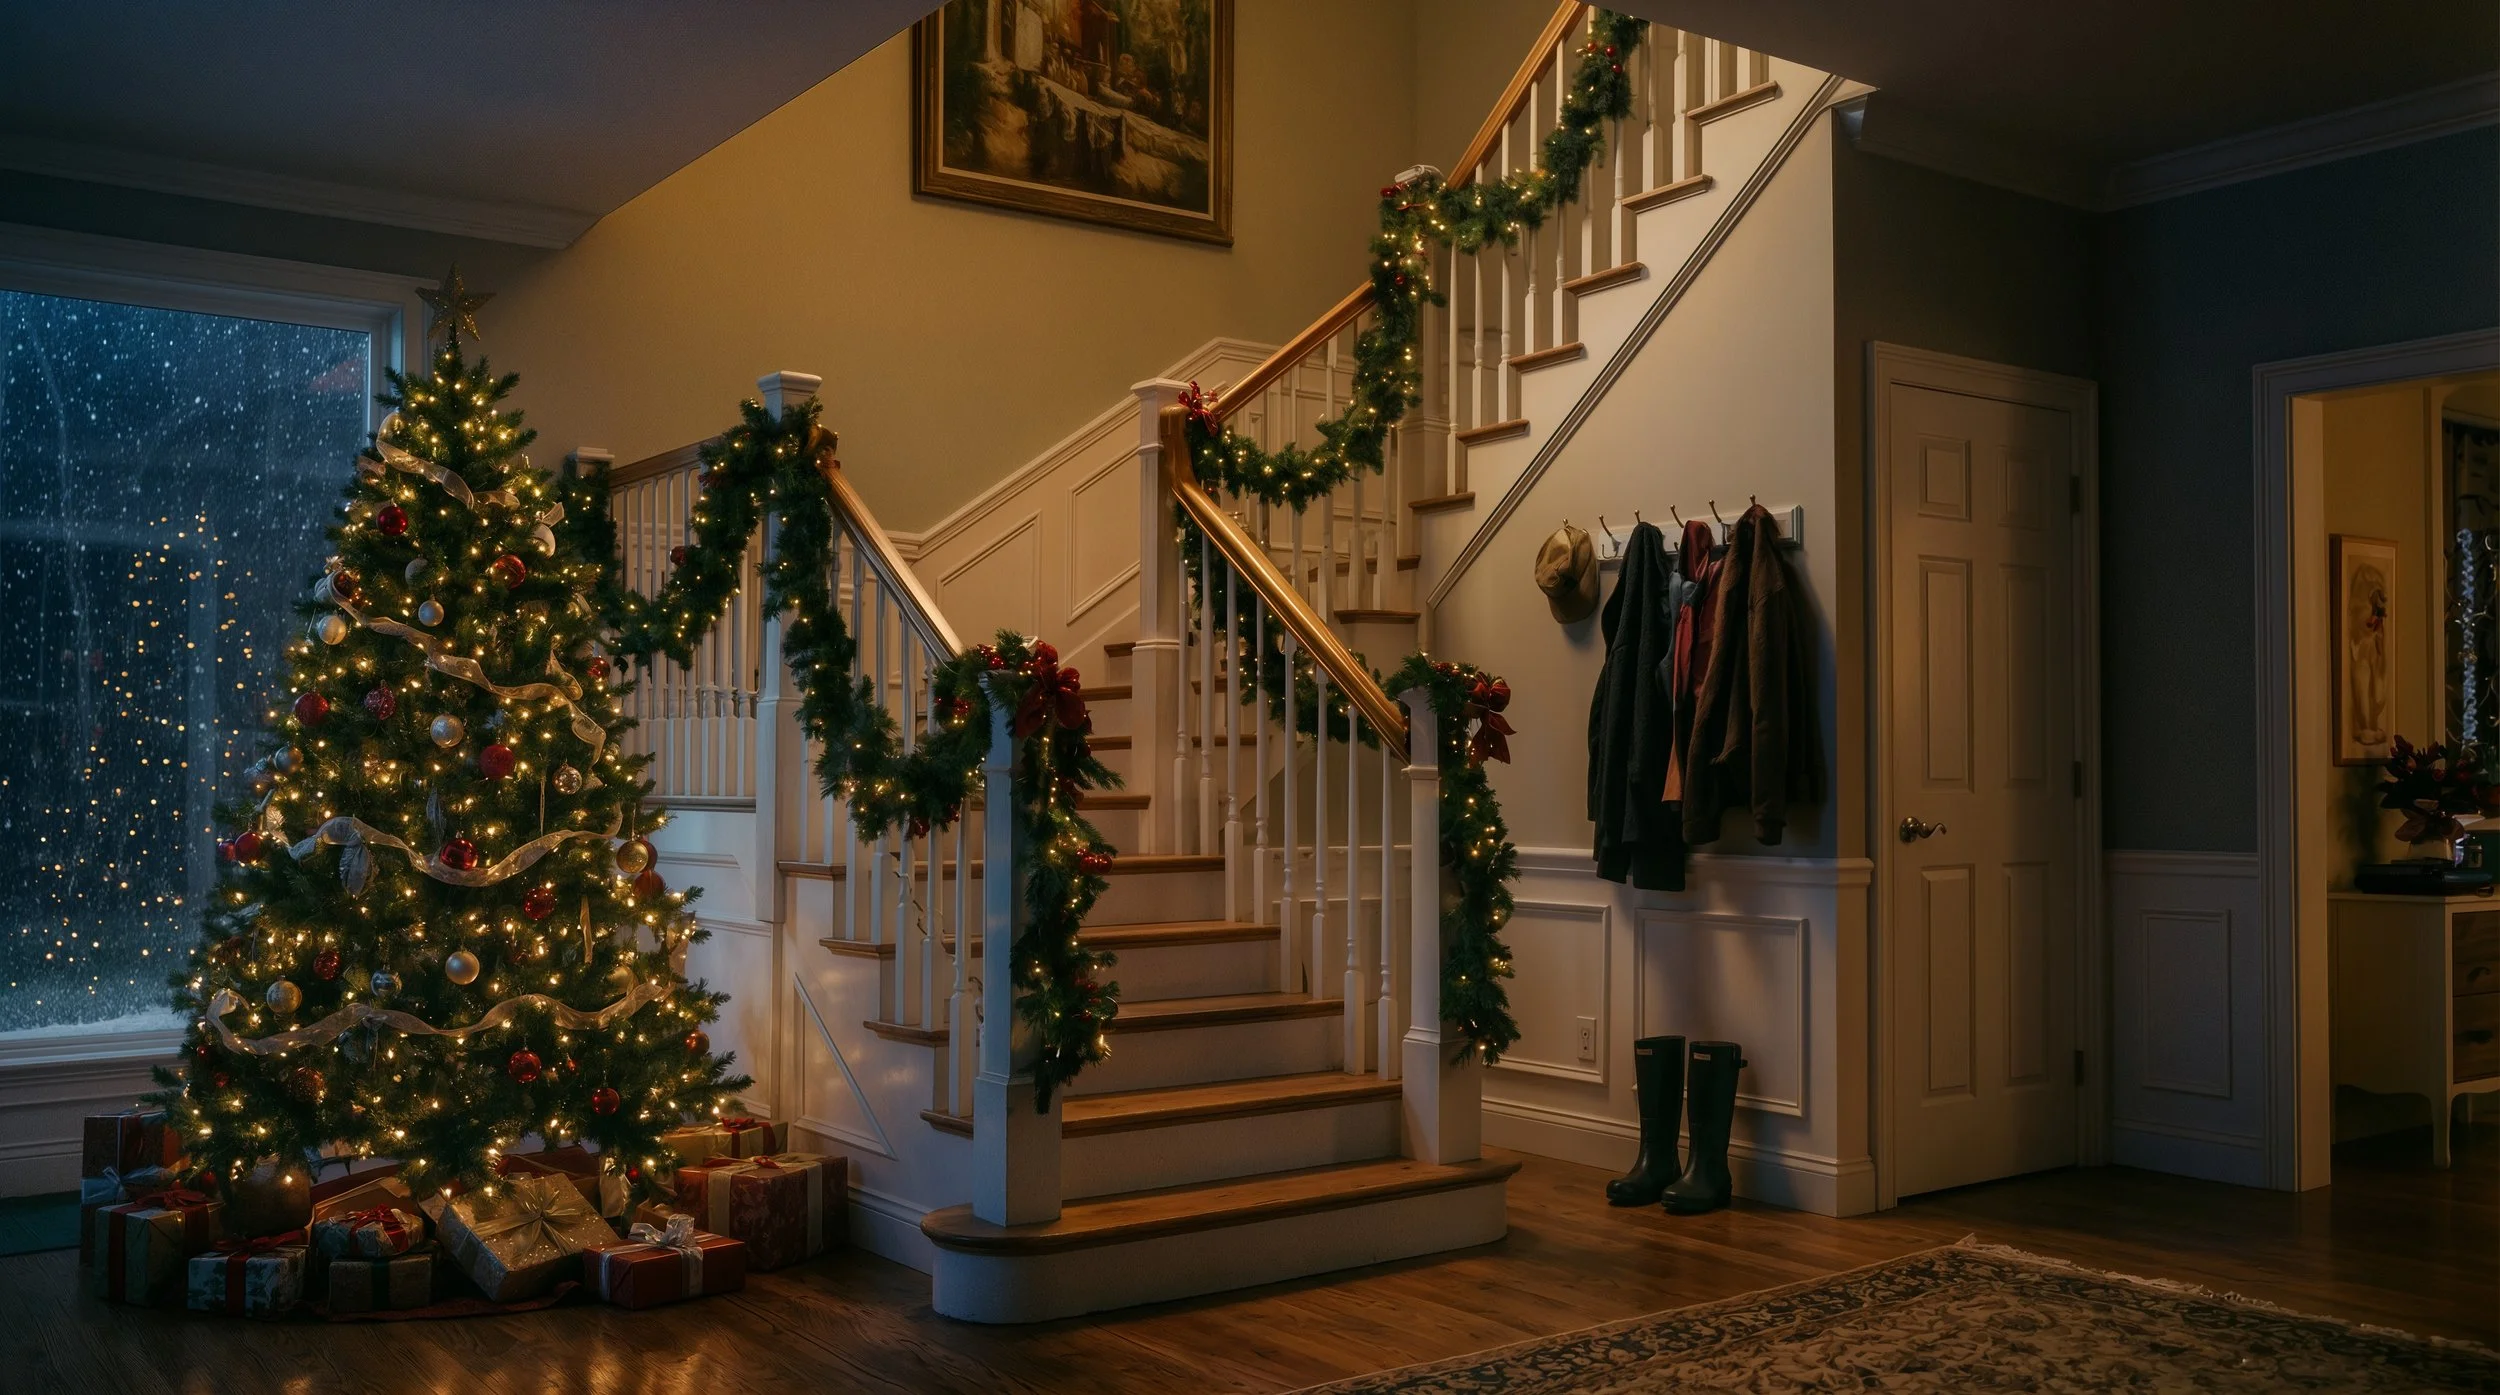
A suburban home at blue hour. Cool winter ambience outside. Warm tungsten practicals inside.
Instead of relying on the word “cinematic,” I established repeatable photographic rules: motivated directional light, warm/cool separation, shallow depth of field, practical sources in frame, natural skin tones and a premium holiday-commercial finish.
Designing a repeatable cast.
Character consistency was treated as a design problem before it became a video problem.
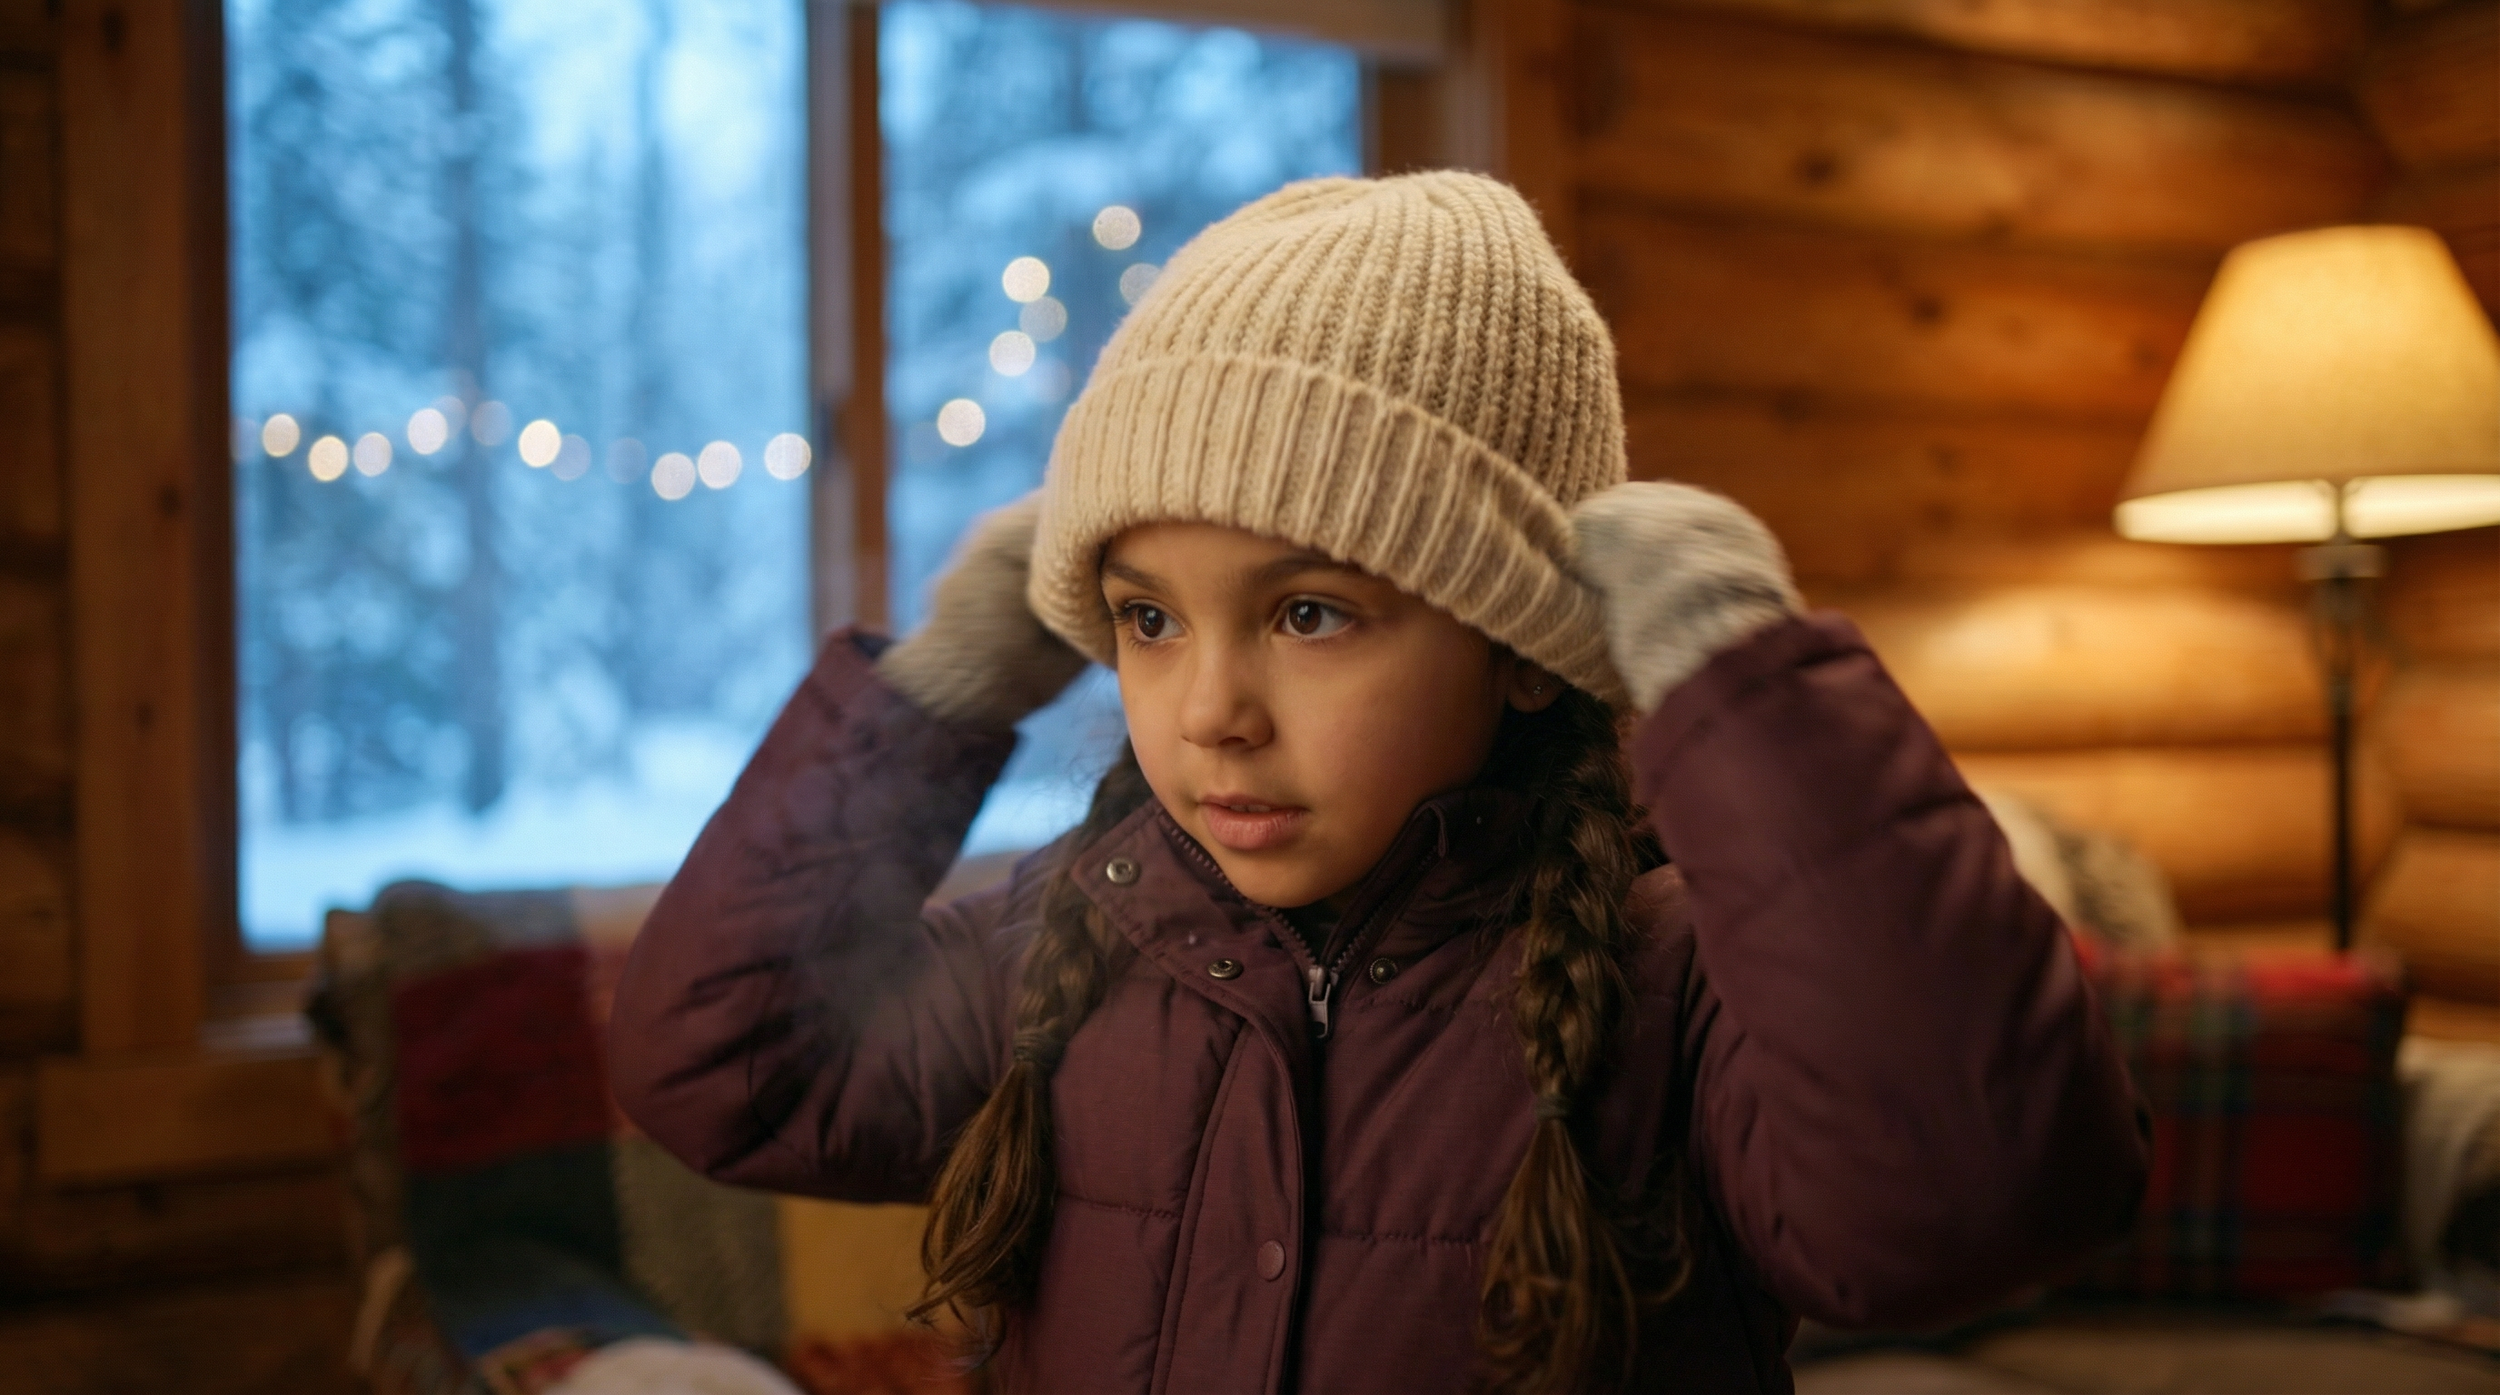
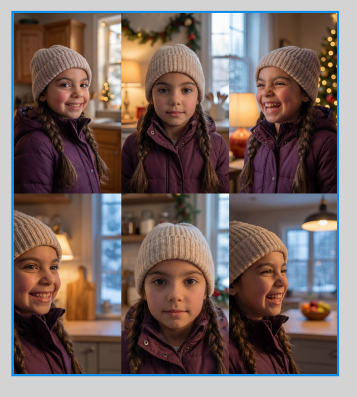
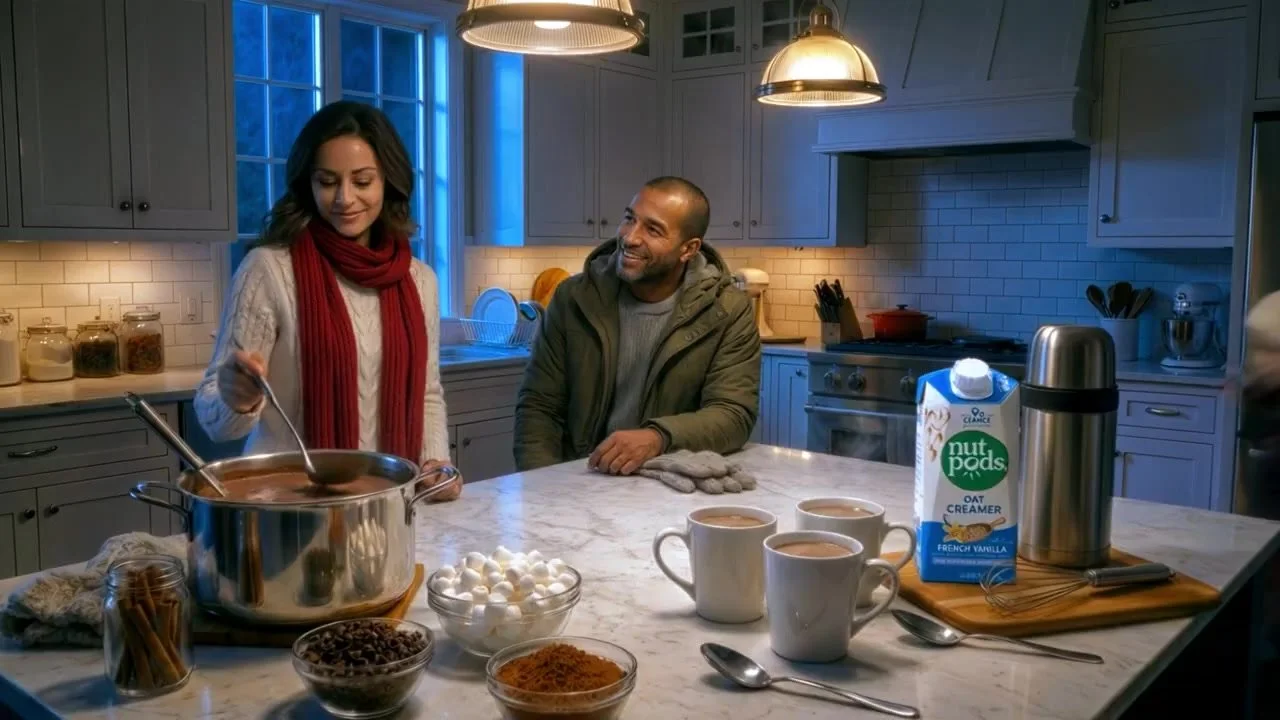
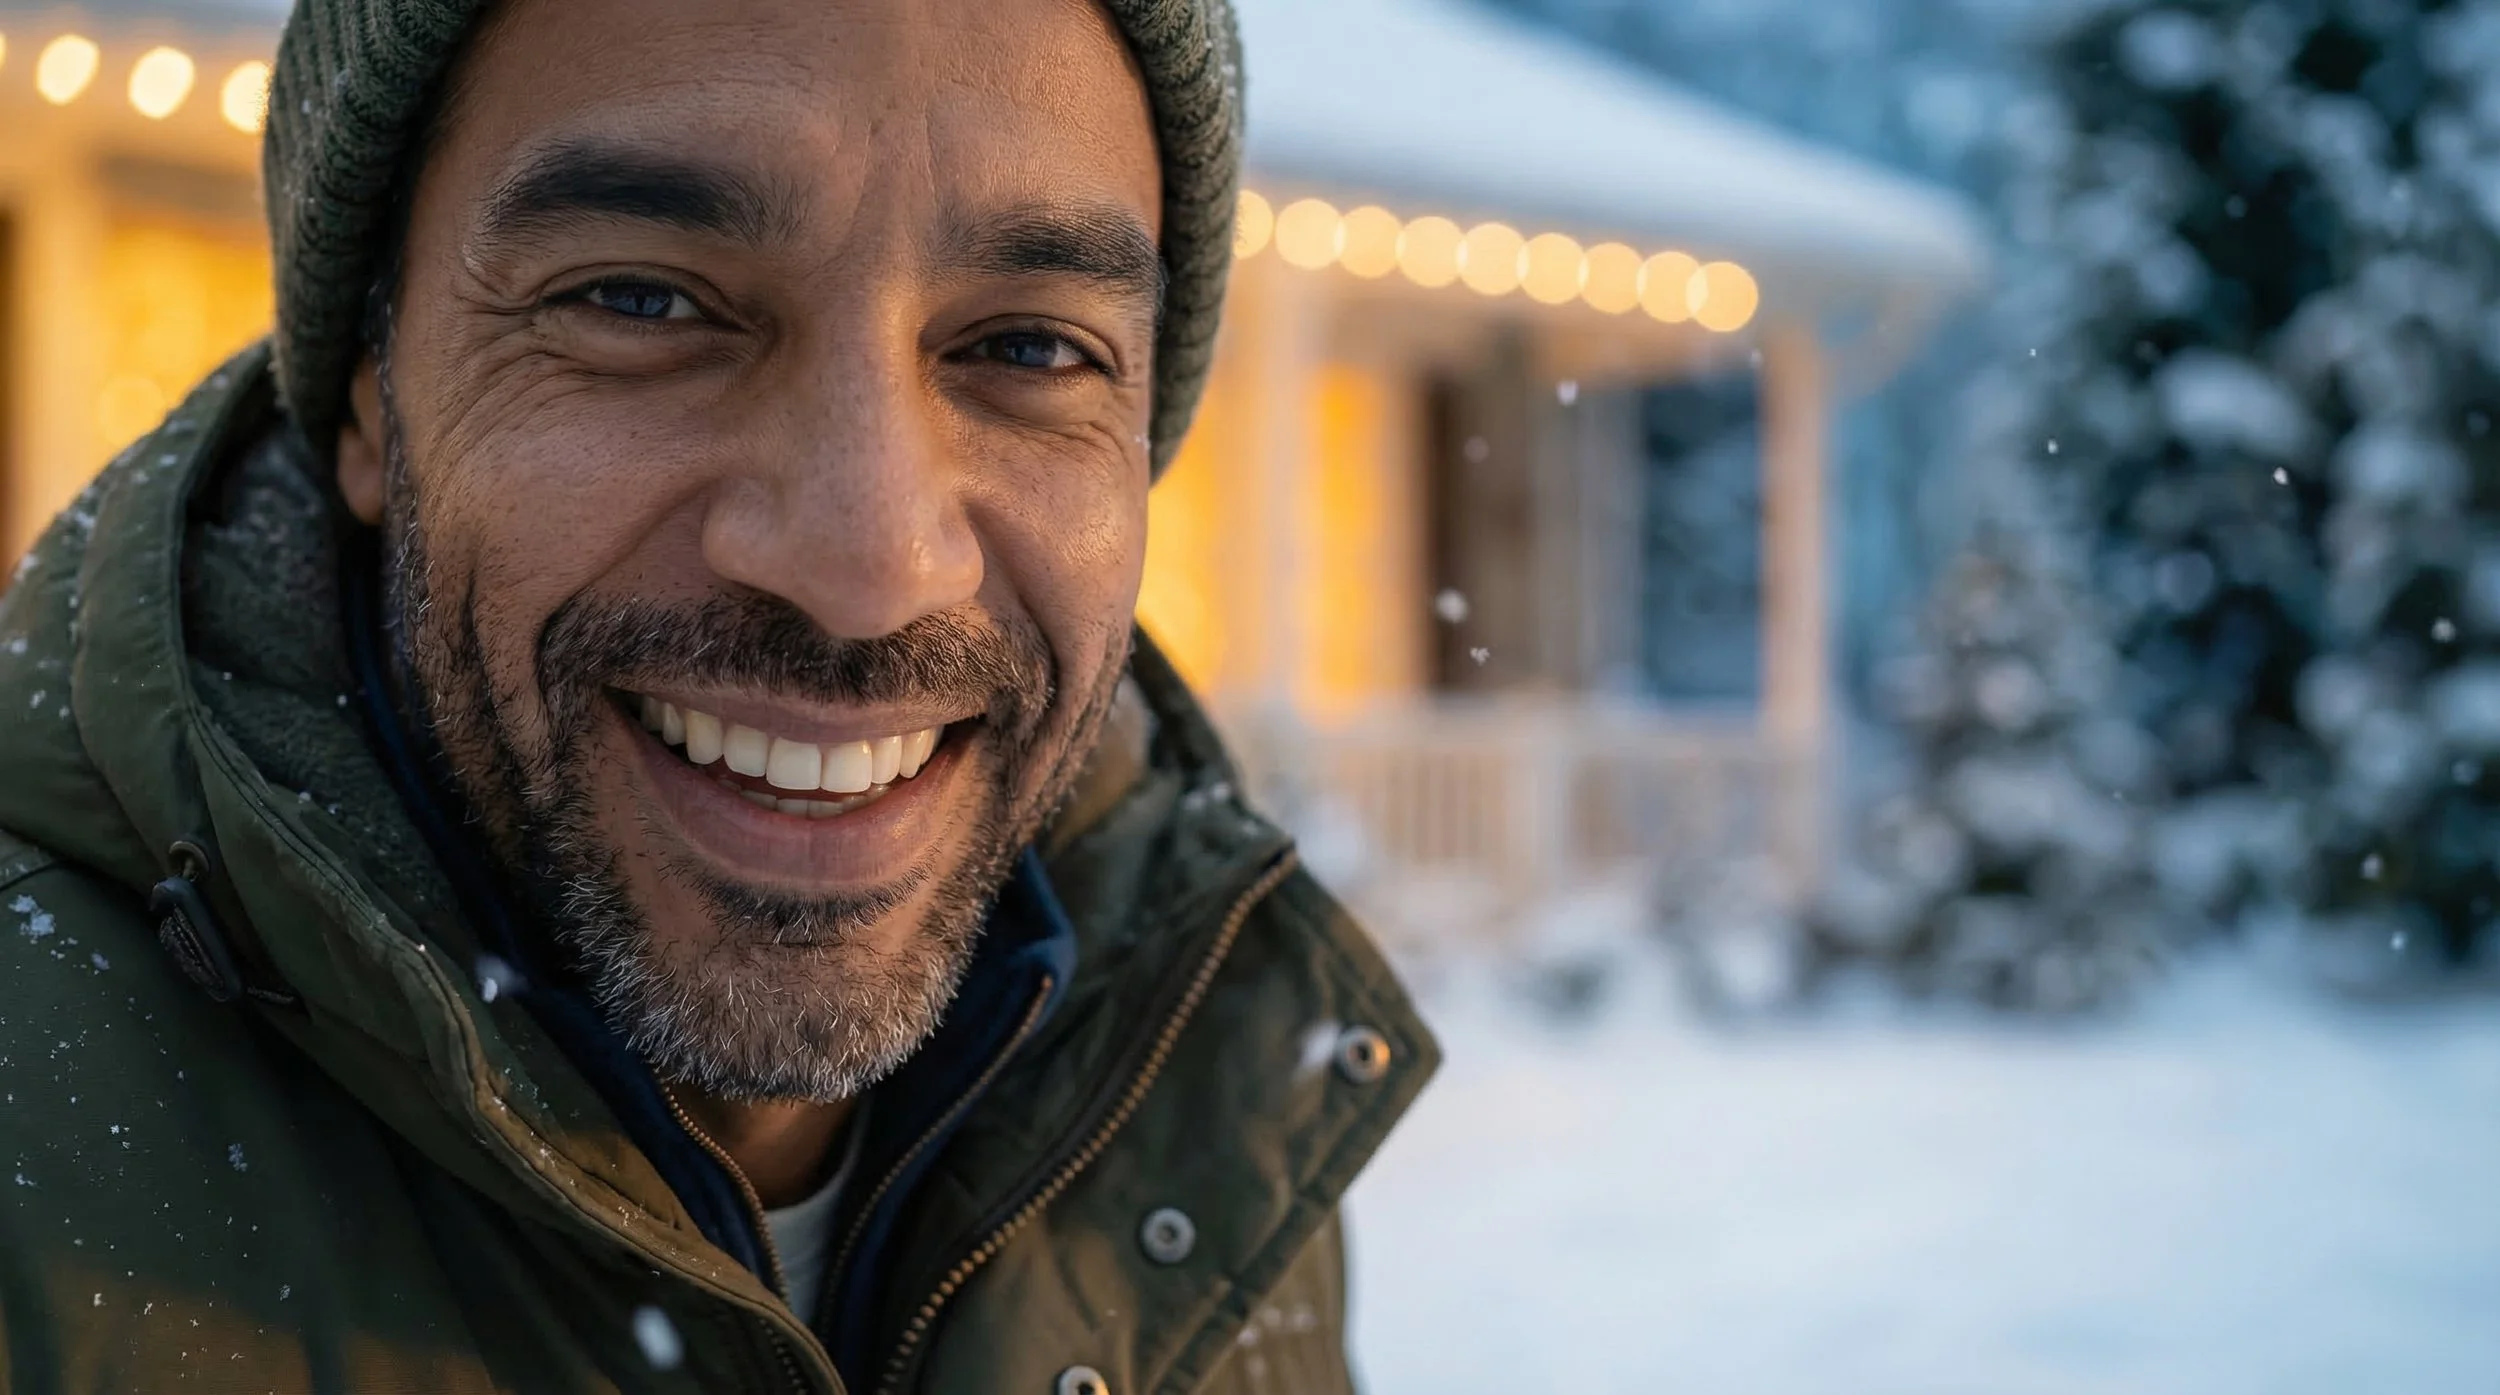
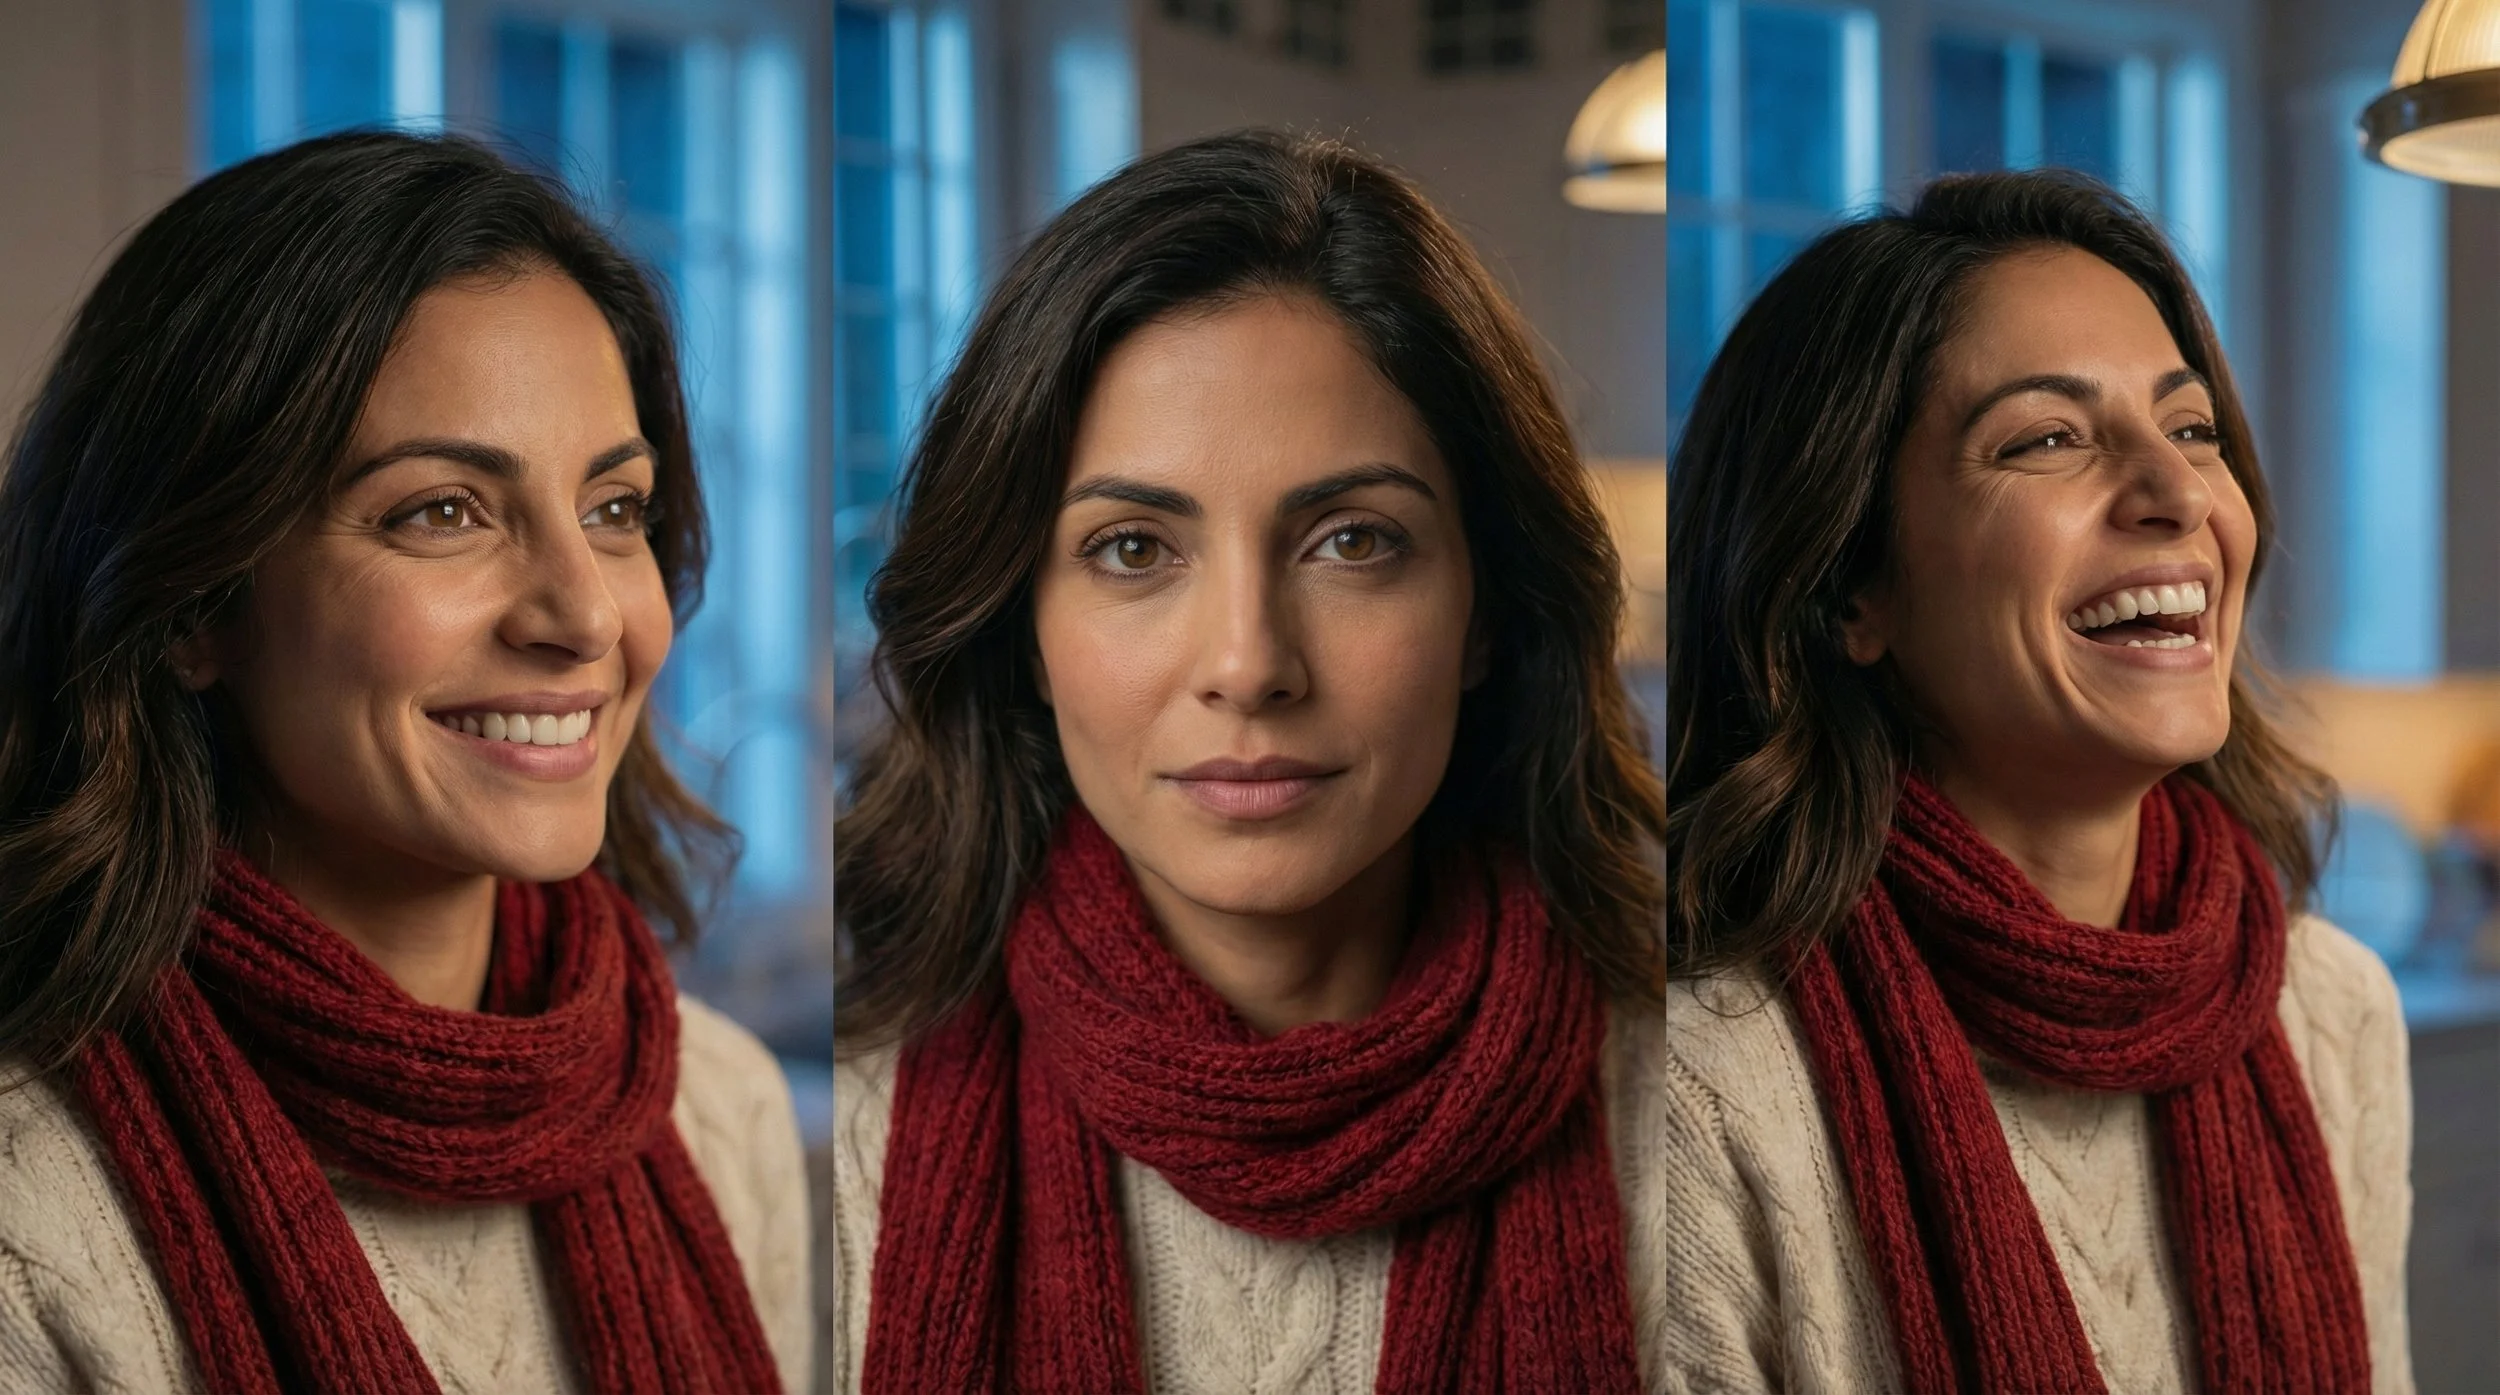
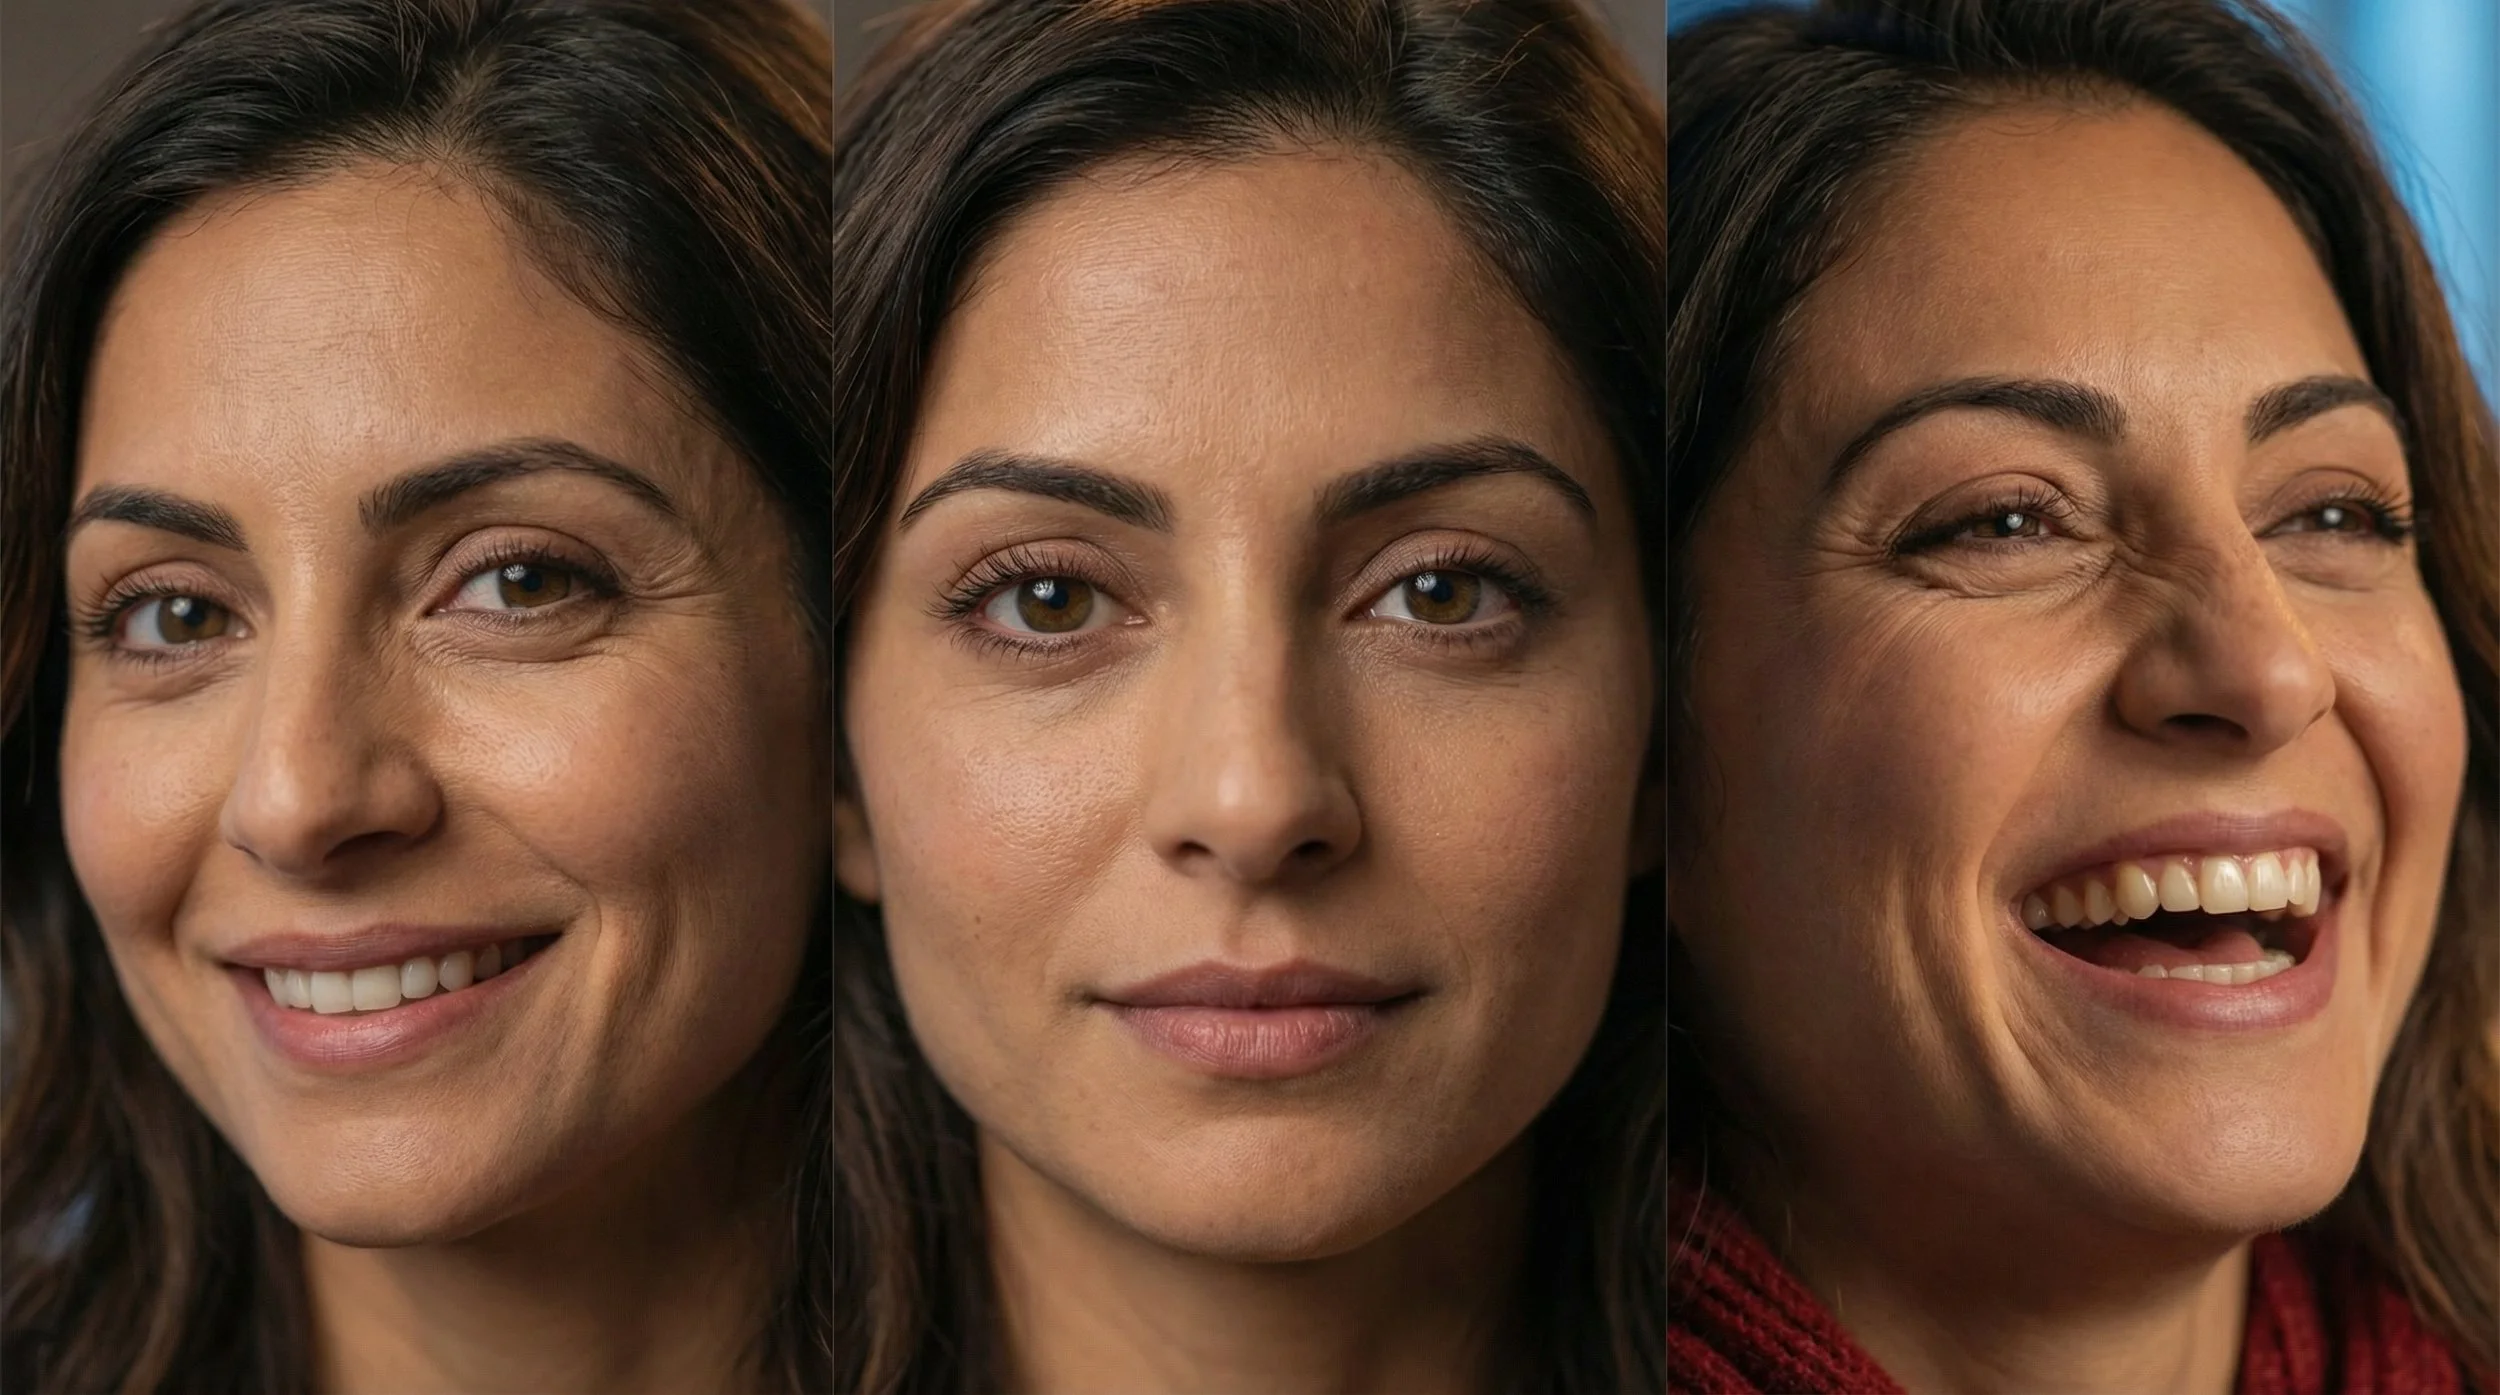
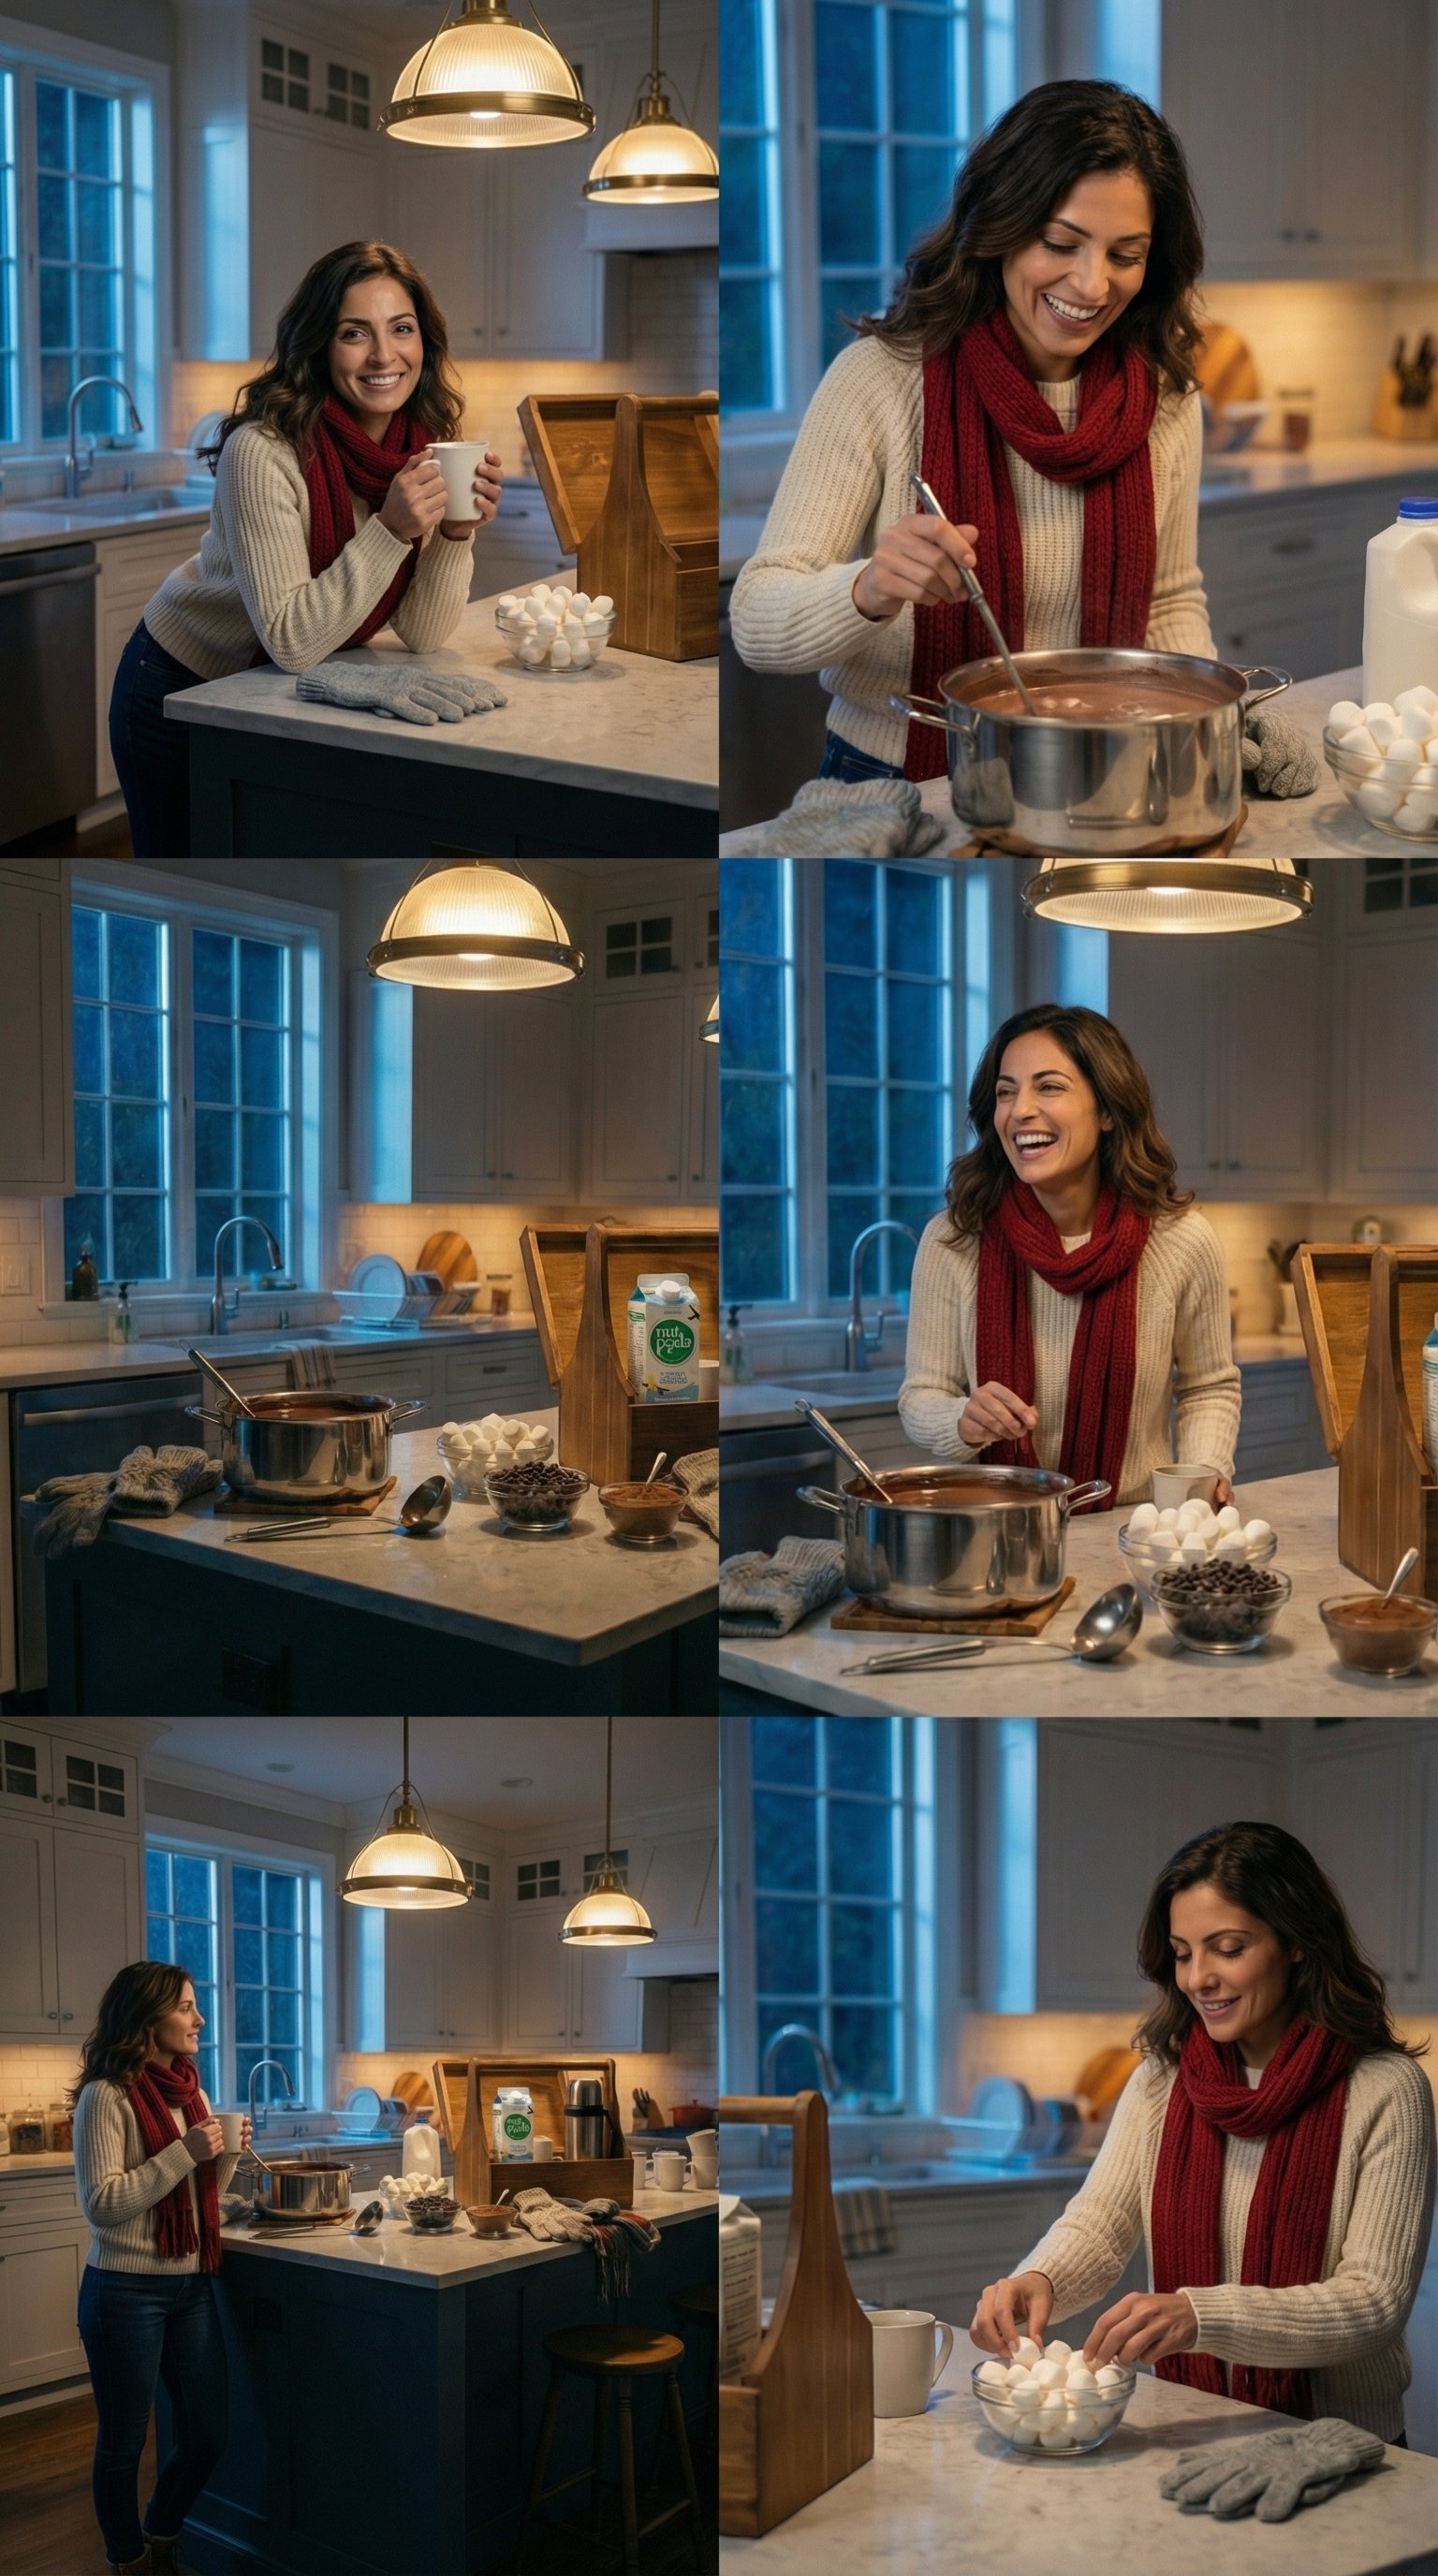
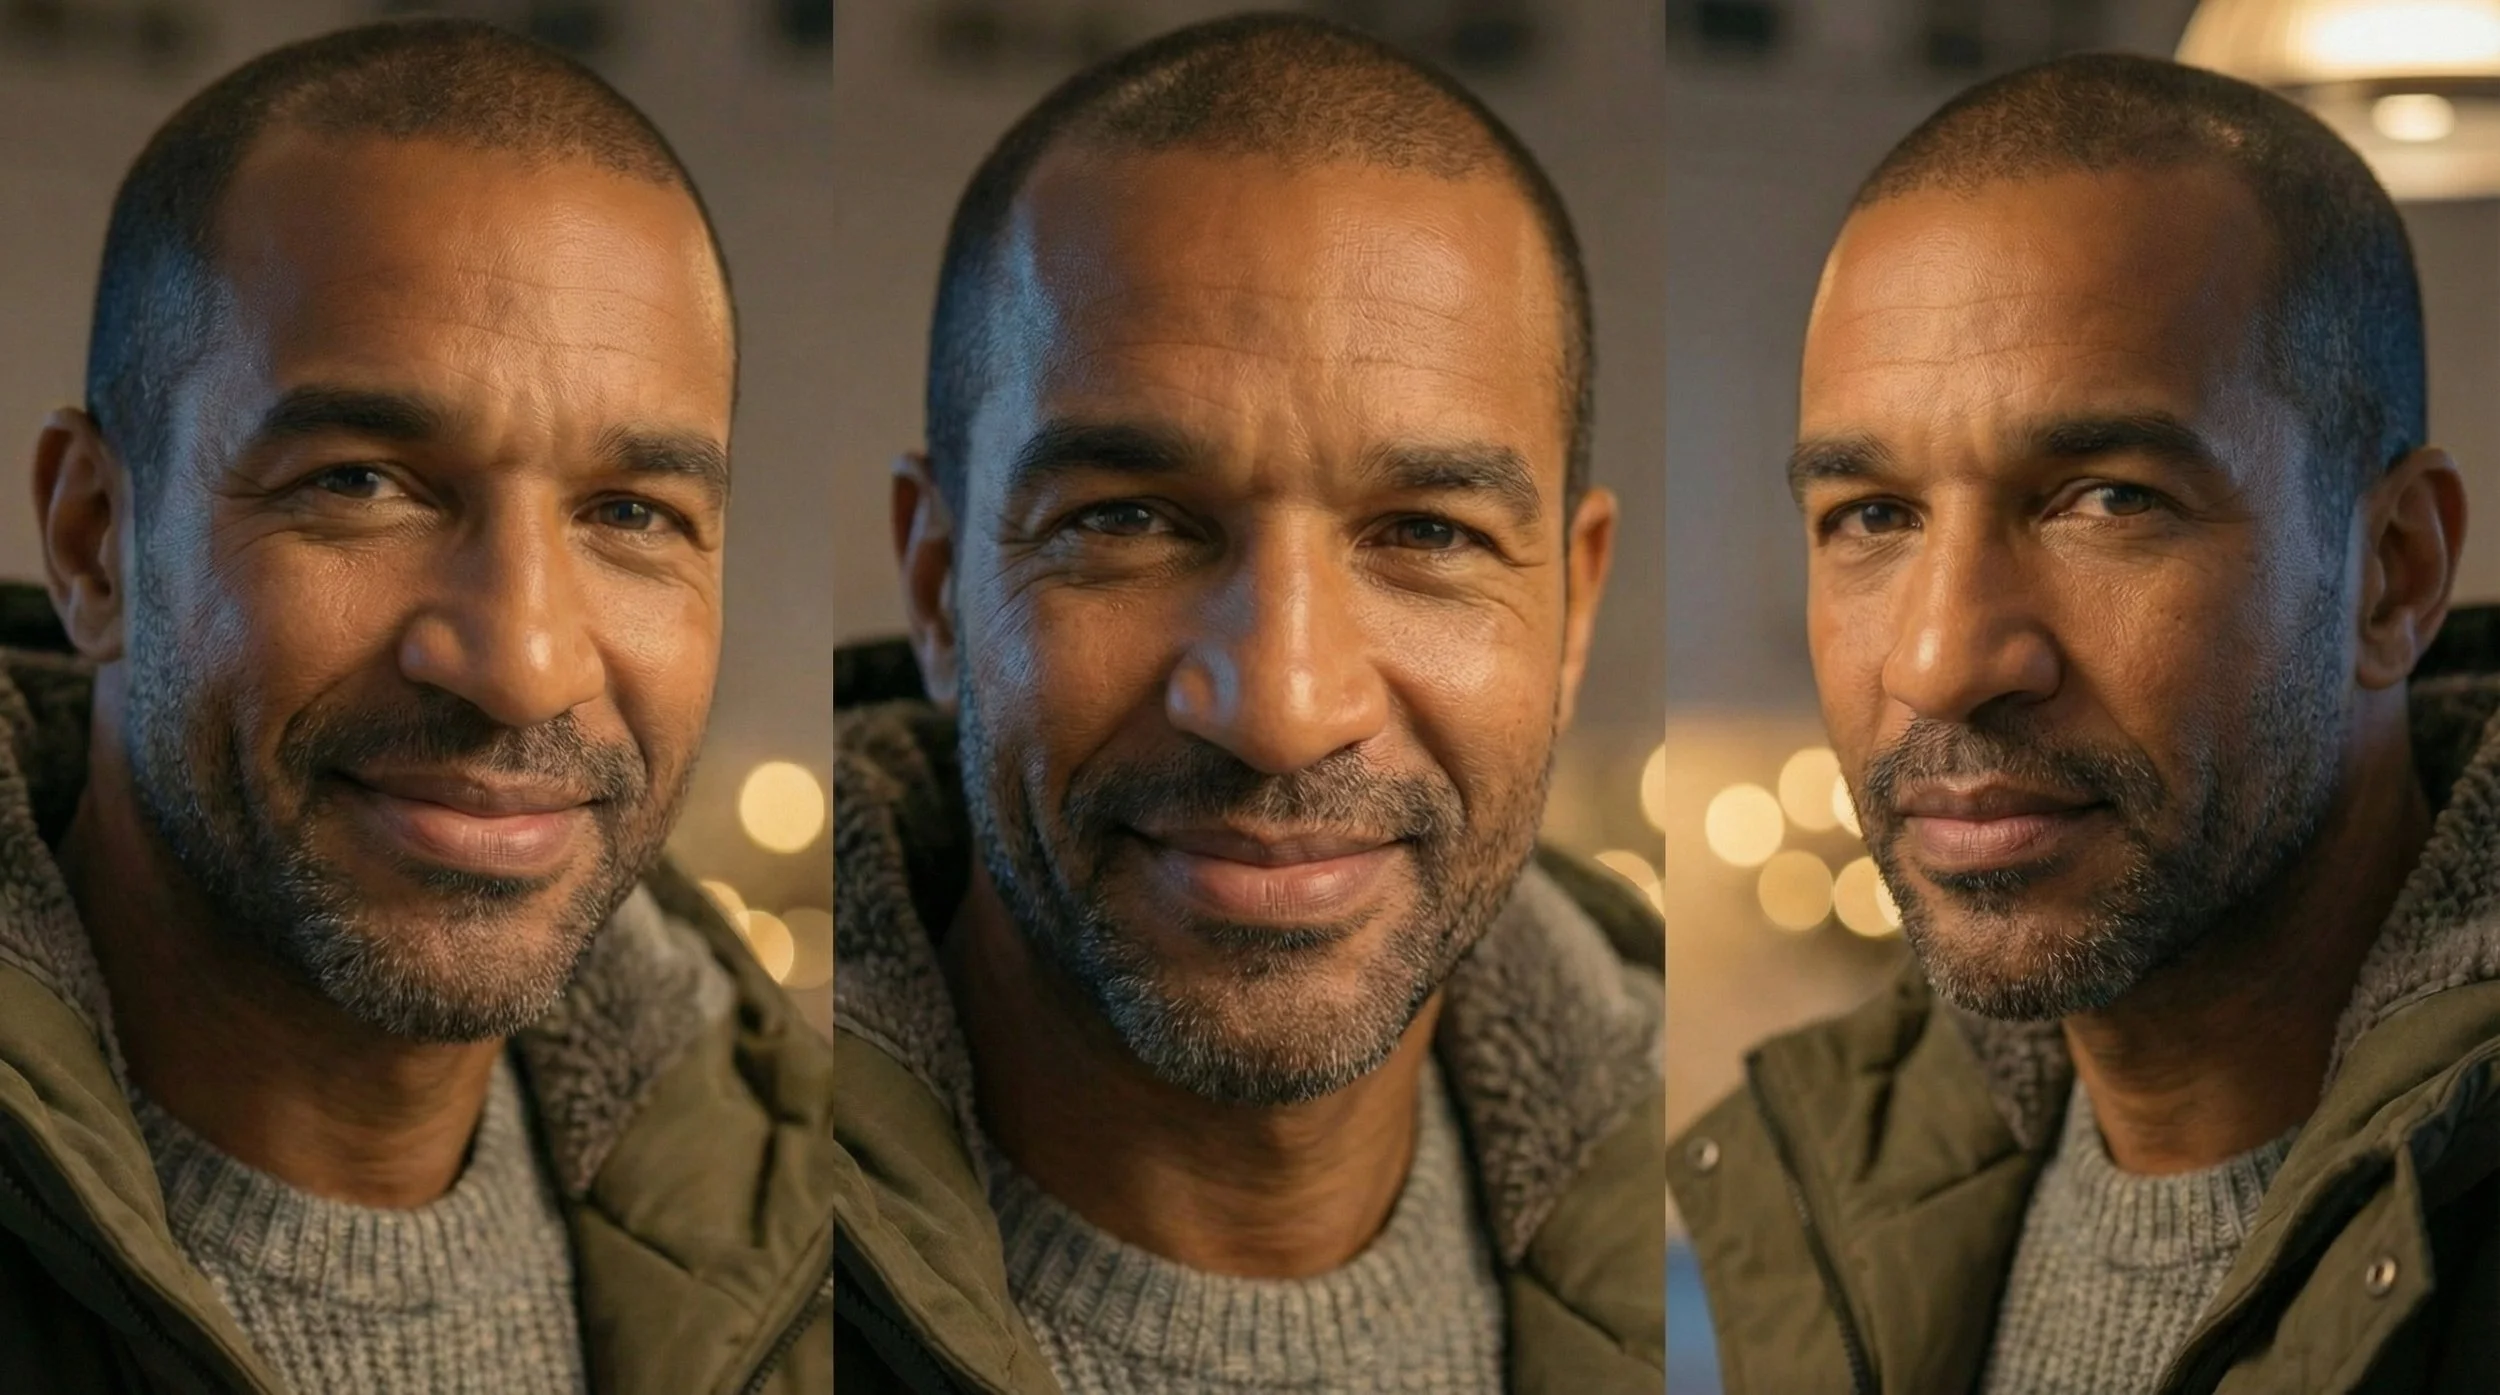
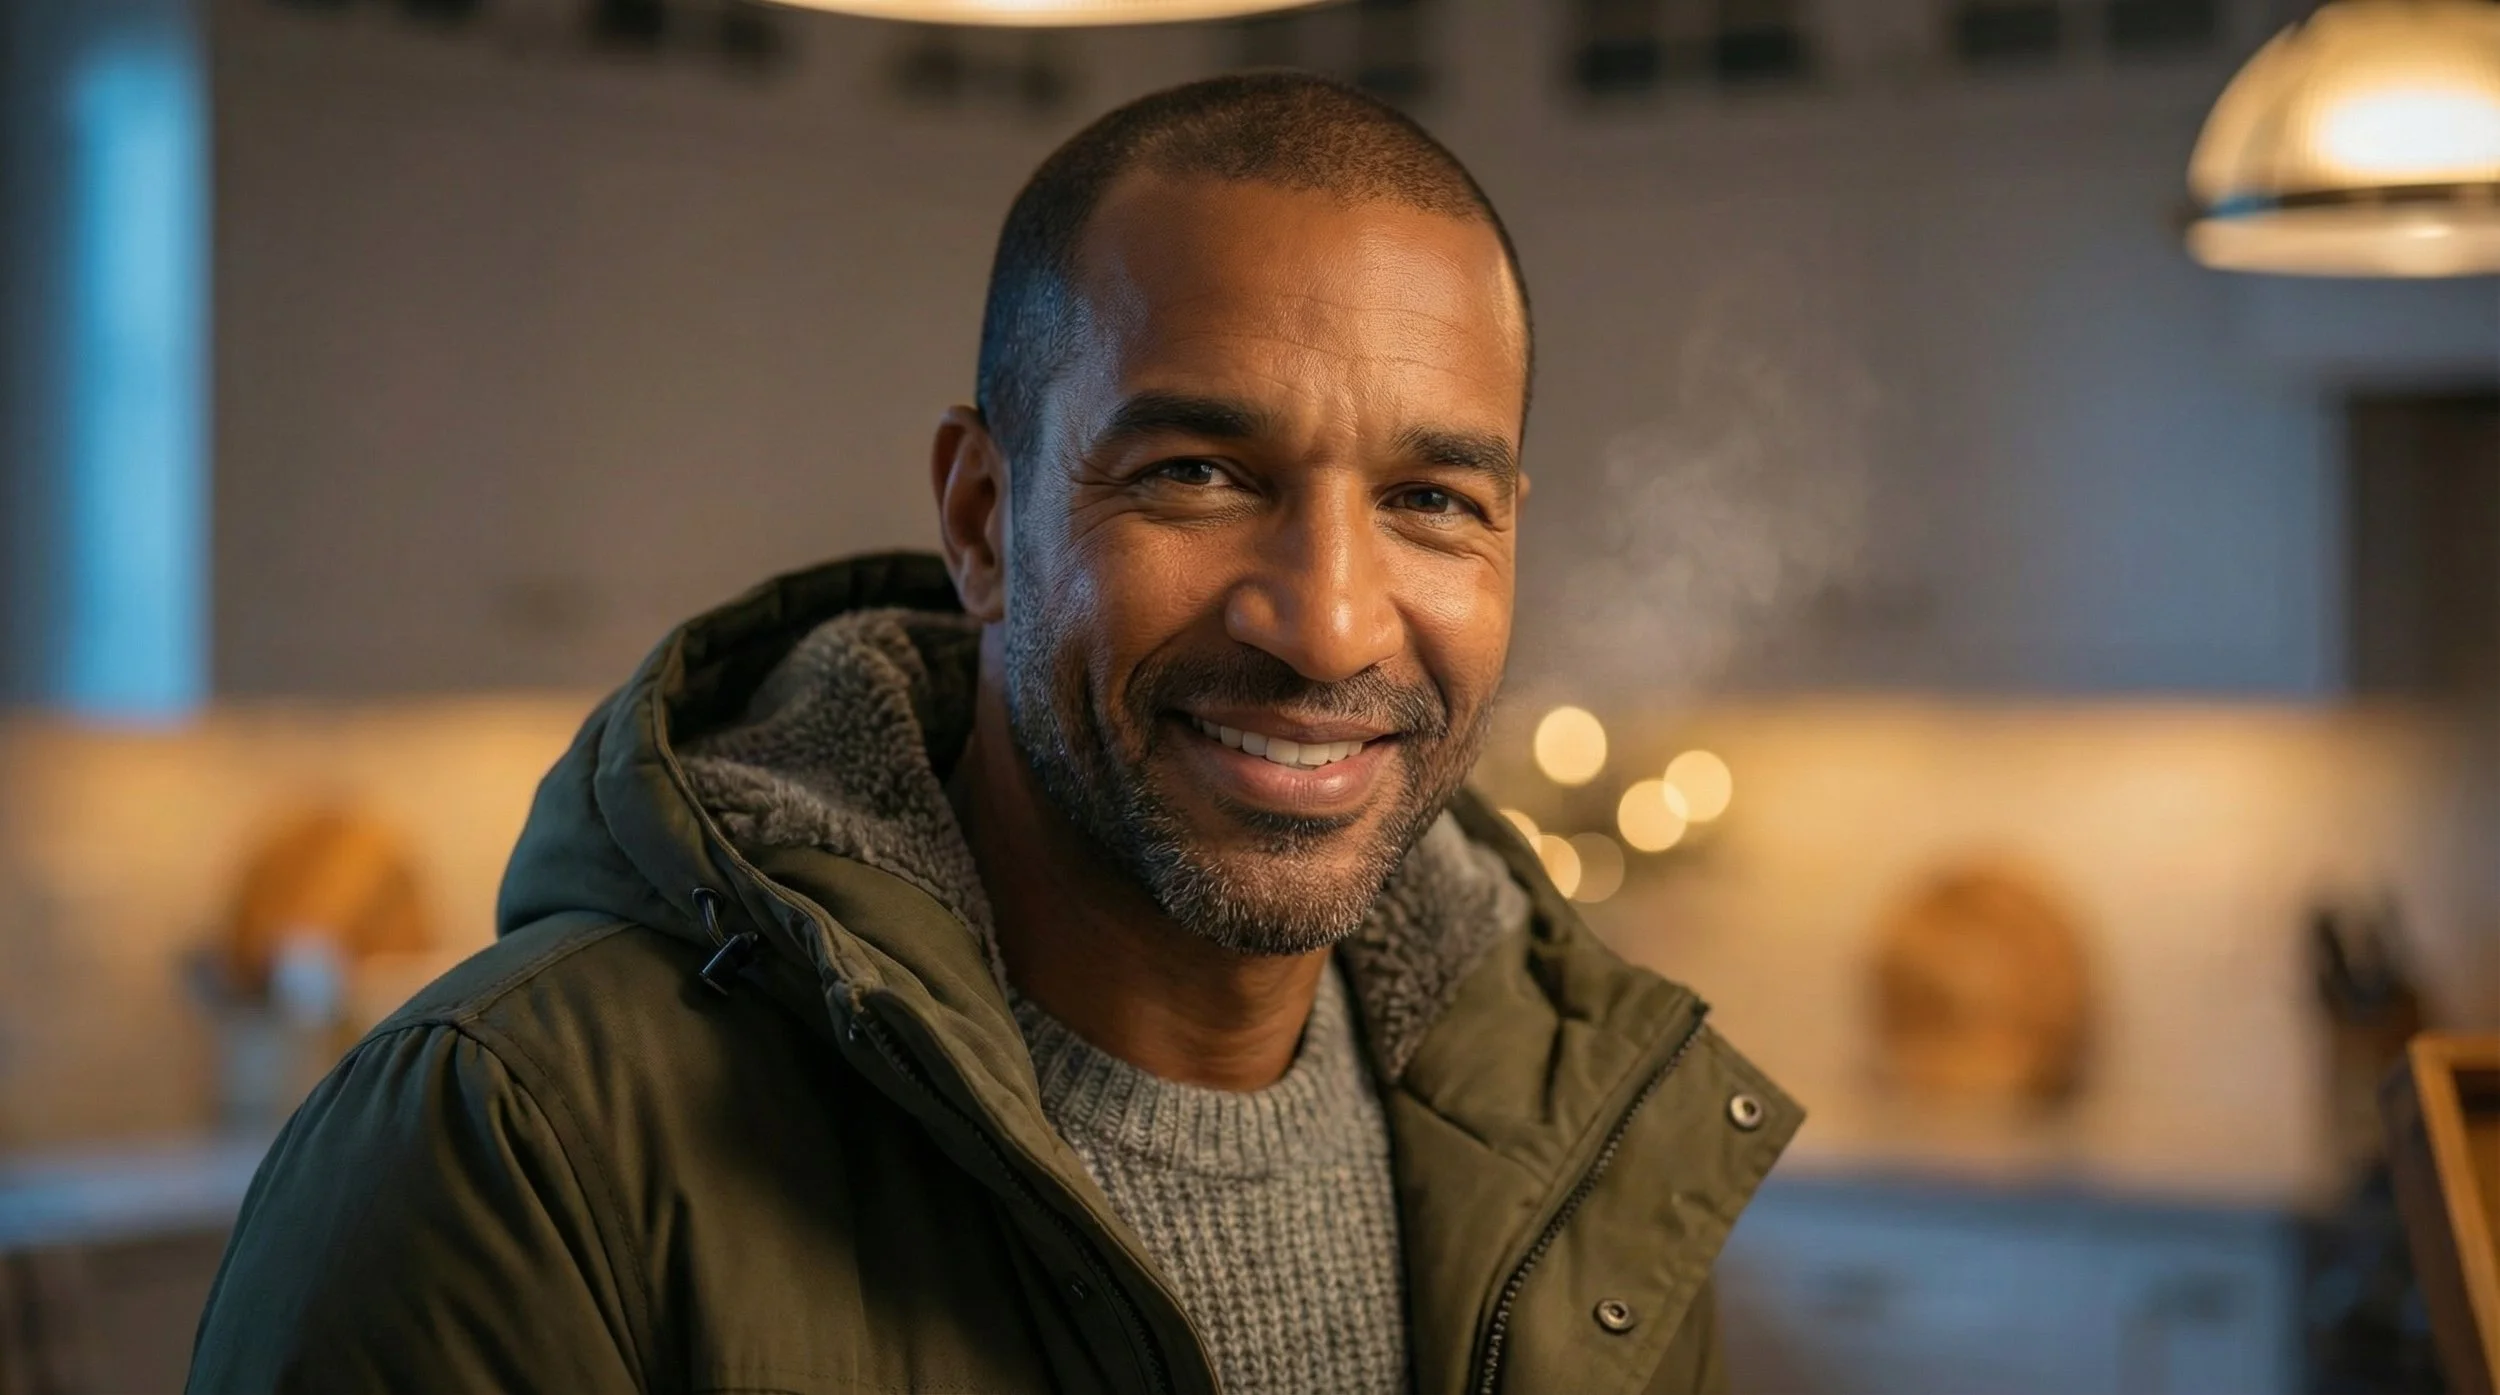
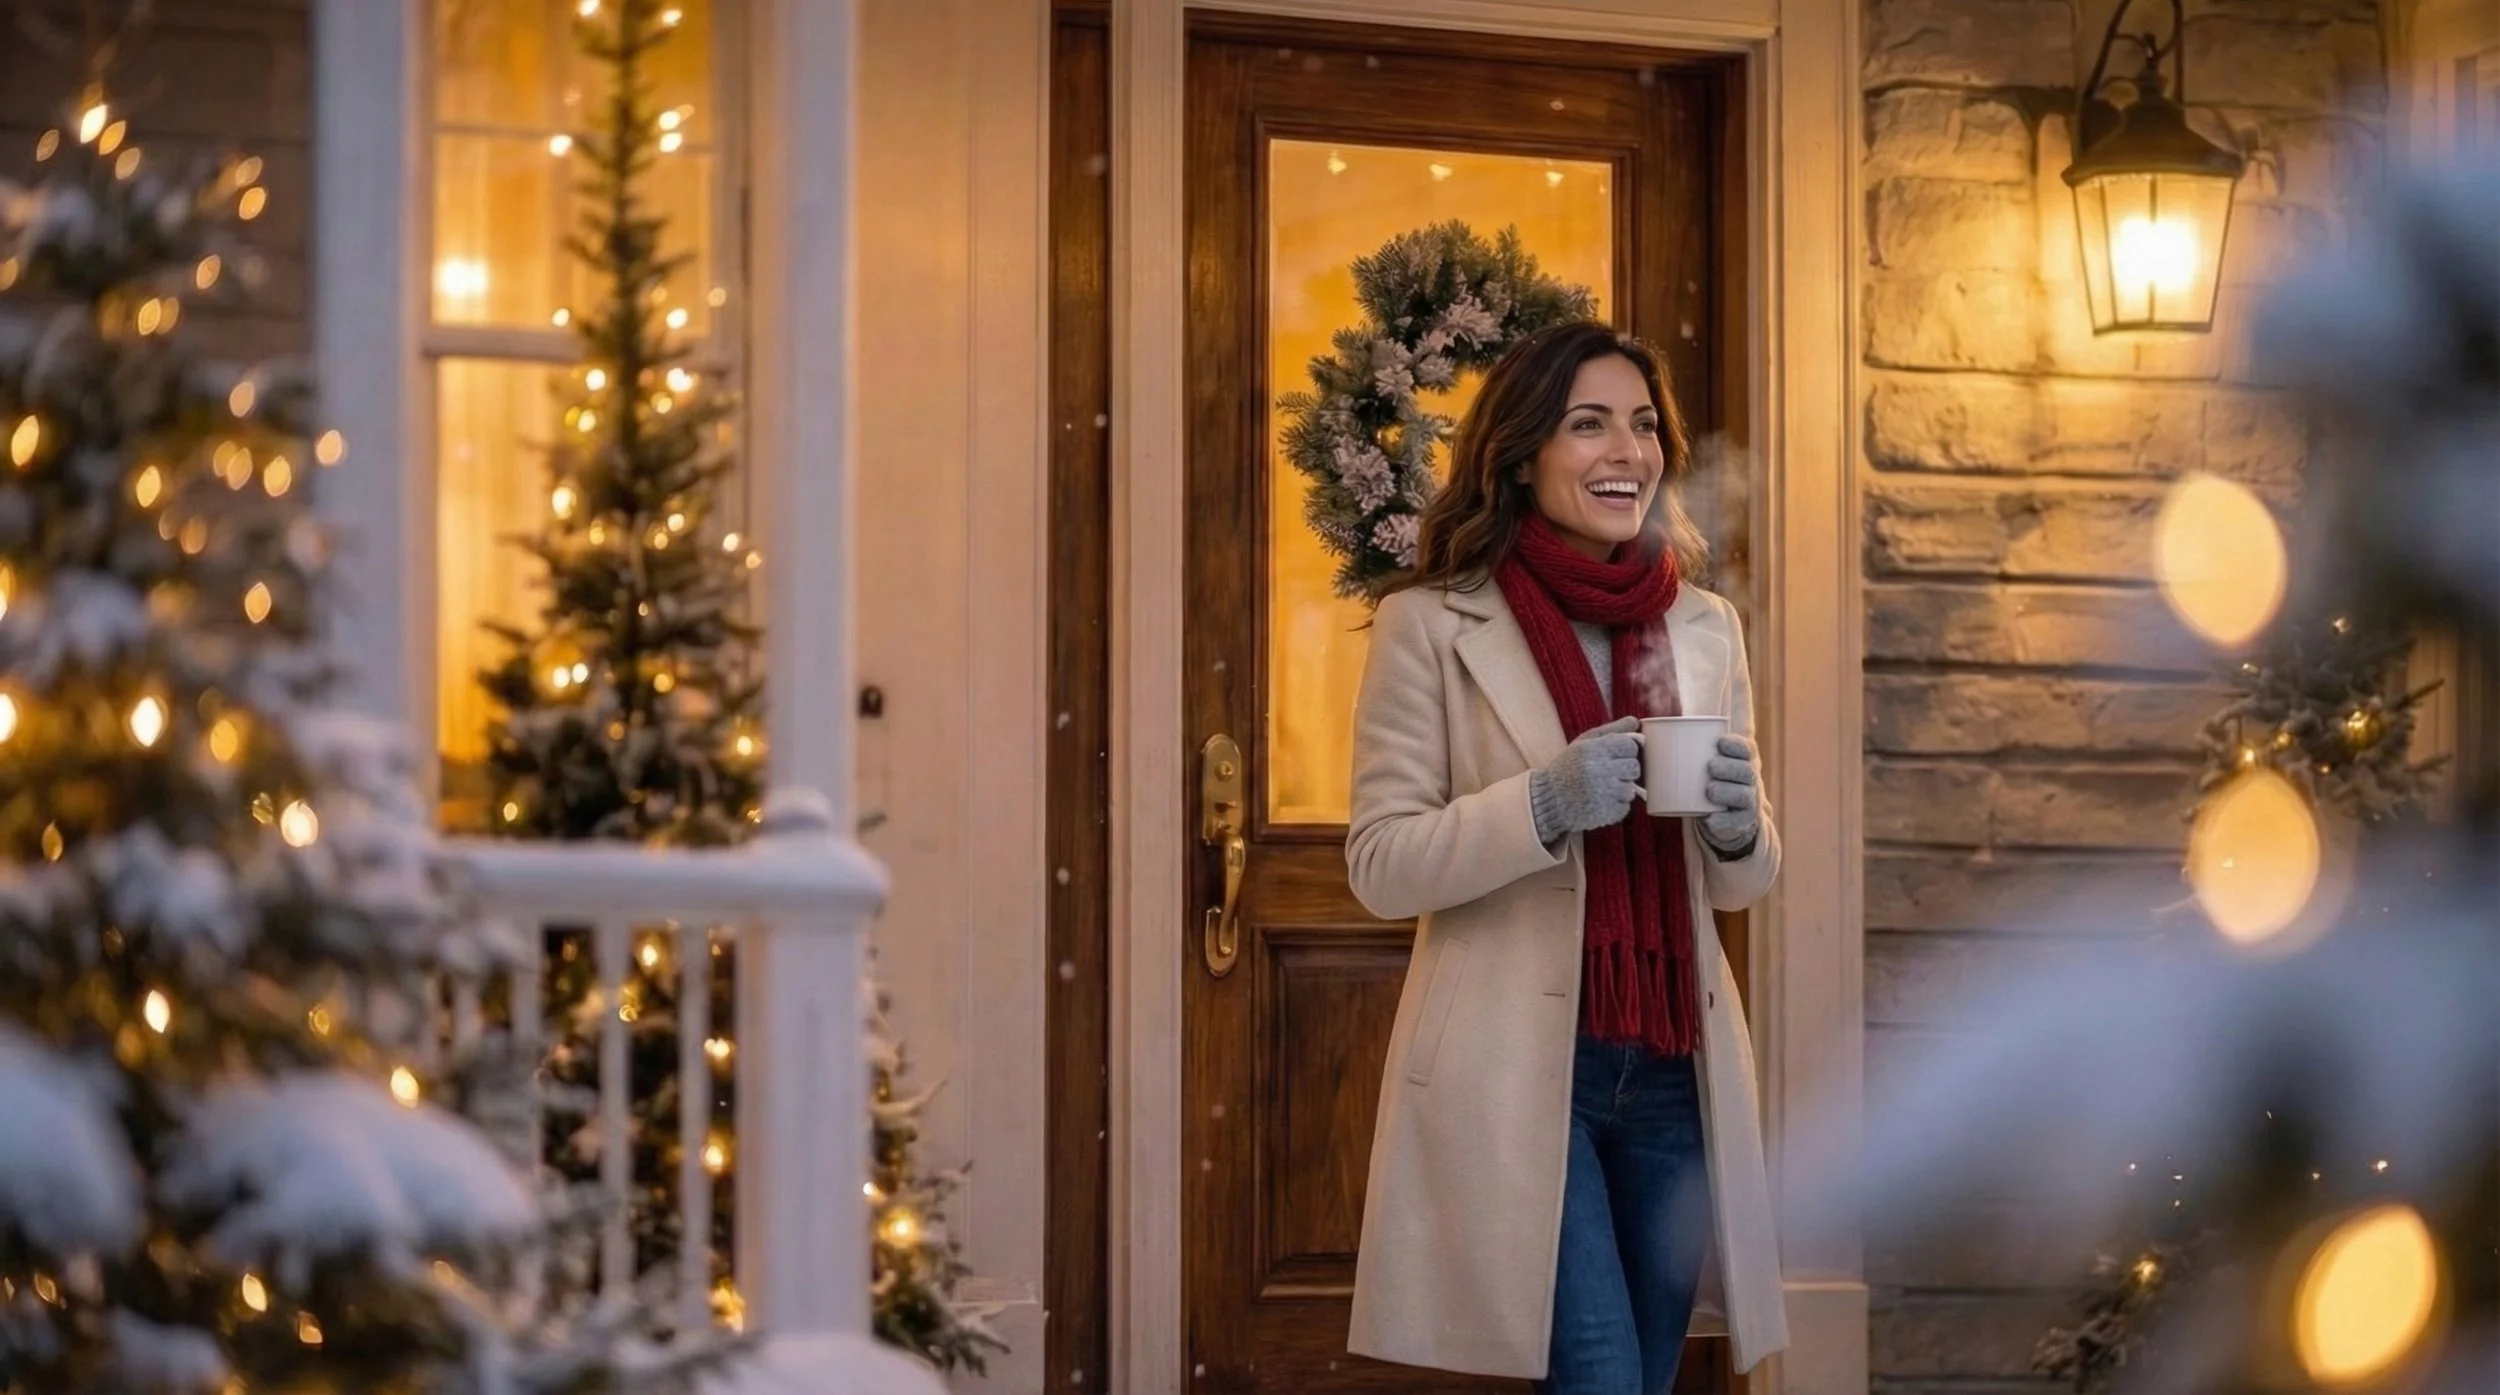
Facial characteristics, wardrobe, palette, expressions and useful performance poses were developed as reusable references. The daughter's plum coat, the father's olive parka and the mother's cream-and-red palette became simple visual anchors across shots.
Daughter — visual and expression exploration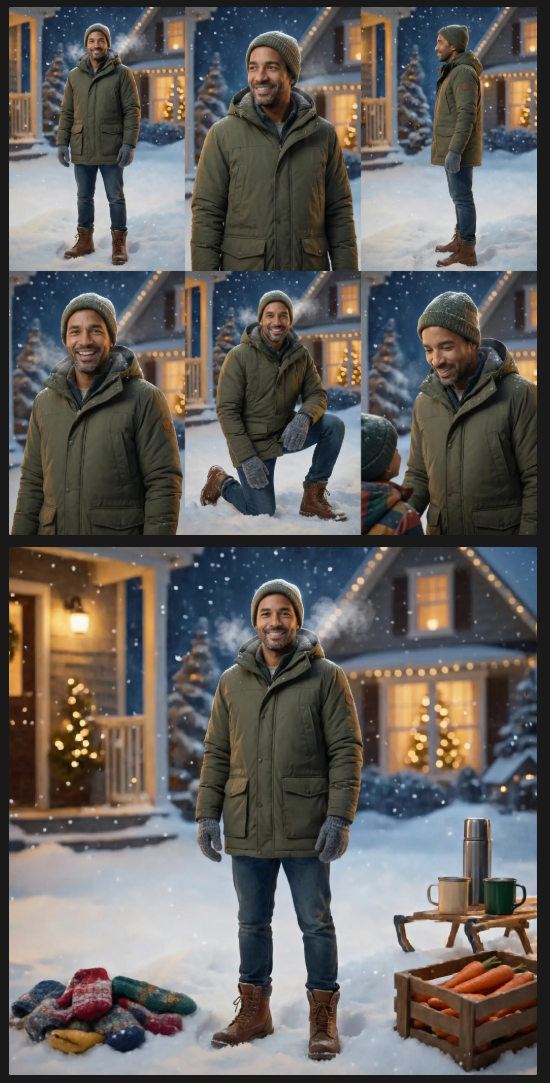 Father — repeatable wardrobe, angles and performance reference
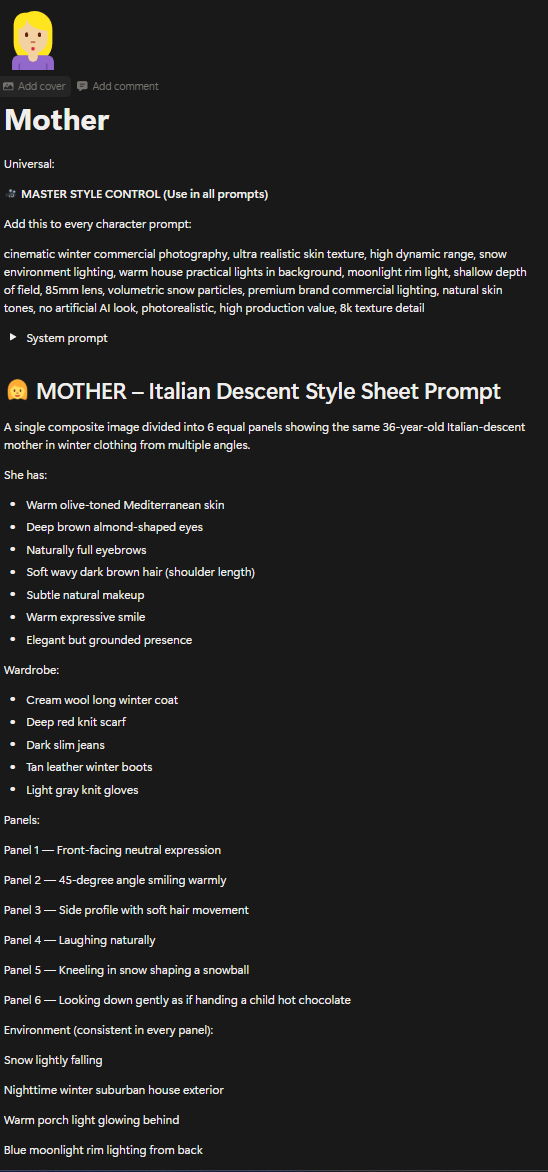 Mother — character brief and planned performance poses
“The references weren't just about preserving faces. They established a cast.”
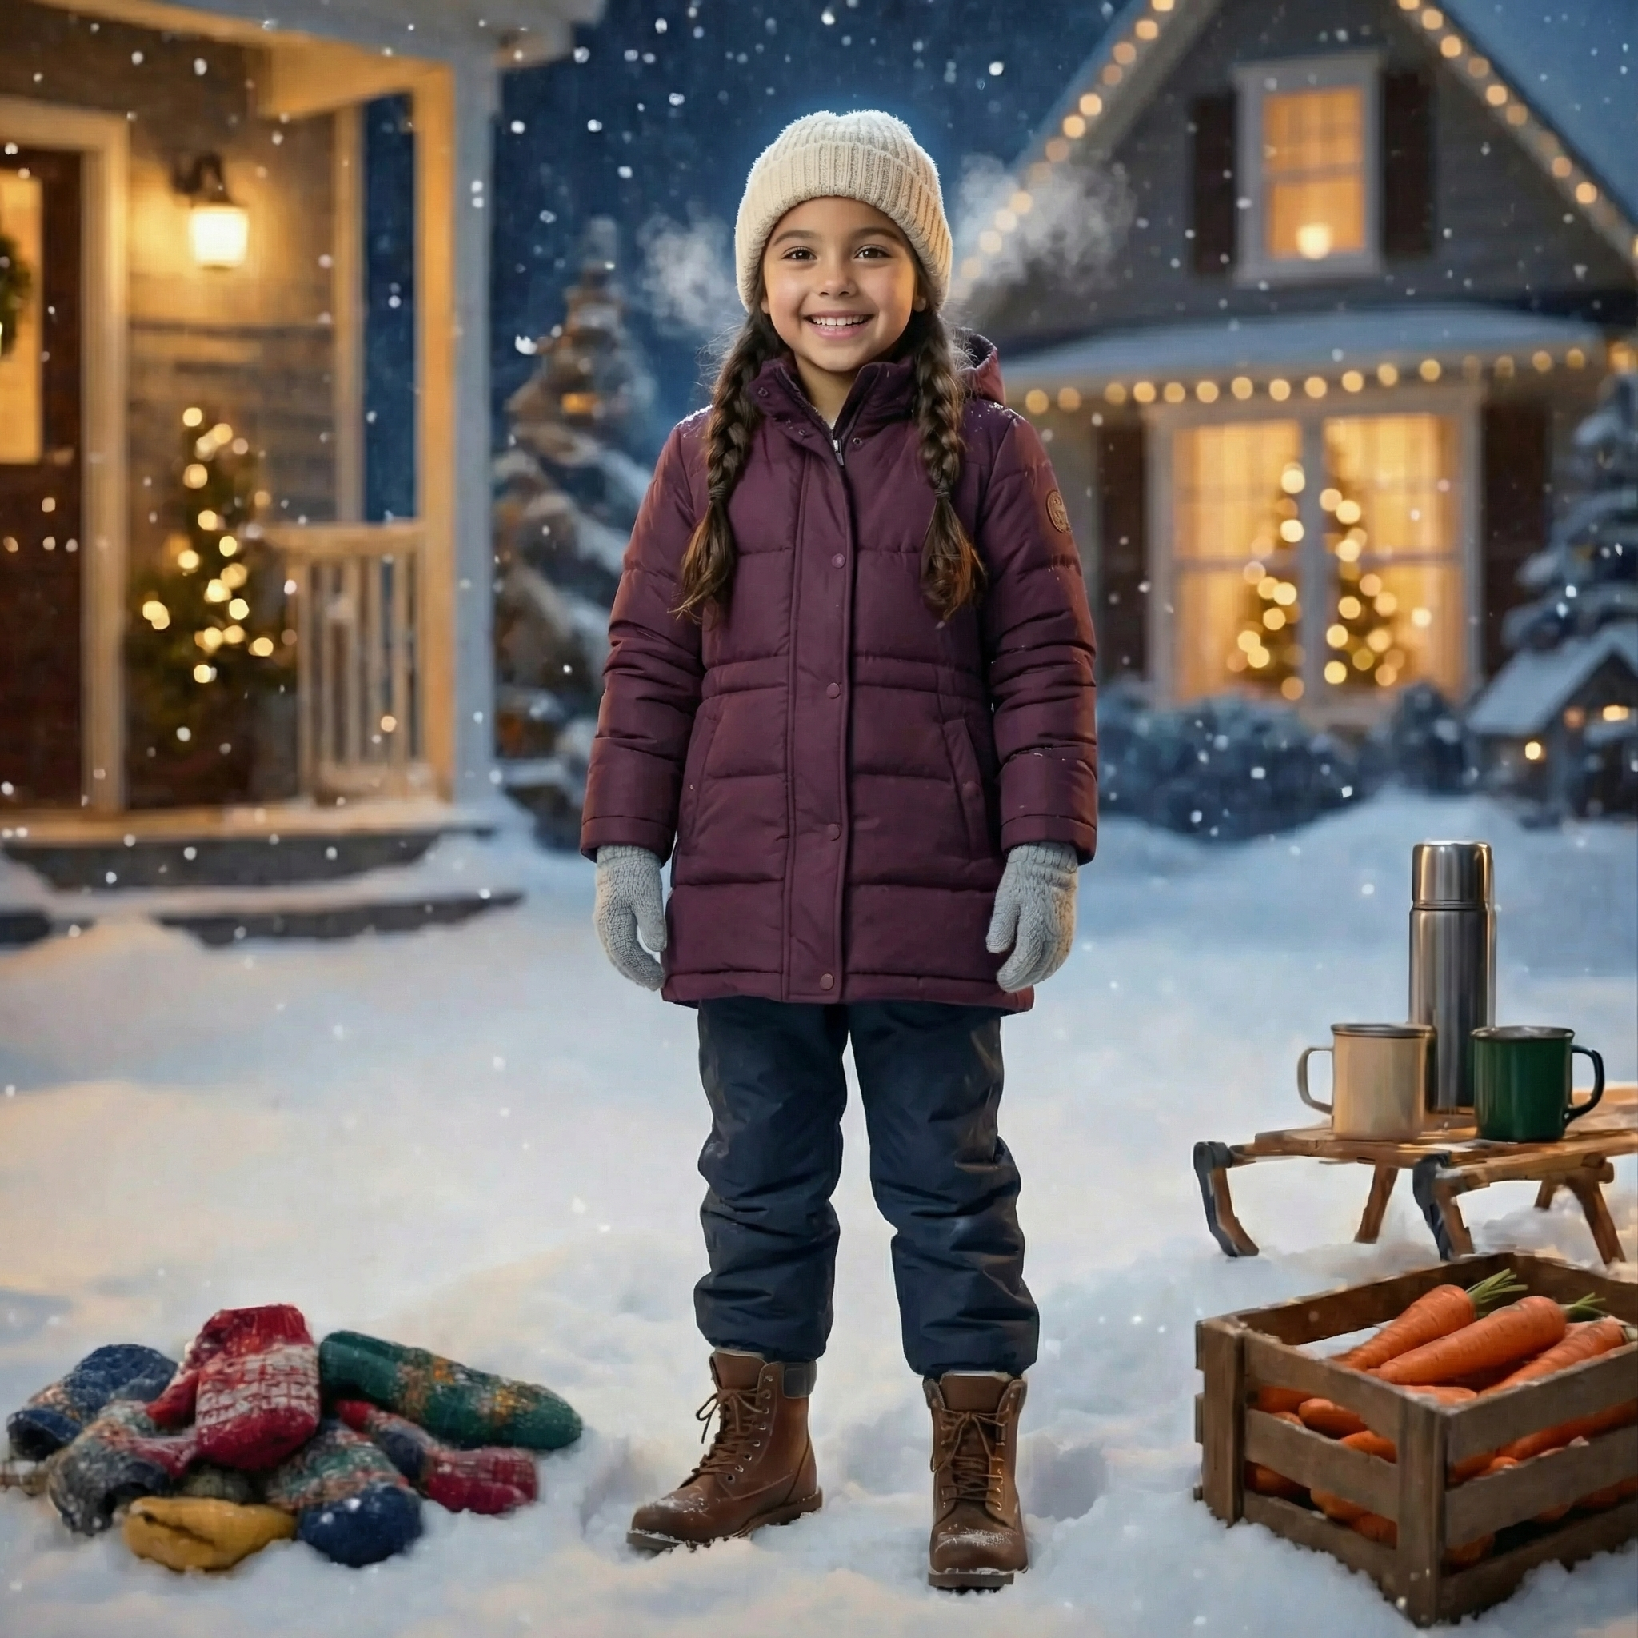
Design the shot before asking it to move.
For many scenes, the most important generative decision happened before video generation.
Still-image models established the composition, character placement, wardrobe, lighting and lens language. Those frames then became image-to-video references for different motion models. I selected the model based on the problem rather than forcing one model across the whole commercial.
The workflow changed as the tools changed.
The project wasn't built around one model. I kept rebuilding the pipeline as new tools gave me more control.
Early local/open experiments were useful for learning motion and testing ideas quickly. Image-generation workflows then became a way to art-direct the first frame with much more precision. Later, reference-driven Kling workflows created the biggest change in how directly I could control a finished shot.
Local motion studies
LTX-2 and Wan 2.2 let me prototype motion, timing and product ideas locally in ComfyUI. These tests were useful even when the output wasn't yet the final-quality shot.
Control the source frame
Nano Banana / Gemini Image inside ComfyUI made it easier to combine several visual references and build a deliberate starting frame before committing to animation.
Reference-driven video
Kling O3 References and Elements became the major control breakthrough: character, environment and object references could stay part of the instruction instead of depending on a single first frame.
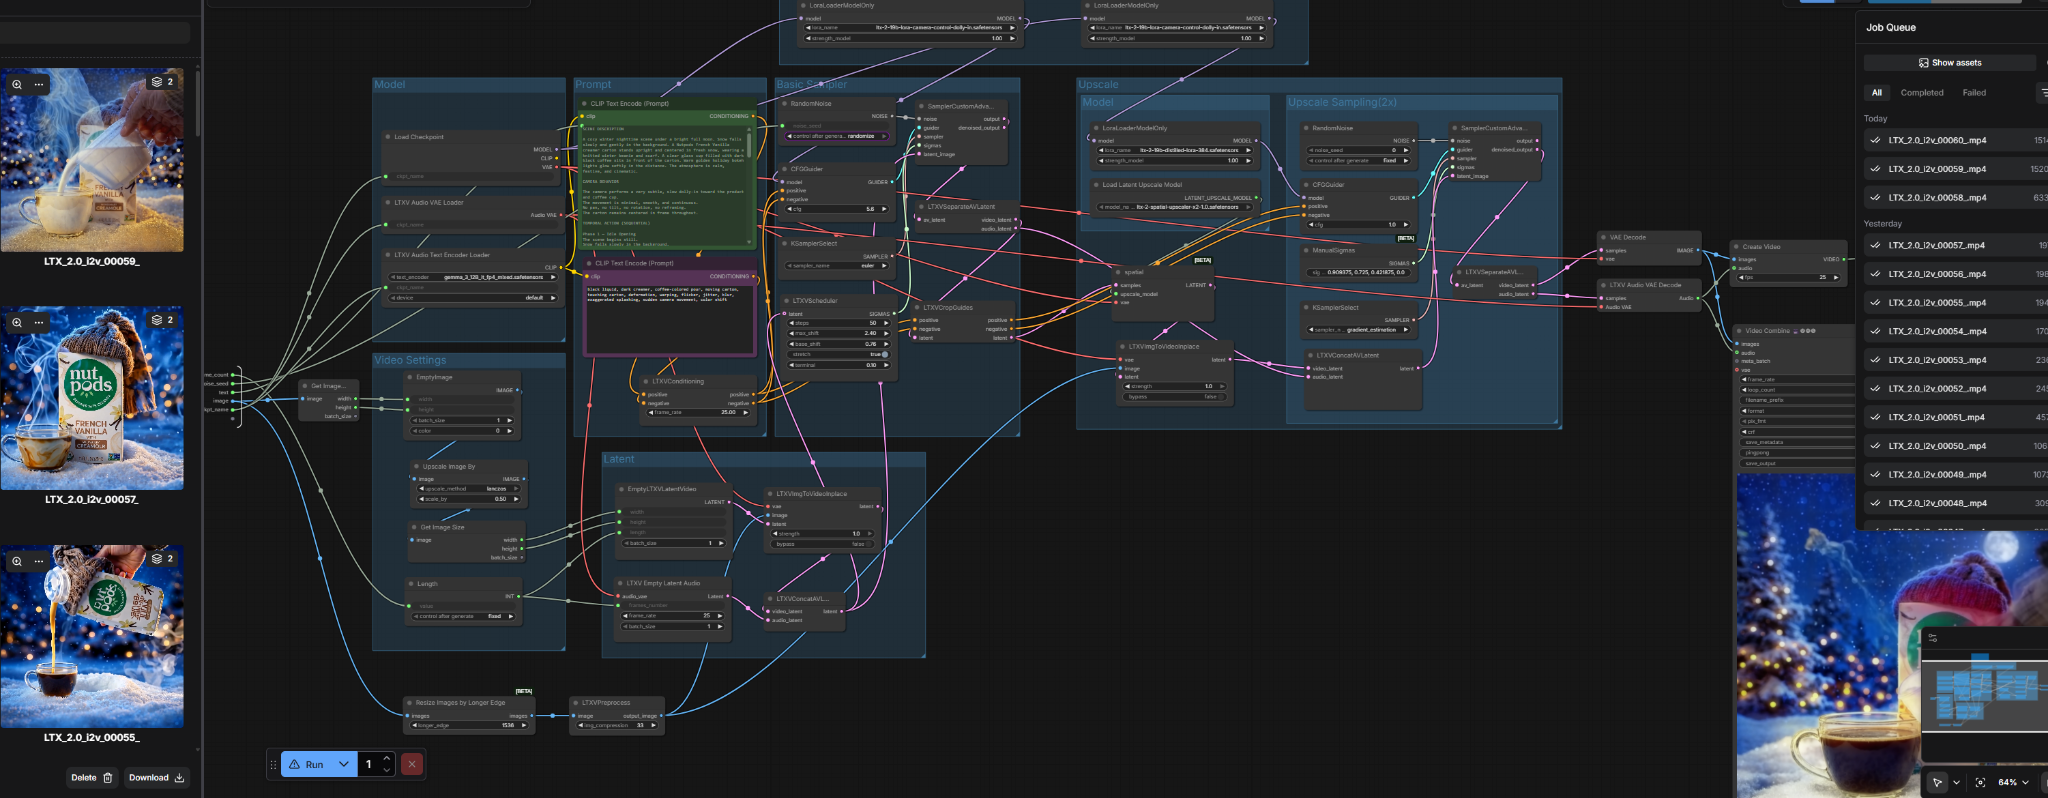
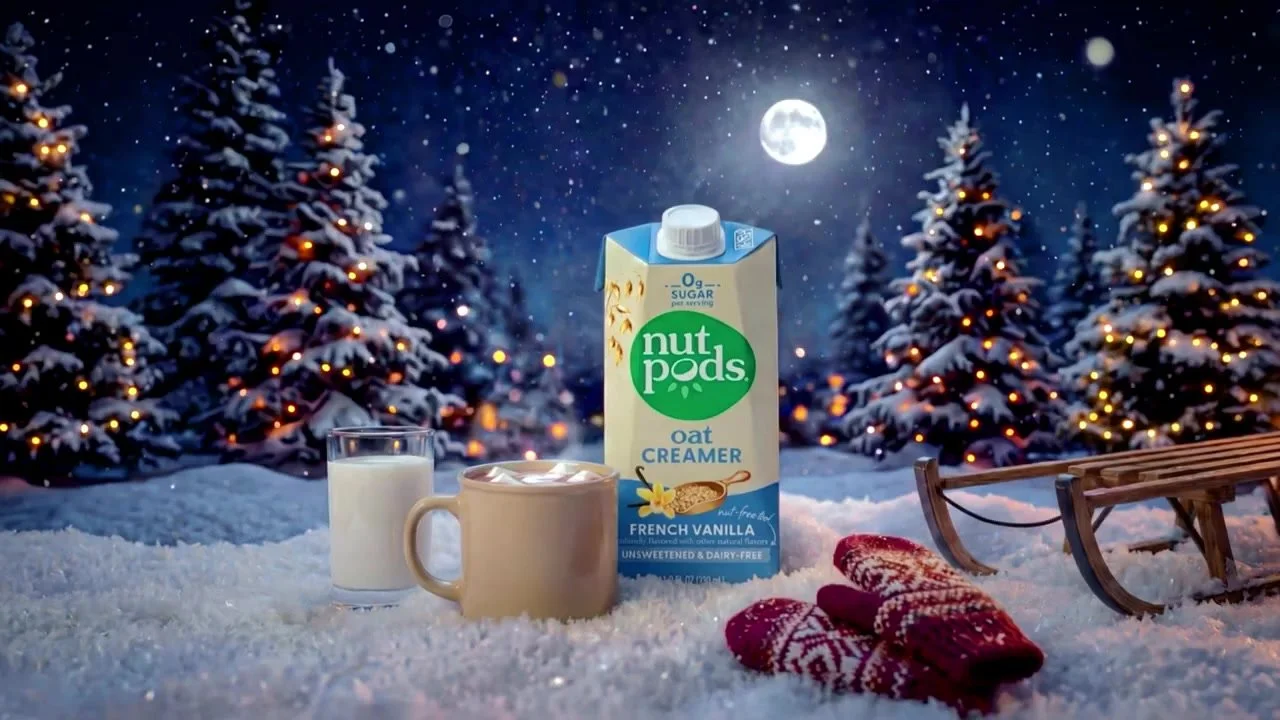
LTX-2 · early endtag exploration
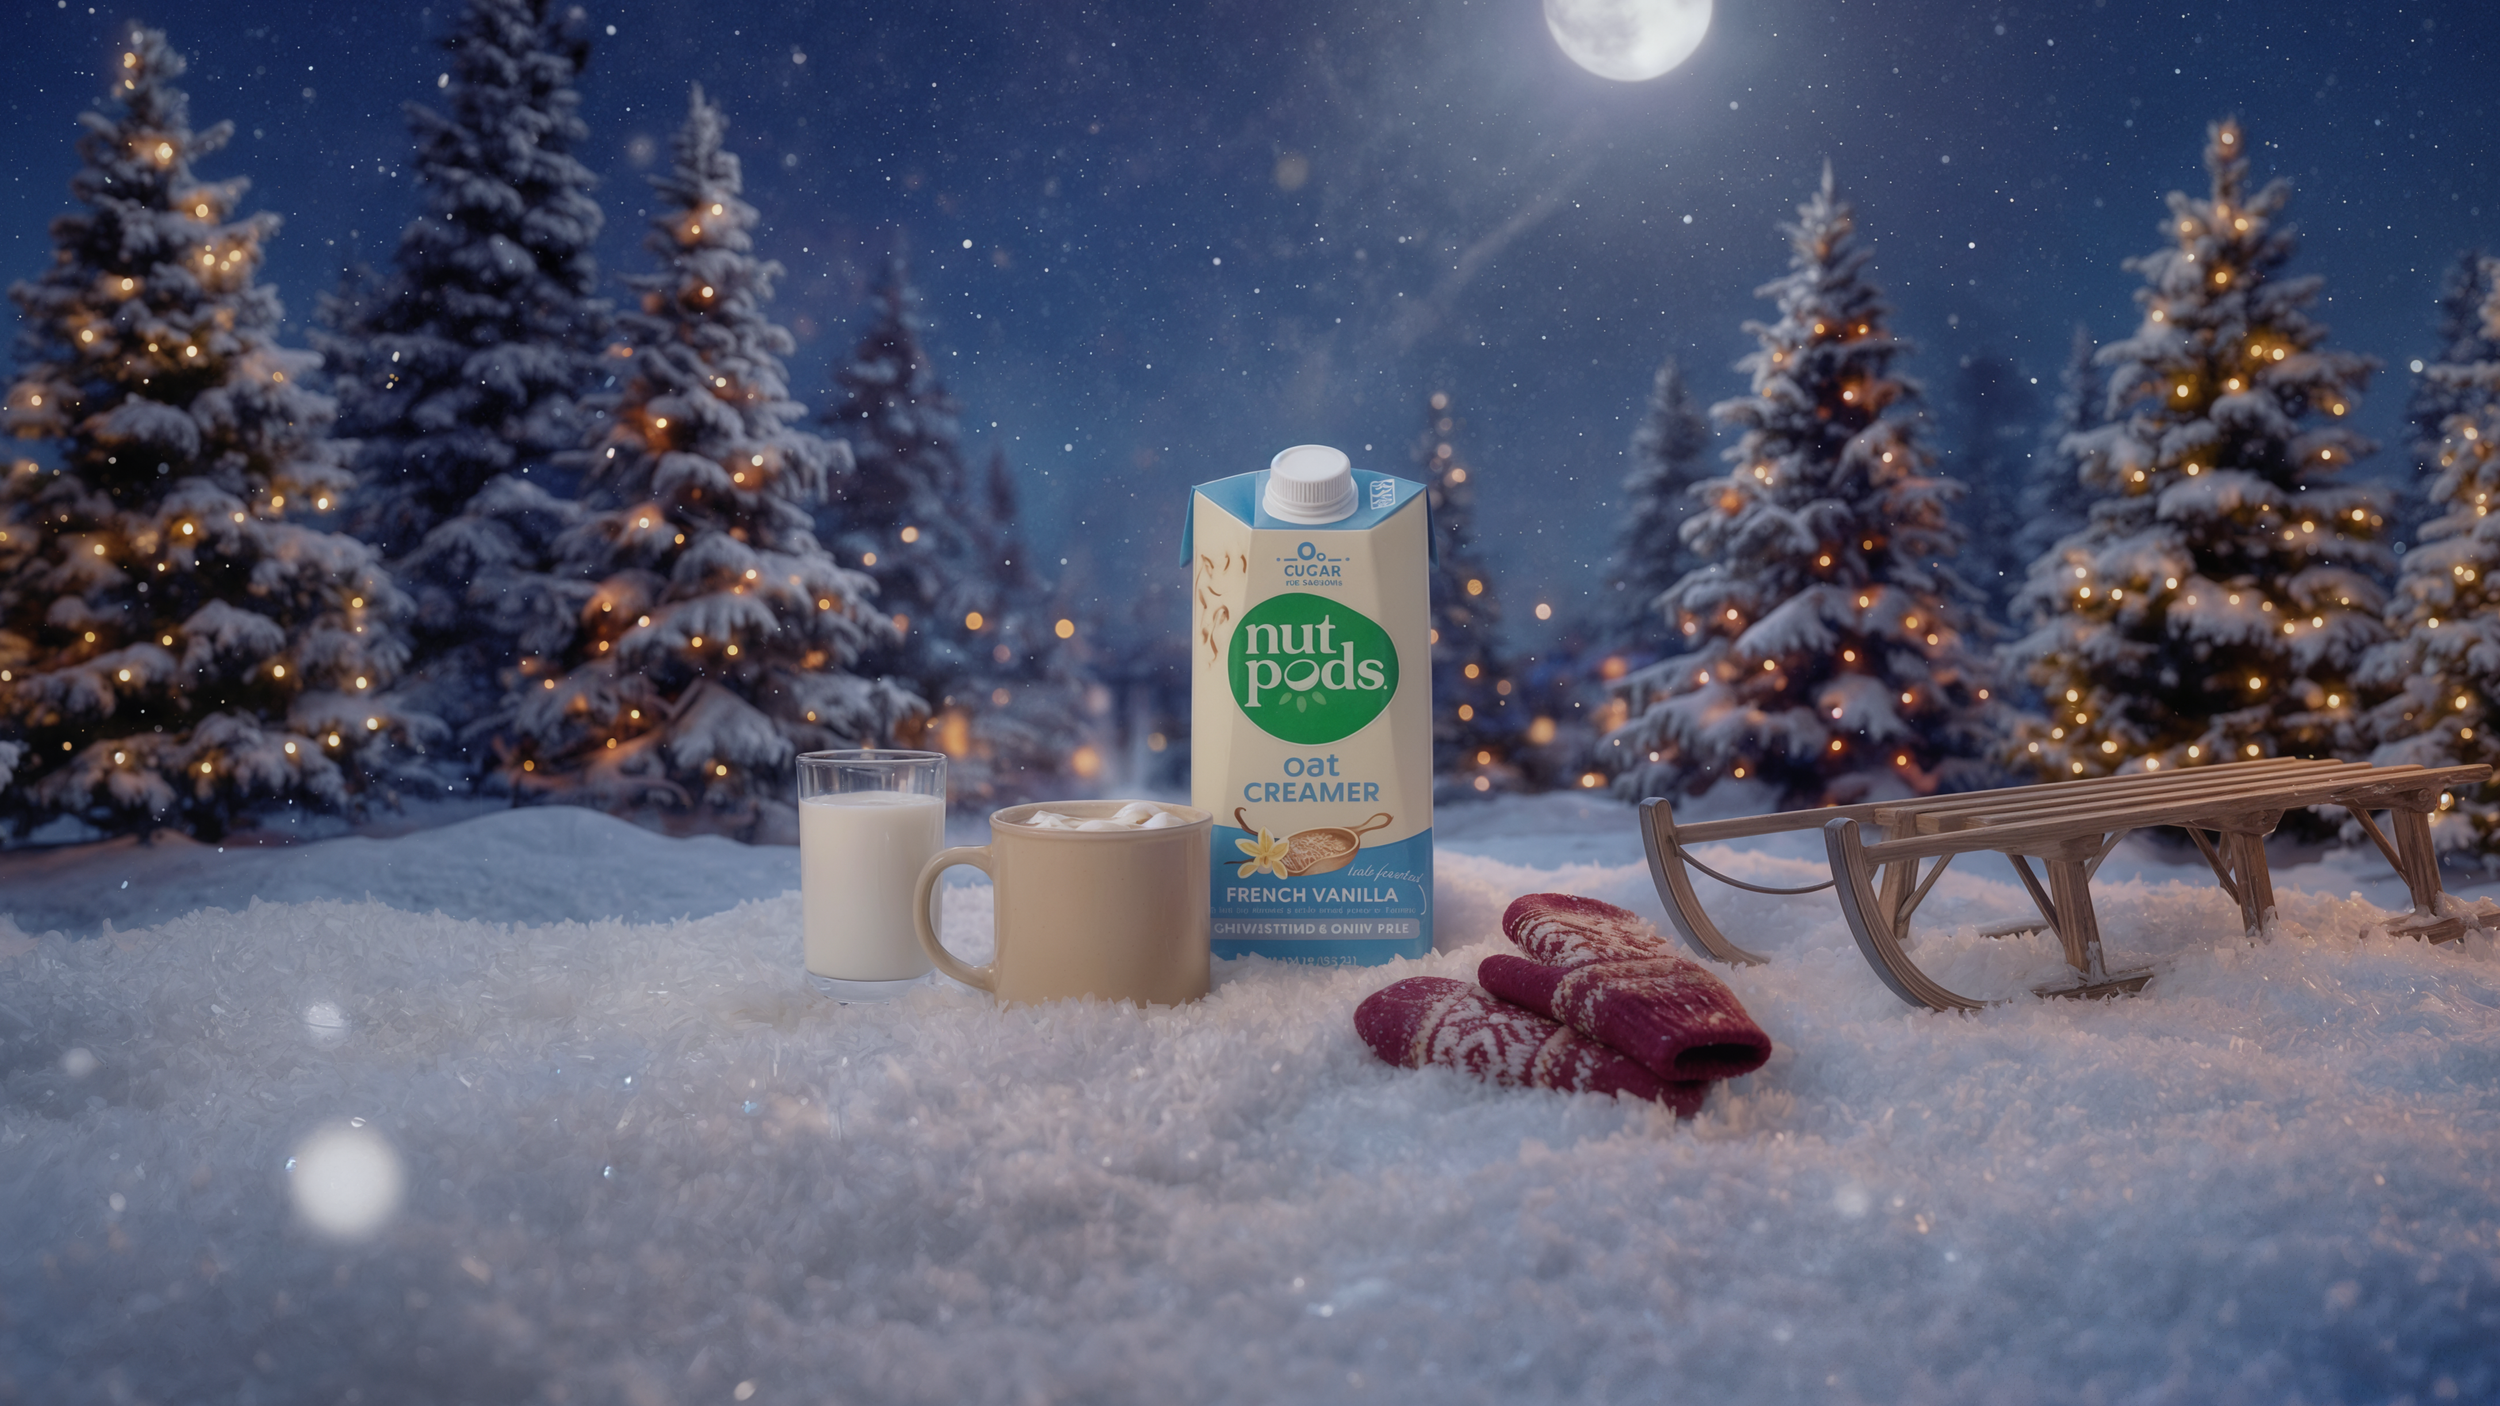
One of the early product workflows. I used LTX-2 to test how the carton, cup, winter atmosphere and motion could work together before the final endtag direction was locked.
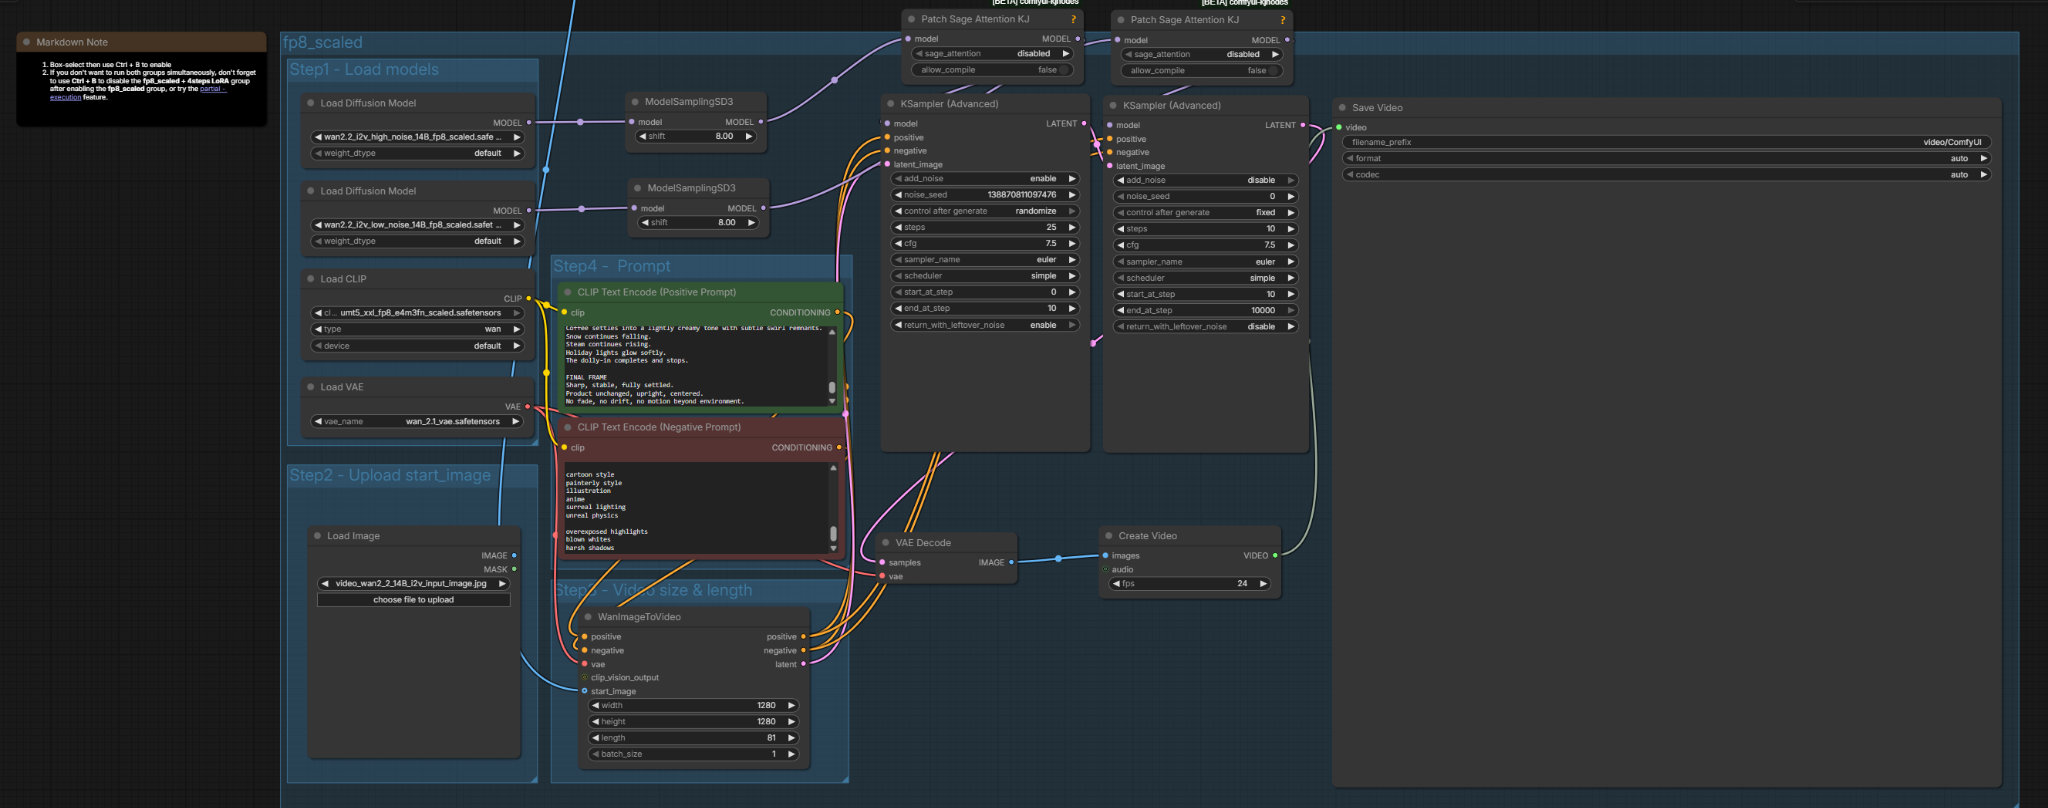
Wan 2.2 · local I2V
A more exposed local workflow for image-to-video conditioning and sampling, useful for experimentation and understanding what I wanted to control before moving into later-stage shots.
Building the frame became part of directing the shot.
Using Nano Banana through ComfyUI was a major practical improvement for the image side of the workflow.
Instead of repeatedly uploading and rebuilding context in separate web interfaces, I could keep character sheets, environment references, previous frames and prompt logic connected inside a reusable node graph. That made it much faster to create a controlled first or last frame for image-to-video.
Connecting to Nano banana directly via api also allowed me to get the best quality out of the model, skipping any aggregators.
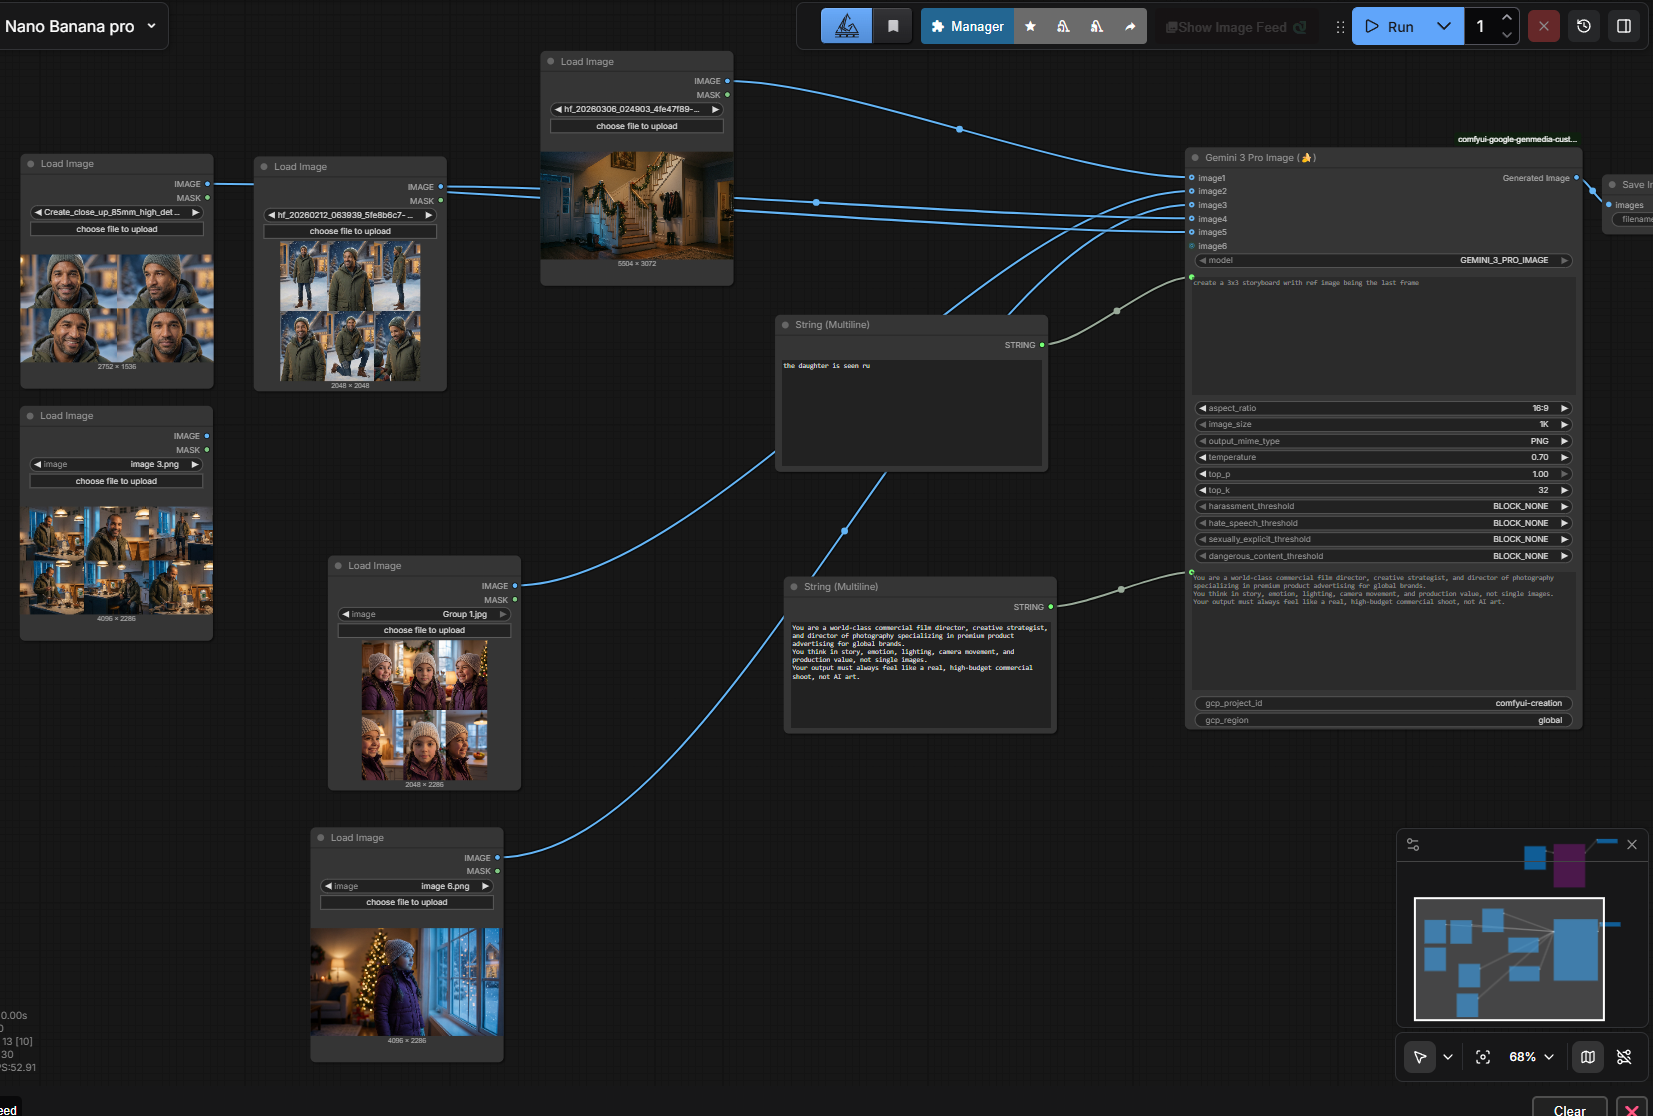
Kling changed how directly I could shape a shot.
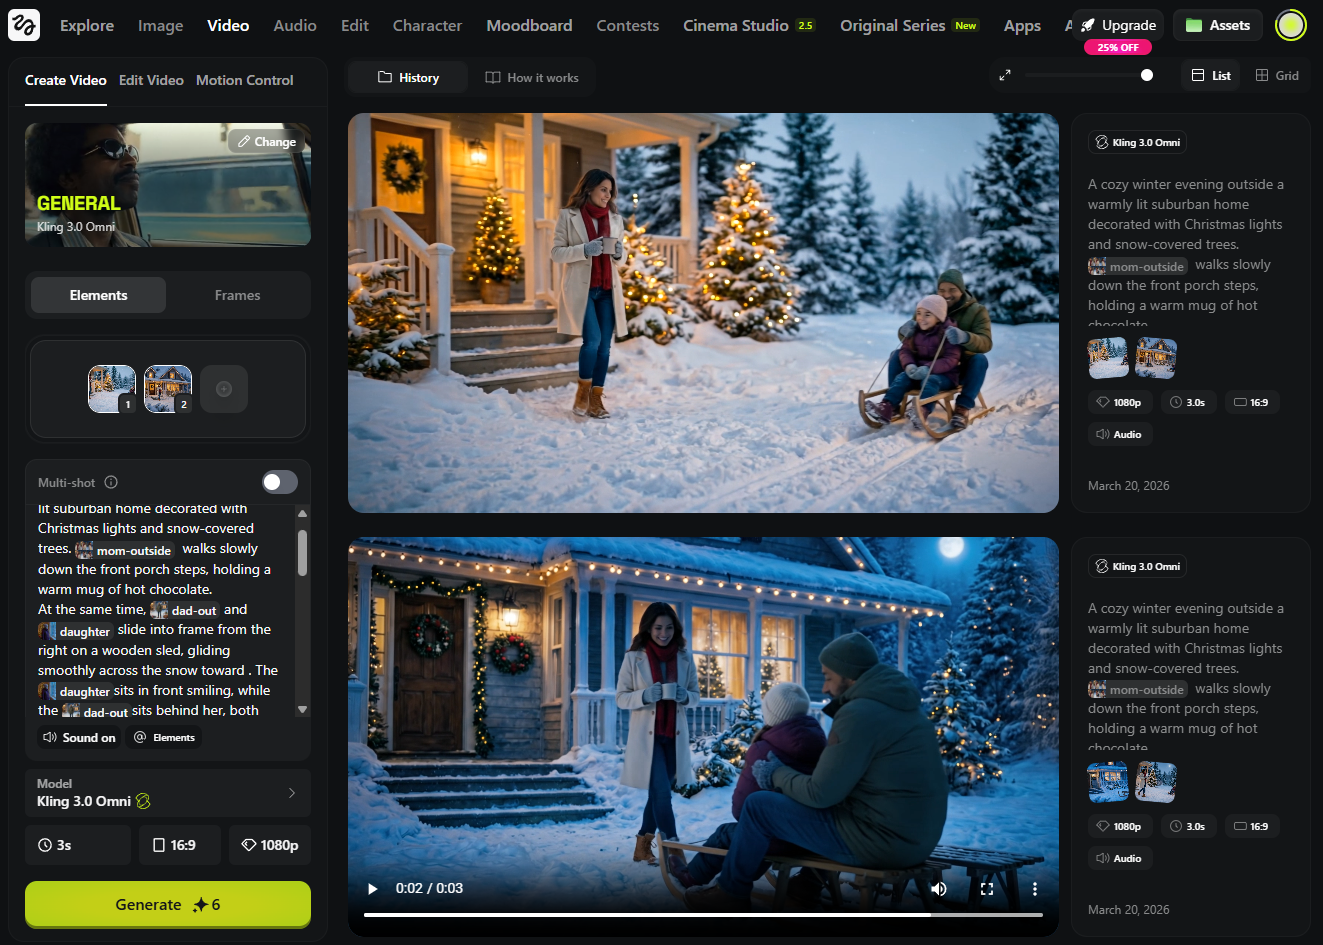
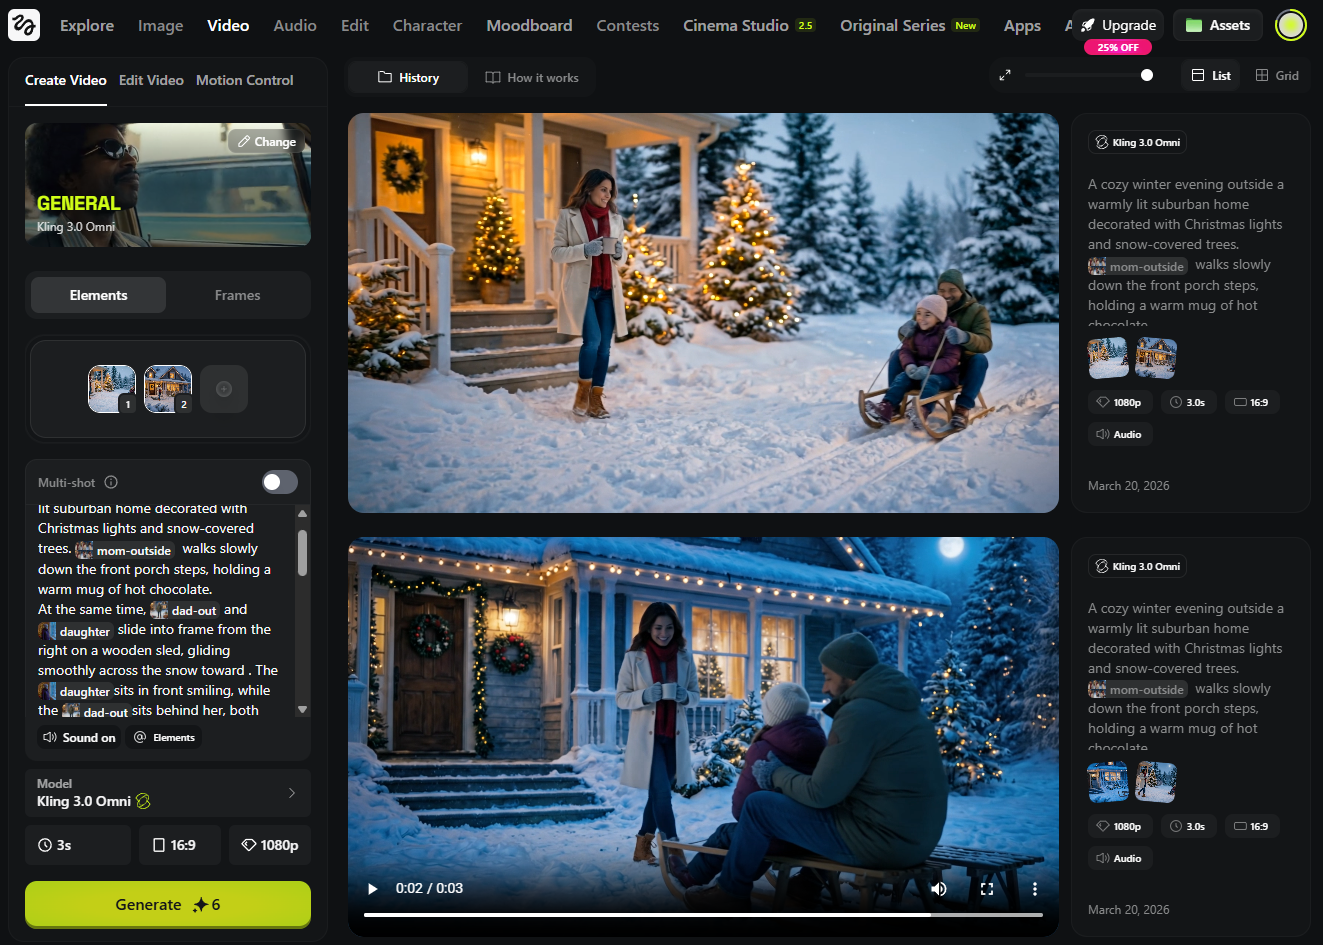
The biggest production jump came from reference-driven Kling workflows, particularly O3 References in Flora and Elements / Kling 3 in Higgsfield.
Earlier image-to-video workflows often meant designing one strong frame, asking the model to animate it, and then hoping identity, wardrobe, environment and blocking survived the motion. Reference-driven workflows changed that relationship.

From “animate this frame” to “direct these elements.”
With Kling's reference and Elements workflows, I could think in more production-like terms: this is the father, this is the daughter, this is the mother, this is the house, and this is the action I need them to perform.
That was a major step toward getting the actual shot I had planned instead of simply selecting the most usable result from a batch. It made iteration more about performance, staging and camera behavior, and less about repeatedly rebuilding character identity.
With Kling's reference and Elements workflows, I could think in more production-like terms: this is the father, this is the daughter, this is the mother, this is the house, and this is the action I need them to perform.
That was a major step toward getting the actual shot I had planned instead of simply selecting the most usable result from a batch. It made iteration more about performance, staging and camera behavior, and less about repeatedly rebuilding character identity.
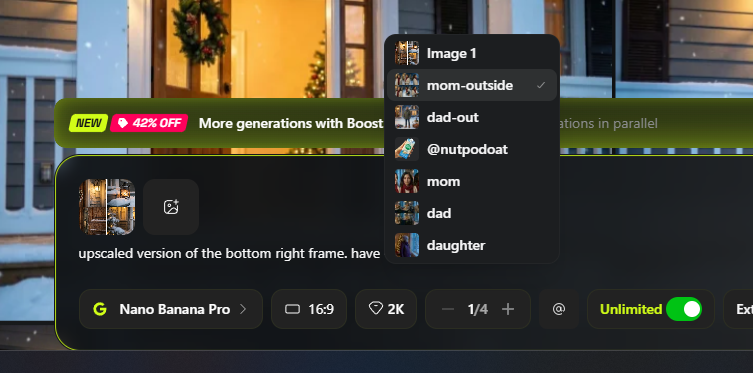
Reusable cast + scene assetsThe father, daughter, mother, product and environments could be treated as reusable production elements. That continuity mattered most on multi-character shots such as the family returning from the sled ride.
“This was the point where the process started to feel less like prompting a video and more like directing a shot.”
Choose the tool for the problem.
The strongest model for a character performance wasn't always the strongest model for a macro product shot.
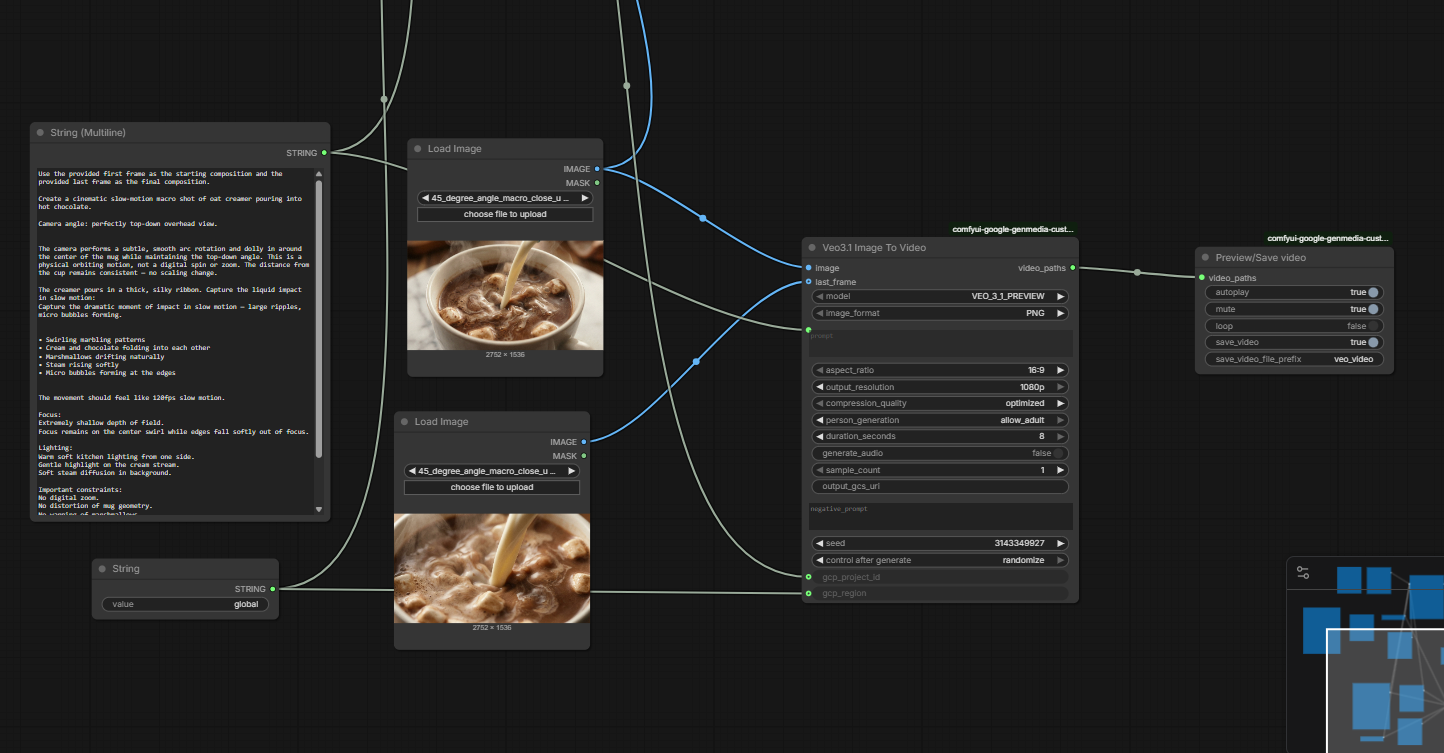
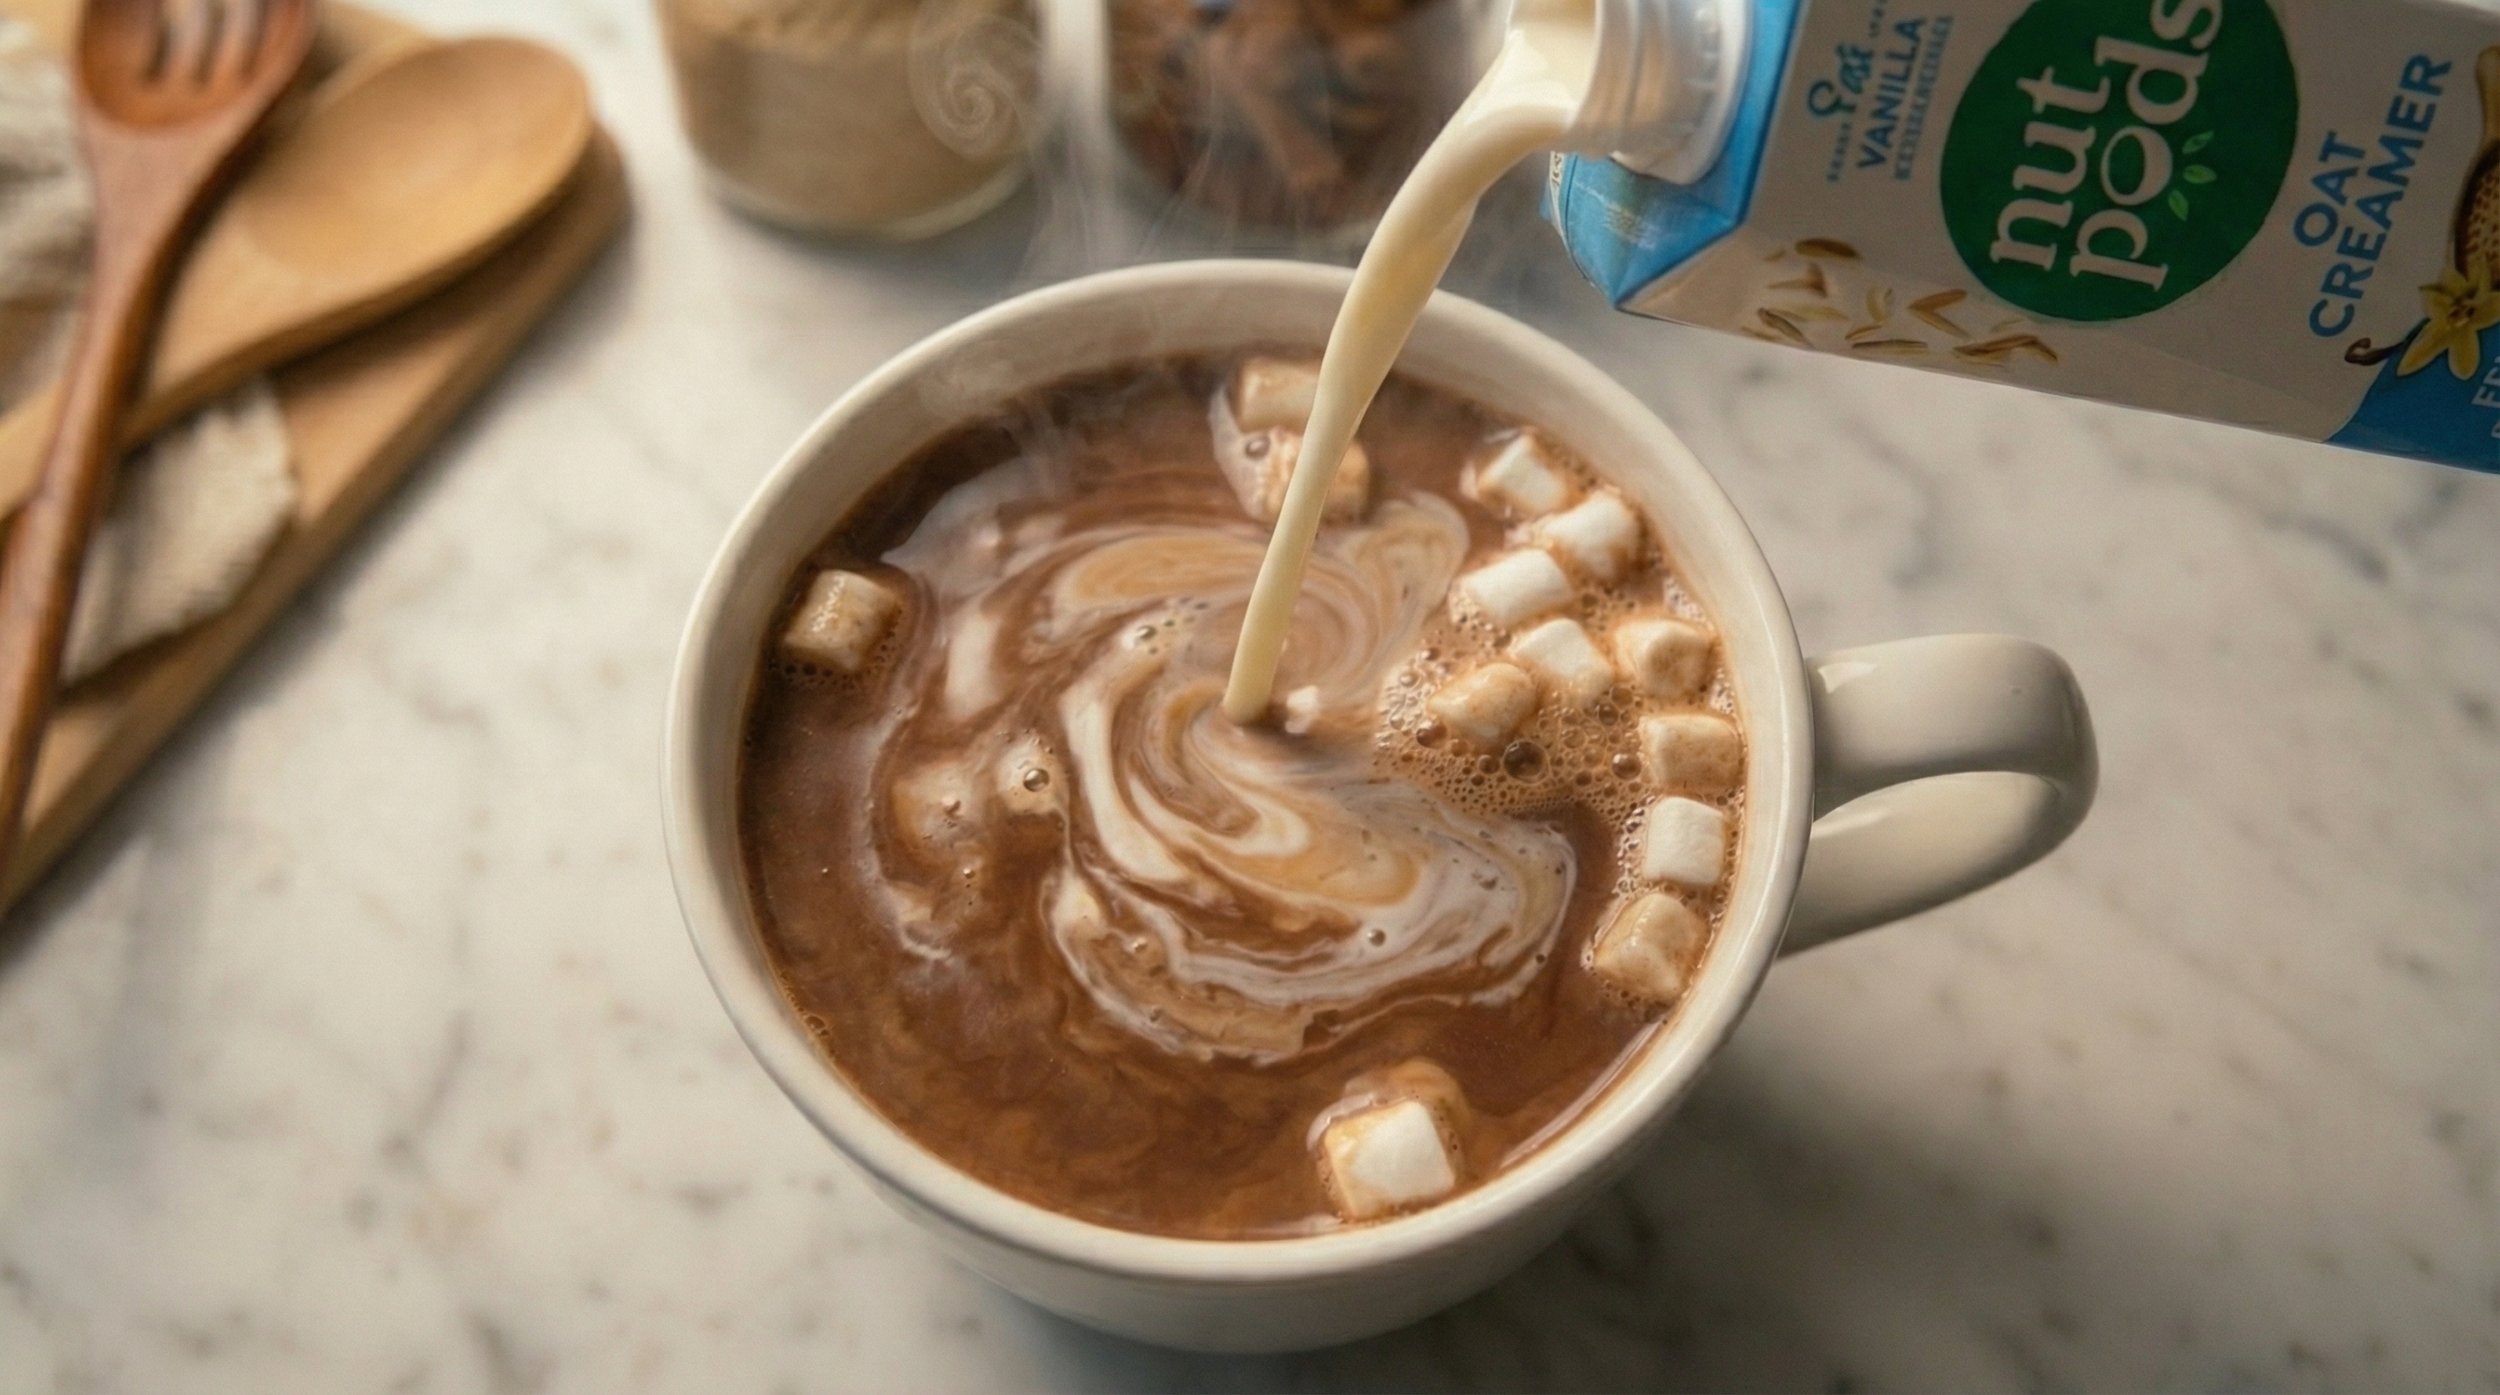
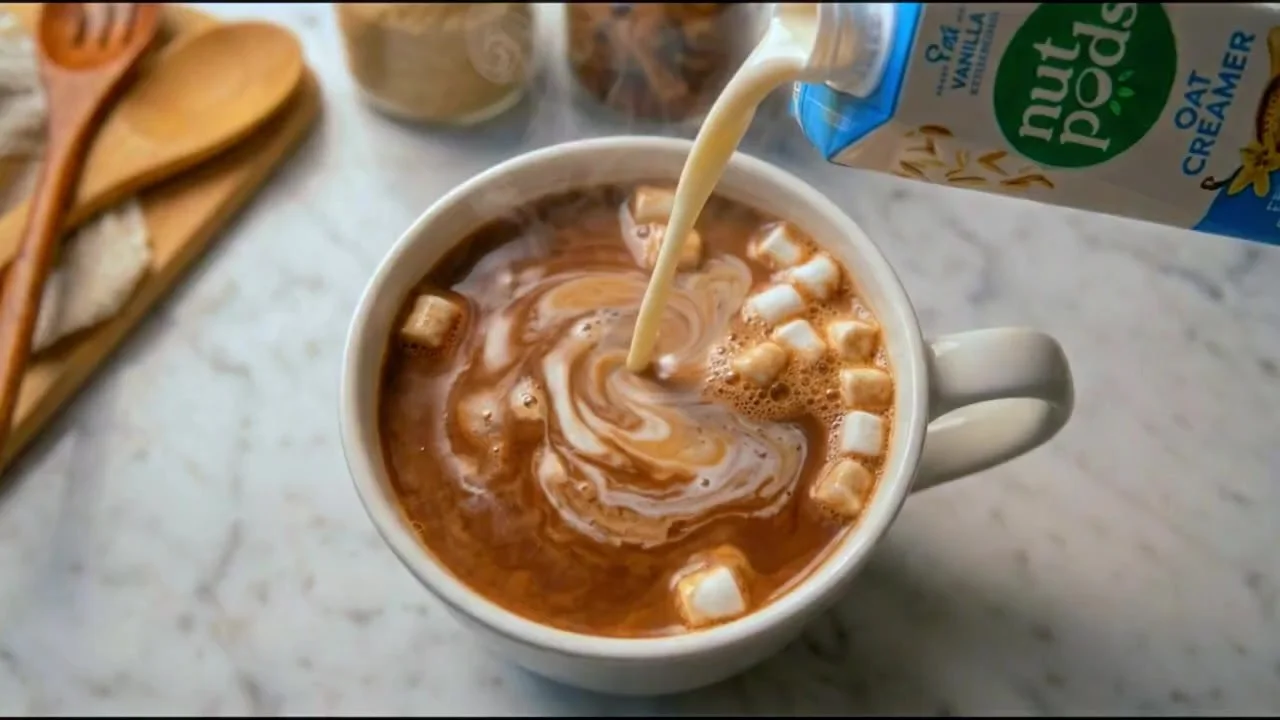
For the slow-motion creamer sequence, I used Veo with first/last-frame guidance to focus on fluid behavior, marbling, steam and controlled camera movement. The workflow remained modular: the shot dictated the tool.
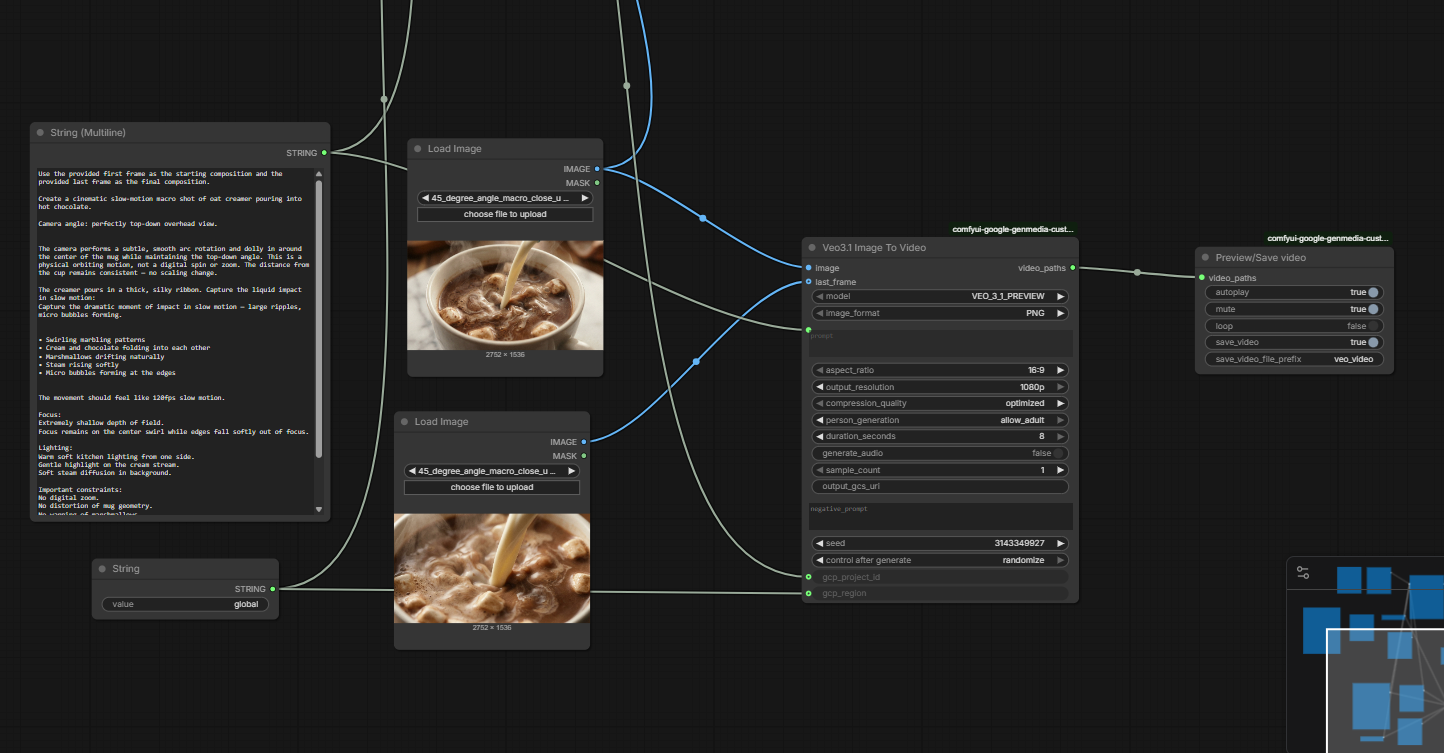
Veo · macro liquid motion
First/last-frame guidance for close product shots where the priority was believable liquid interaction, bubbles, creamer marbling and slow physical camera movement.
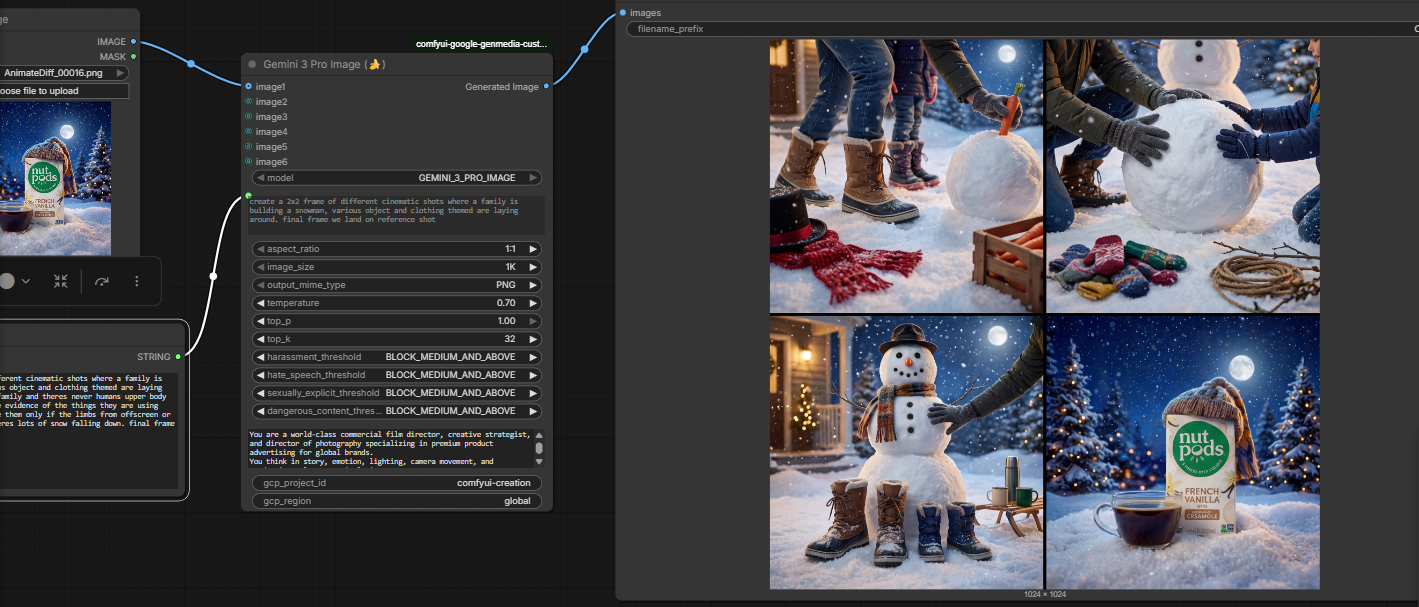
Direct API · fewer handoffs
Keeping image generation directly inside ComfyUI reduced the friction of moving assets between tools and let generated images remain part of a larger reusable workflow.
The camera idea existed first.
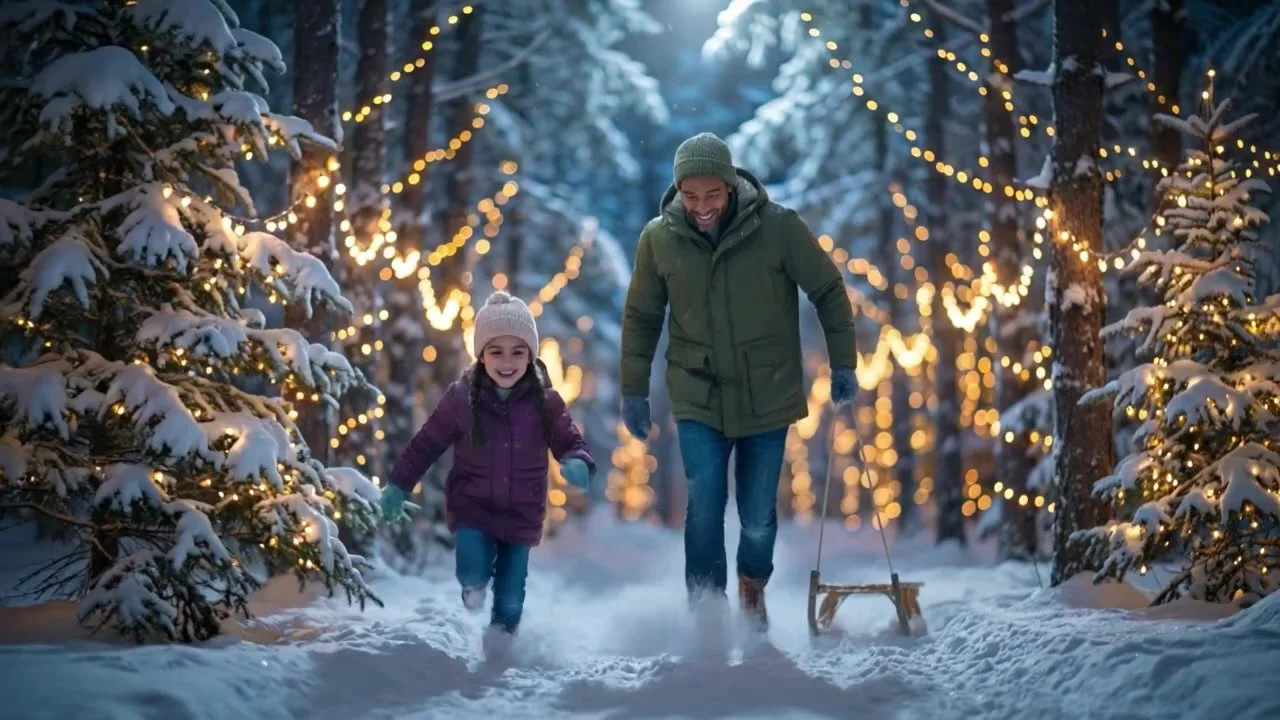
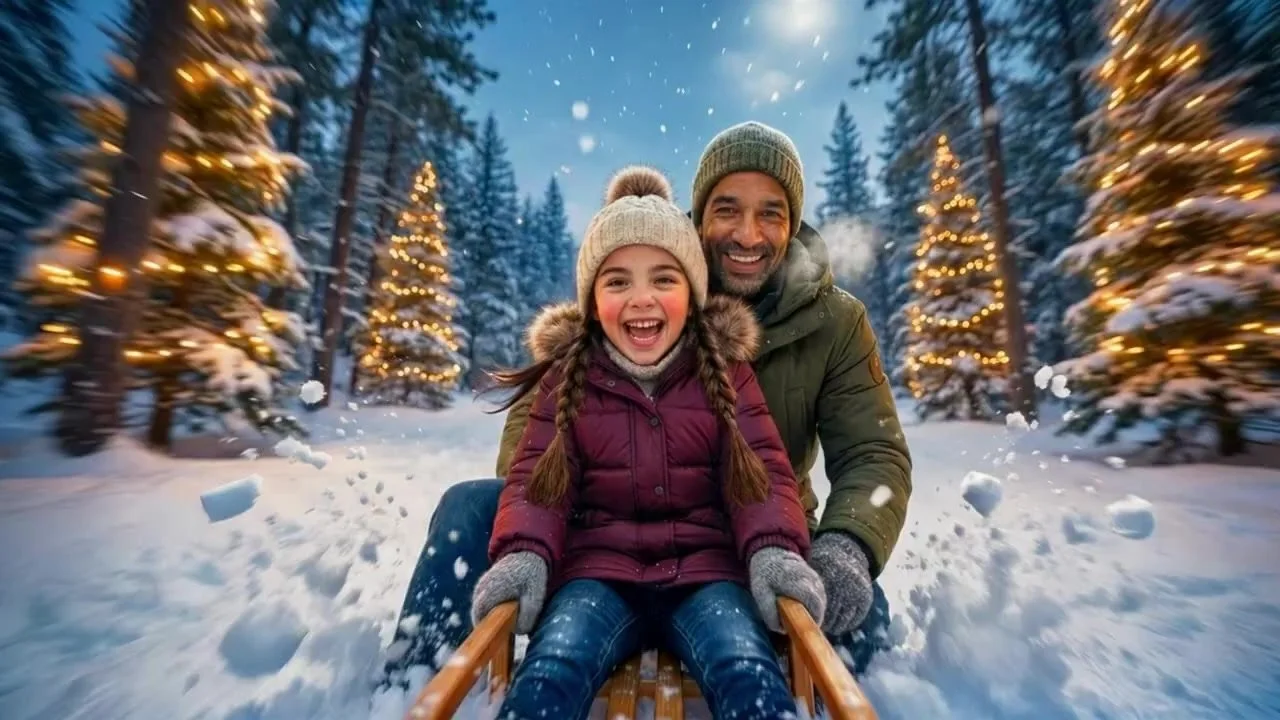
The hero sled sequence began as a Snorricam-style cinematography idea, not a lucky generation.
Hero sled shot.
Snorricam perspective.
Camera mounted directly in front of the sled, facing the father and daughter. Their faces remain centered while pine trees and warm holiday lights rush by at the sides. Snow sprays from the runners while the characters remain sharp.
A miniature beverage shoot.
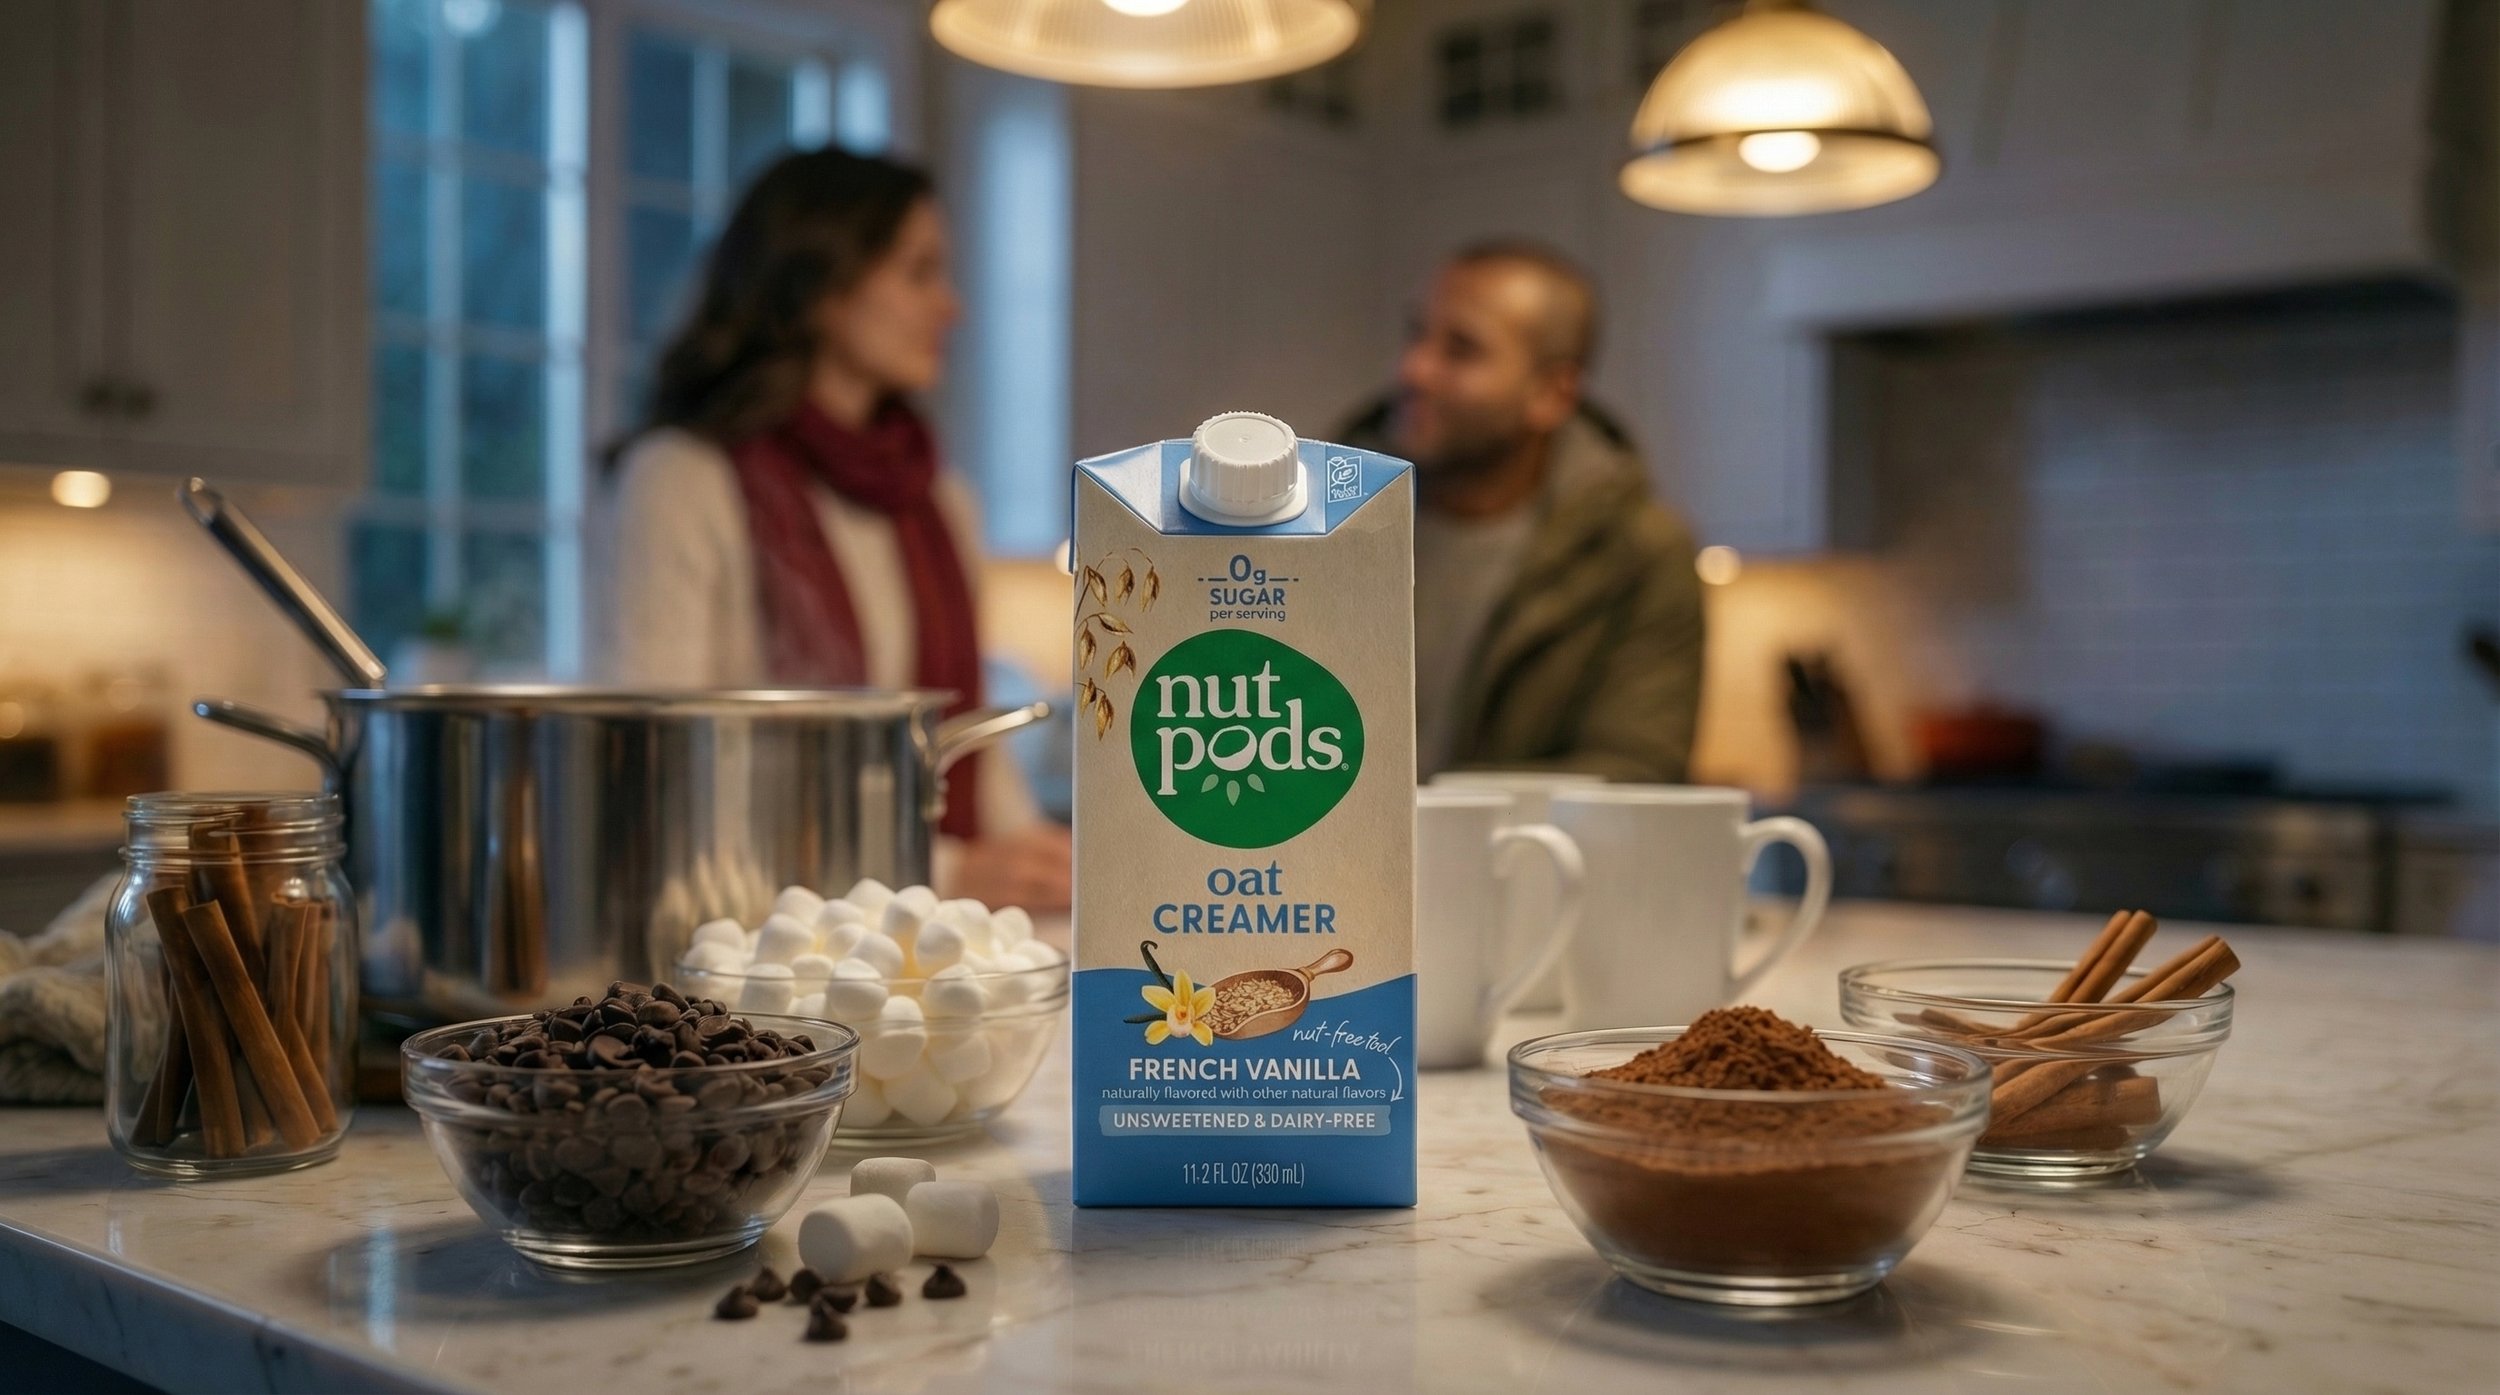
The pour needed to feel believable, but still beautiful enough to hold on screen in slow motion.
I tested cup shapes, camera angles, creamer behavior, marbling patterns and hero compositions before selecting the product sequence. The pace deliberately slows here, allowing texture, steam and liquid movement to take over before the story returns to the sled and final sip.
Veo 3 handled best with realistic water physics.


Where the generations became a commercial.
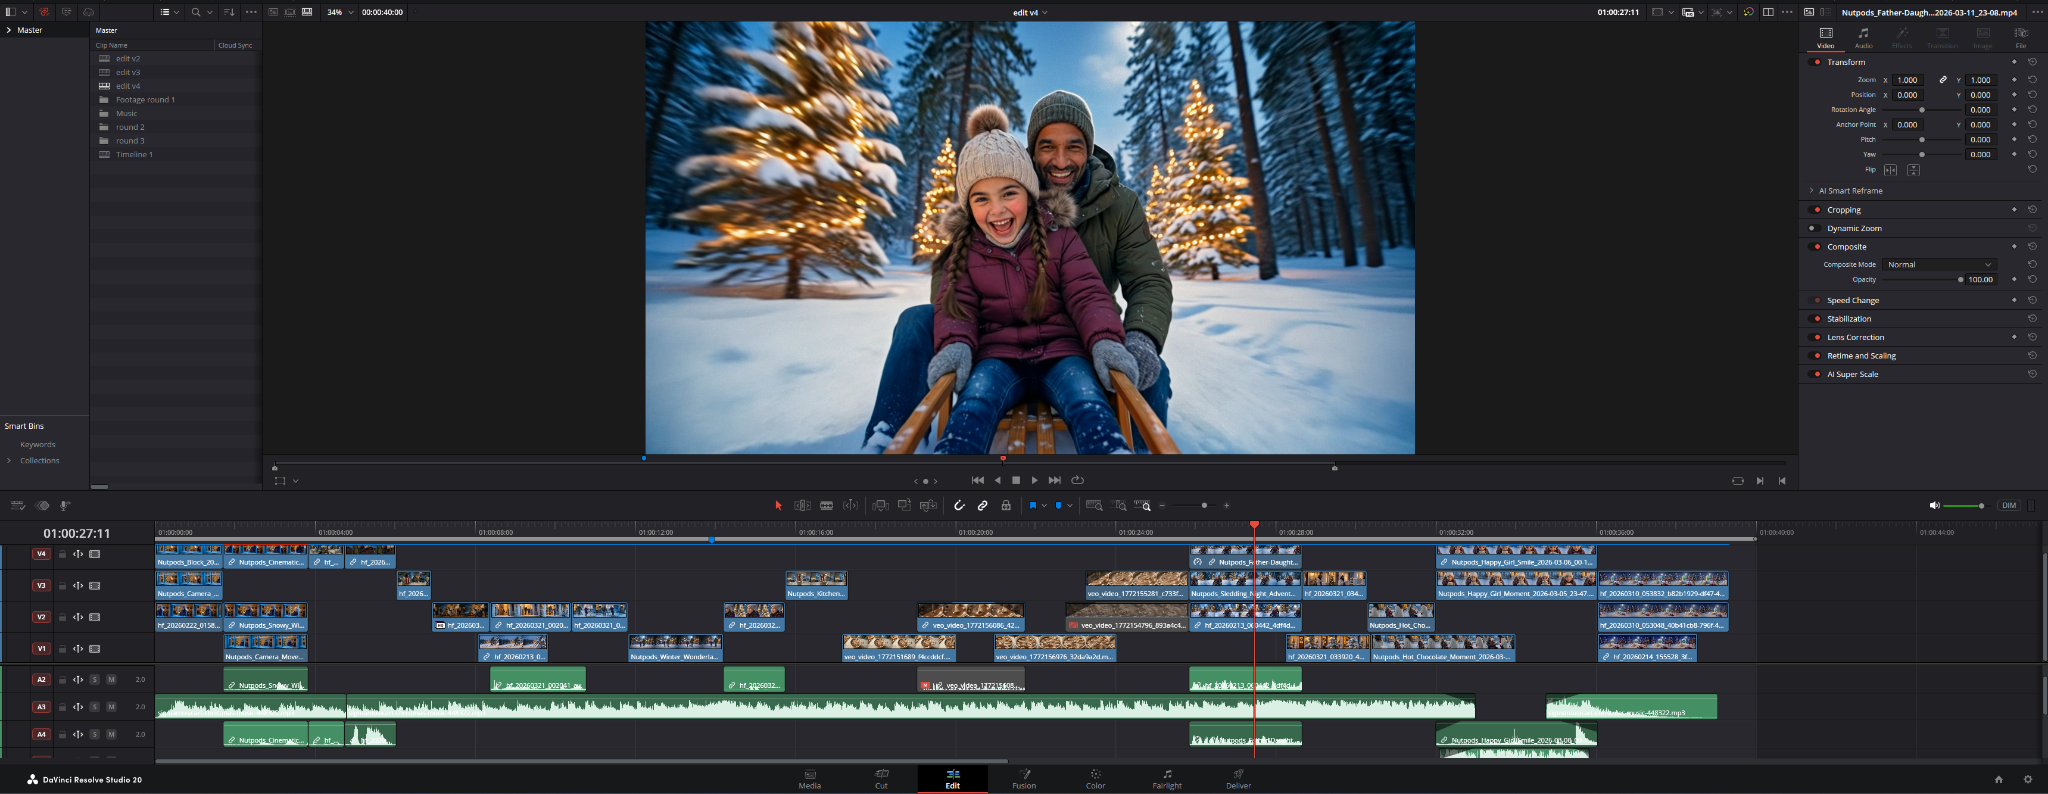
The final piece was assembled, shaped and finished in DaVinci Resolve.
The timeline combined generations from different tools with music, voiceover and sound design. Because those sources did not naturally share the same texture, contrast or motion characteristics, the post process was an important part of turning them into one continuous film.
Dehancer became part of the finishing pipeline, alongside additional sharpening and motion treatment, to bring the material toward a more unified film response and maintain the cool winter / warm holiday contrast established during development.

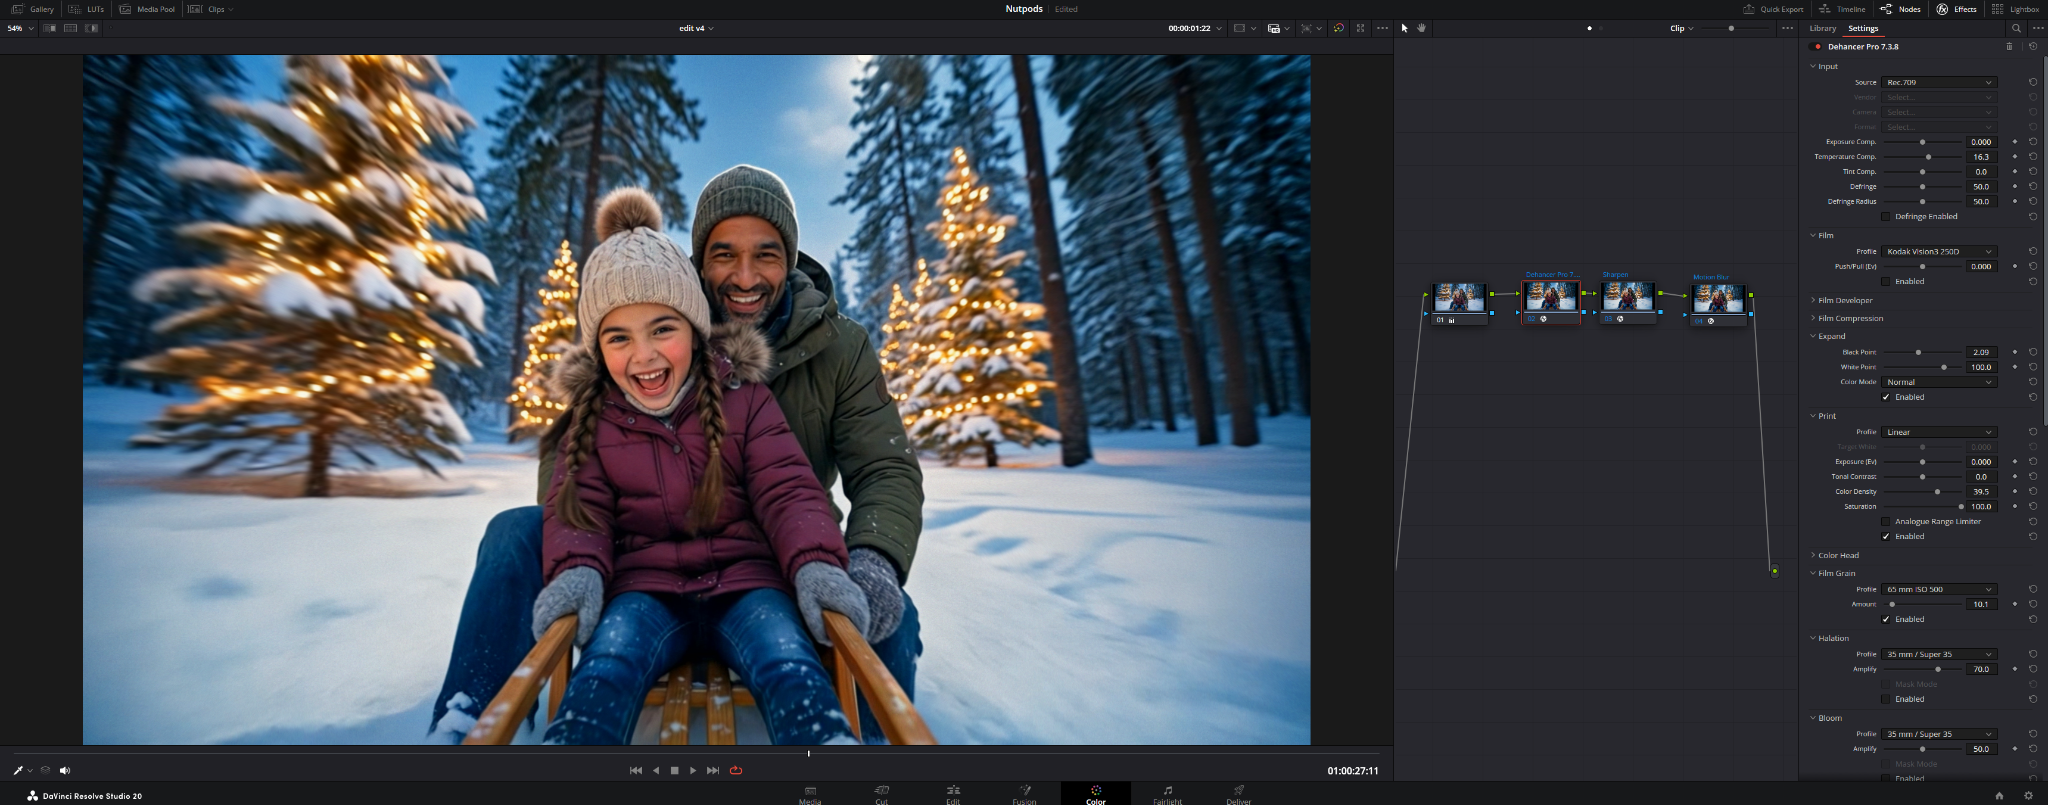
AI didn't replace the part of the job I already knew. It expanded how much of the idea I could personally bring to life.
Expanding the role.
As a 3D motion designer, I would traditionally enter a commercial through design, animation or post. I wouldn't normally be casting actors, selecting a location, directing a performance or deciding how live-action footage should be photographed.
Generative tools let the same instincts I use in 3D, composition, lighting, lens choice, movement, timing and iteration, extend further upstream into directing and producing. For me, that is where AI becomes most valuable: not reducing the role of the creative, but expanding the range of ideas a creative can actually bring to life.
Independent spec project
Winter 2025/26
Qwen Image
Additional image workflows
Kling O3 / Kling 3 · Veo
ComfyUI · direct APIs · Higgsfield · Flora
Dehancer
Concept · Creative Direction · AI Production · Edit · Finish
Independent spec project. Not commissioned by or affiliated with Nutpods.